
The branch of photography offering the best debate with regard to its aesthetic value has definitely got to be High Dynamic Range or HDR. From the level of the photographer who is technically savvy enough to create and process HDR photography to heated discussions about over-tweaked images, just about everyone has an opinion about HDR images.
HDR photography is the art that brings fine tonal detail throughout an image by combining several images of the same scene taken at different exposures; capturing a greater dynamic range between the light and dark areas. It has been perceived to be only for skilled photographers who are adept using Photoshop and/or other HDR image creation programs. The fact-of-the-matter is, anyone who wants to make and process a set of HDR photos can with a couple of photos from the camera and a couple of clicks within an image processing program.
In essence, once HDR photographs are merged, they are not actually HDR. They are tone-mapped images. Tone mapping is the most important part of tweaking HDR images. It’s the process by which images are made to simulate HDR, because HDR images have tonal information that can’t be seen by today’s monitors and printers. You might think that if an HDR image can’t be seen on a monitor, then a tone-mapped image really isn’t HDR. In fact, a tone-mapped image isn’t an HDR image; it’s an image that approximates how an HDR image would look provided you had a monitor that could handle all the tones. The difference between the two is that you can tone-map a single image (as well as multiple images put together) by creating overexposed and underexposed copies using Adobe Camera Raw.
No matter what is said about HDR photography and what rules you may have heard, the tone-mapped result is unpredictable when you decide what to photograph out in the field. You really don’t know what the result of post-processing is until after you’ve finished running the merged photographs through the HDR software of your choice, be it Photoshop or Photomatix. This leaves only one for-sure fact about tone-mapping – the post-processing of a photo set is a game of craps, an exciting game of expectations verses probability, and one that can be played with any subject, object or scene.
At this point and time, technology offers no in-camera preview of what will happen to your set of photographs during post-processing. To be sure, there are cameras that merge the photos in-camera, but the resulting “HDR” photograph isn’t on par as those that are processed within a software program.

What You’ll Need
~ If you are inexperienced, you’ll first need to learn about the camera’s aperture priority settings, EV (Exposure Compensation) and AEB (Auto Exposure Bracketing) before heading out in the field to make sets of photographs.
~ A tripod is recommended to stabilize your camera. You’ll be creating a set of multiple photographs by setting the AEB of your camera to take three images – one overexposed, one normally exposed and one underexposed.
~ You need the ability to use a post-processing HDR program where you can either let the program do all of the tweaking with default settings or manually adjust the brightness, darkness, color and contrast within the image to get the desired results.
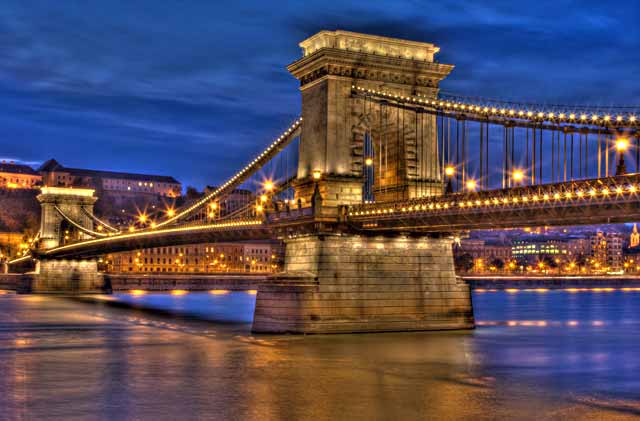
Budapest Bridge: HDR photo processed from a six-photo set.
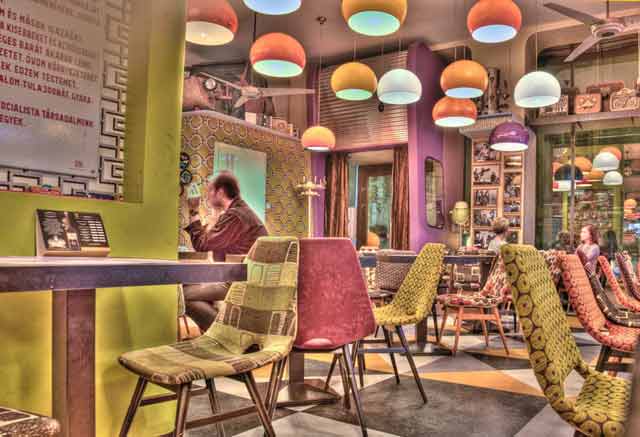
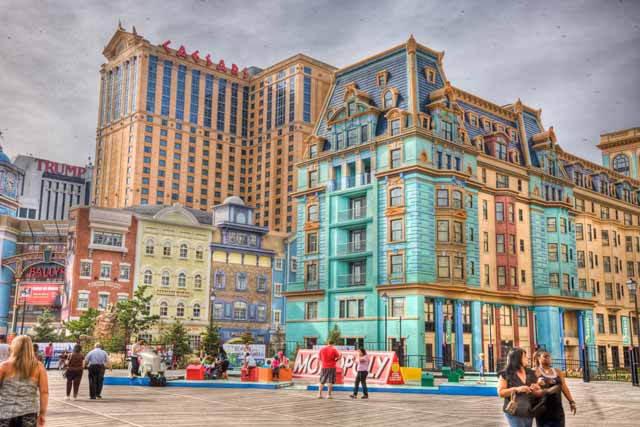
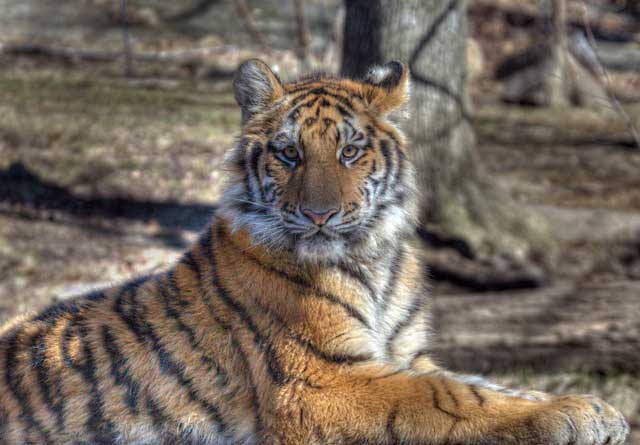
Compare the difference to the other images made with a three-photo set.
Post-processing
Photomatix offers several steps to preprocess your HDR photo. The photos you are merging will take on a number of different characteristics as you preprocess them by making choices in the Preprocessing Images dialog box.
After you have loaded your photos in Photomatix, you’re taken to the Preprocessing Dialog Box, which has a set of important preprocessing options: Align Source Images, Remove Ghosts, Reduce Noise On, and Reduce Chromatic Aberrations. If you don’t make choices, they will be made for you by default. The options, if you wish to use them to tweak your photos, help make merging more effective for the photos you have uploaded.
The next dialog box that appears is Preprocessing Options. These options usually aren’t changed much from one set of photos to another, so leaving them at default values isn’t a bad idea.
After you run the preprocessing, a rough sample of your tone-mapped image is shown. From there you have the option to save the 32-bit image in HDR format. This is the photo that appears with blown highlights and darkened shadows, a photo that you won’t use at this point in time, because today’s monitors can’t handle that fine-tune of an image. But, you never know where technology will take us, so it’s better to save it.
Finally, you click on Tone Mapping to see an image adjusted for today’s monitor. On the left side of the window there are numerous sliders for you to tweak your photo and this is where you can get creative with options within the Detail Enhancer and Tone and Color Settings adjustment tools. This is also the point in time when you’ll determine if the tone-mapping results are satisfactory or if it’s time to trash the image and move on to the next set of photos. Try not to get trapped into an endless tweaking cycle for a photo set that just wasn’t shot well enough for the HDR process.
Enjoy trying your hand at HDR – an adventure in tone-mapping.
by Matthew Bamberg
All text & photos: © 2013 Matthew Bamberg. All rights reserved.
Leave a Reply