
Anybody can photograph flowers. Just get a point-and-shoot camera, aim it at the flower, and press the shutter release. Voila! – you have a photograph of a flower.
But to capture a unique, beautiful, artful, and striking image of a flower takes a bit more work. There are millions of flower images out there, so how do you make yours stand out above the rest?
Set a goal to capture an image of a flower that really stands out – that makes the viewer go Ahhh!
Sometimes the photographer sees a pretty flower and takes a photograph that has the proper exposure and now thinks they have a good flower photo. And maybe they do.
But like one art teacher used to tell me – good is the enemy of great. Don’t settle for good – go for great! And how do you do that? You have to have a desire to learn, know your camera, study various techniques, and then follow up with experiments and practice.
When you photograph flowers, you have many decisions to make.
Here are some questions to help you make those decisions:
What is your subject?
How are you going to compose your picture?
What is your focal point (point of interest)?
How are you going to handle the Depth of Field (DOF)?
How can you eliminate the distractions in the background?
Do you want to shoot a macro image?
Do you want to create a larger DOF with focus stacking?
How is light going to affect your image?
What equipment should you use? (We’ll cover your options in Part 2.)
What technique do you use for which flower? (We’ll cover this in Part 3.)
Let’s get started.
SUBJECT
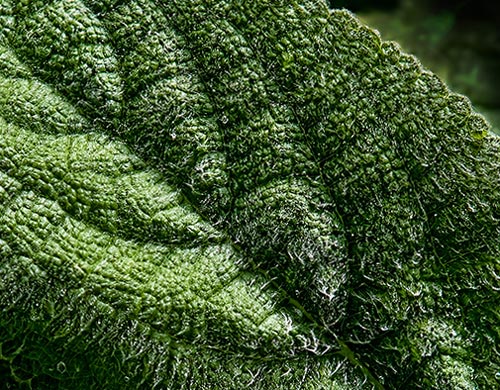
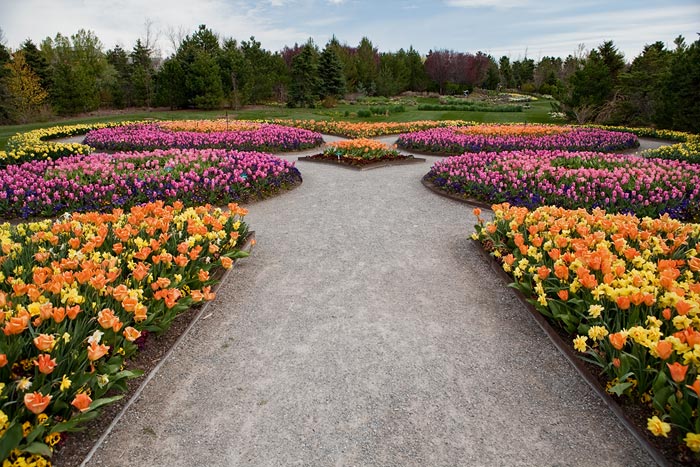
The first thing you have to decide when you arrive at the garden is what is your subject? Will it be the entire garden, a group of flowers, a single flower, a macro of parts and pieces, the textures within the leaves that make the viewer want to reach out and touch it, or an abstract close-up?
Once you have decided on the subject, you can then decide how to photograph that subject. Let’s take a look.
COMPOSITION
When contemplating the framing of your flower image, think about the following composition rules…
Rule of Thirds, Balancing Elements, Symmetry, Patterns, Shapes, Forms, Leading Lines, View Point, Using Natural Frames, and Centering the Subject when appropriate.
Remember, these are guidelines. Once you know the basic guidelines, then it’s up to you on how to “step out of the box” with your creativity.
FOCAL POINT
What is your focal point? An image that does not have a focal point invites your eyes to roam around and around looking for one, but never finding it. Once you’ve decide what your focal point will be, don’t forget to place it someplace other than the center of the image – unless there is a good compositional reason to do so.
DEPTH OF FIELD (DOF)
Depth of field refers to the portion of your photograph that is in focus. It is affected by three factors:
1. Aperture: The larger the aperture (smaller f/number) = the smaller the DOF.
2. Focal Length: The larger the focal length (mm) = the smaller the DOF.
3. Distance: The shorter the distance = the smaller the DOF.
So when you are taking photographs of flowers with a 50mm lens and are 1 foot away from the flower, your depth of field will be very shallow (1 inch ), even if you are using a very small aperture (f/22).
While using the smallest aperture will not give you the sharpest image (your sharpest images are taken with f/stops in the middle range f/8 – f/11), you may want to use it in order to get the largest DOF possible.
Also, remember that when you use a small aperture, you are letting in less light, which means that you will need a slower shutter speed. But if there is even a slight breeze, the movement of the flowers will require a faster shutter speed.
That means that a tripod and a flash unit are necessary if you want to get close-up shots of the flowers.
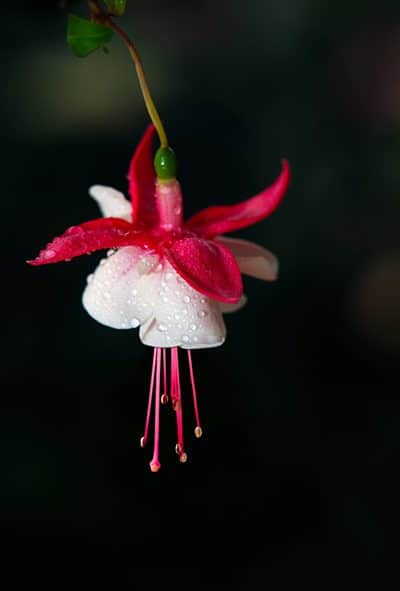
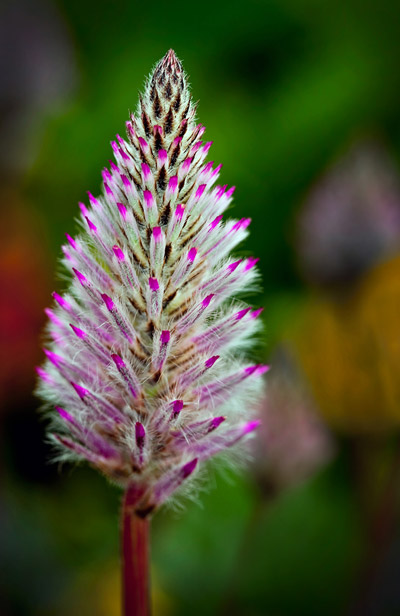
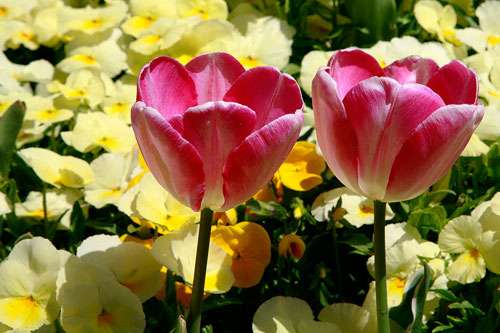
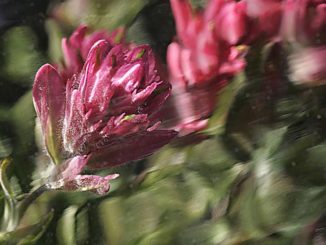
With a shallow DOF, the flower in front becomes the main subject, the point of focus, and the background flowers add depth to the picture.
DISTRACTIONS
Distractions in a photograph are anything that will ‘distract’ from the subject. It could be a natural part of the garden; a patch of sunlight, a fence, dead petals, or even other flowers. Unless they enhance your shot, or define the environment, they should be removed.
You can remove distractions by physically moving them or by moving yourself to shoot from a different angle. You can remove dried flowers from around a flower. You can zoom in, or physically move closer, to crop out a distraction. Or you could even move the subject if possible. Just make sure that you have permission to do so.
TIP: If the subject is in the shade, don’t include a sunny background, which will definitely be a major distraction.
Sometimes you’ll need to remove small distractions during the post-production process, such as a small bit of cropping or cloning, but try to get into the habit of removing the distractions in-camera.
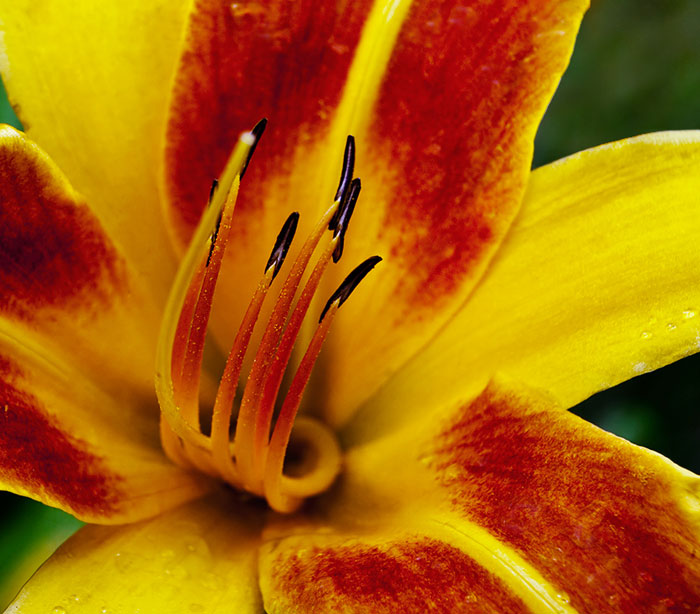
MACRO
Macro photography is very interesting and reveling. It captures and makes visible details and intricacies which we don’t normally see. But in order to appreciate these details, they must be sharp and crisp.
Many photographers have problems with capturing an image with a depth of field that is large enough to include all of the subtle details of the subject. In my opinion, the goal in macro photography is to include a complete depth of field when taking shots of small subjects.
In order to do so, you need to have a small aperture (f/16 or higher), use a sturdy tripod and a remote shutter release or use the camera’s self-timer. You will also need to have good lighting which may include a flash system to light the subject and to freeze any movement. Macro photography is best when you fill the frame with the subject, and the background should be free from distractions and clutter.
FOCUS STACKING
Sometimes it is impossible to capture the entire subject in focus, even with the smallest aperture. In cases like this, you’ll first capture multiple images, each with a focus point that is progressively further away.
You’ll then combine these images within a post-production program; the procedure creates a single image (similar to panoramic merges) by utilizing the sharpest and most in focus area of each image to create a combined image that has the complete subject in sharp focus front to back.
This process is called focus stacking and can be done in Photoshop or by using one of several third party plug-ins.
To learn how to do Focus Stacking, see my step-by-step article by clicking here.
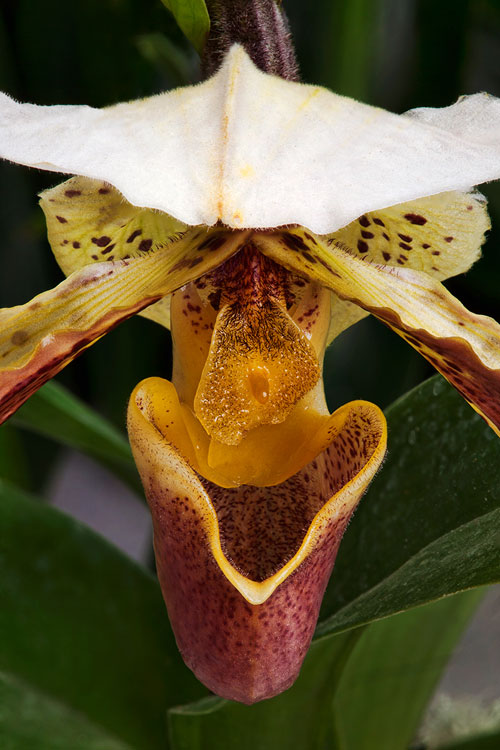
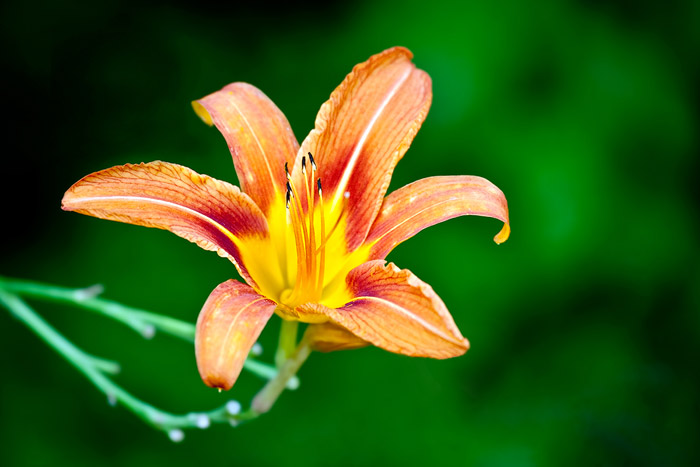
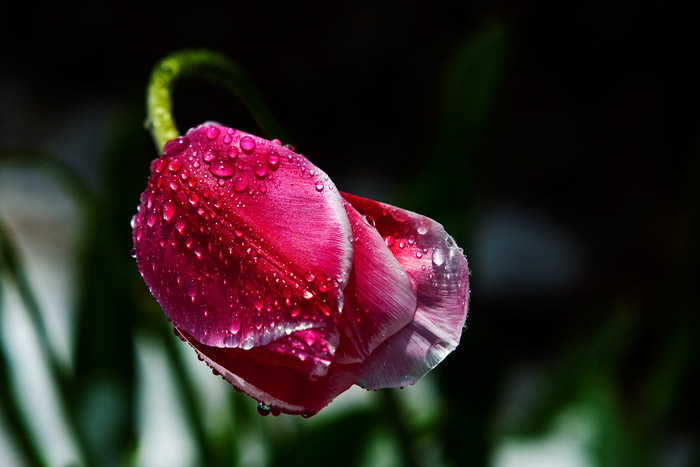
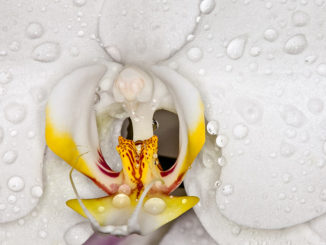
This image was composed of six images, all aligned, stacked, and merged together in Photoshop CS5.
LIGHT
One of the most important factors in creating great photography is light. It is almost impossible to capture a great photograph with poor or average lighting.
There are many different types, or properties to light, and each will affect flowers in a unique way.
Soft Light
Soft light is diffused light and it is very desirable when shooting flowers. It allows you to capture the detail in the darker areas of the flower and it has a smaller dynamic range. Soft light also allows you to produce more saturation in the colors.
Soft light is natural when the sky is overcast or rainy. You can also create a soft light by using a diffuser or some other object that blocks the direct sunlight.
Hard Light
Hard light is direct, harsh, and unfiltered. It does not typically have a desirable effect when shooting flowers. Hard light creates unwanted shadows and does not allow you to see very much detail in those shadows.
This type of lighting also tends to have very high contrast where the highlights are often over exposed. Harsh light tends to desaturate the colors making the flowers look washed out and weak.
Color of Light
As we all know from our grade school classes, visible light is a mixture of all colors and that light travels in waves. When light hits an object, like a flower, there are three things that can happen to it. It can be reflected, absorbed, or transmitted.

Flowers transmit light when the light passes through them.
A red flower will absorb all of the colors except red, which it will reflect.
When one or more of the color light waves are filtered, the result is that the color of light changes. This happens throughout the day and as the light changes, so does the affect it has on a photograph. This filtering effect is used by photographers to help capture a mood or feeling in the photograph.
Depending on the time of day, and the weather conditions, the color of light will vary. Mornings, between the first light of day and sunrise, will typically give you cool, bluish light, which will cast a soft, dim light.
Evenings, between shortly before sunset and actual sunset, usually gives you a warm, inviting color. Light found during the middle of the day is neutral, with no strong hues either way. Knowing how to combine the color of light with the color of the subject will help you to create an interesting, impactful, and compelling image.
Ignoring the color of light and how it interacts with the subject may lead to dull, uninteresting images with no impact.
Direction of Light
The direction of light can also have a huge impact on the mood and feeling of a photograph. Flowers that are lit from the front, or overhead, usually have very poor saturation and harsh shadows. Sidelight is light that comes in from the side, with respect to the position of the camera to the flower, can be very dramatic.
If the flower, or leaves, have a very interesting texture, light from the side will help emphasize the texture.
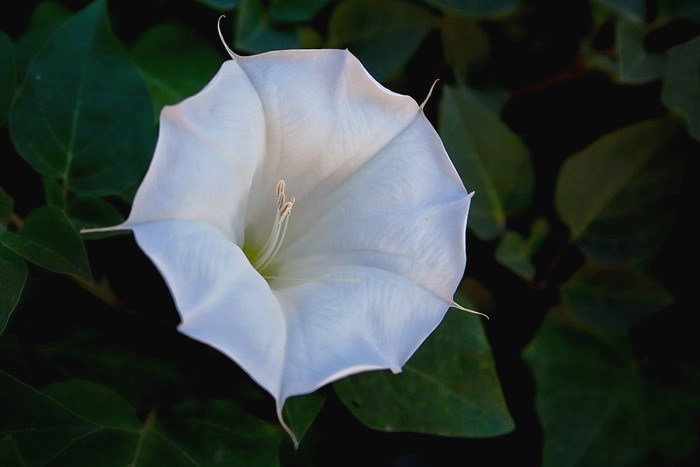
Another direction of light that creates dramatic images is backlighting. When you combine backlighting (light coming from behind the flower, relative to the position of the camera) with a black background, it can create a very distinctive and interesting photo.
With so many flowers springing up this time of year, you’ll want to grab your camera and see if you can create and image that makes the viewer go Ahhh!
see my part two on how to photograph flowers
by Brad Sharp
All text and photos: © 2012 Brad Sharp. All rights reserved.
Leave a Reply