
Learn key techniques to Master the Lightroom Adjustment Brush from Jim Austin Jimages, Apogee Magazine’s Photo Coach. Important steps are highlighted in this screen capture:
START: Open Lightroom
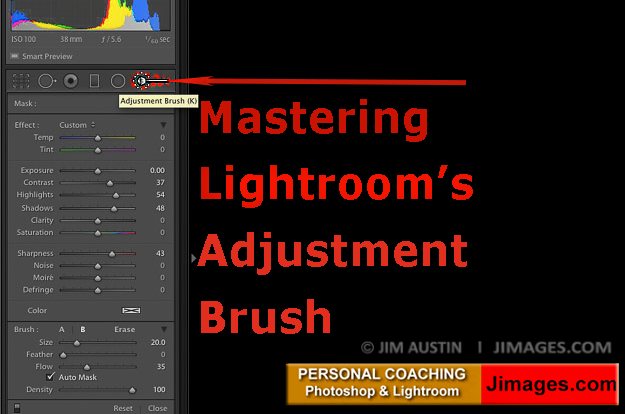
1. Find your Develop Module. Look just below the histogram display to find your Adjustment Brush. Click it to select it, and ensure it is highlighted.
2. Set Up Your Brush. On your keyboard, you can also tap the K key to select your adjustment brush.
Look down below the word Color in the Develop module settings and find two brush option, brush A and B. It looks like this:
Brush: A l B .
For flexibility, Lightroom lets you set up two brushes in different sizes, feathering and hardness qualities. You can create one Adjustment Brush, A, with a hard-edged small brush or set another, Brush B, perhaps having a softer, feathered edge of a larger size. It is your choice.
3. Seeing and Controlling Your Pins. A pin looks like a little grey or black dot. Each time you apply the Adjustment Brush to your photograph, Lightroom leaves behind a pin, kinda like a breadcrumb that marks where you’ve been- or in this case brushed- in your adjustments. If you do not see any pins, it may be because the Adjustment Brush has not been selected. So, make sure you have clicked your Adjustment Brush and that it is highlighted.
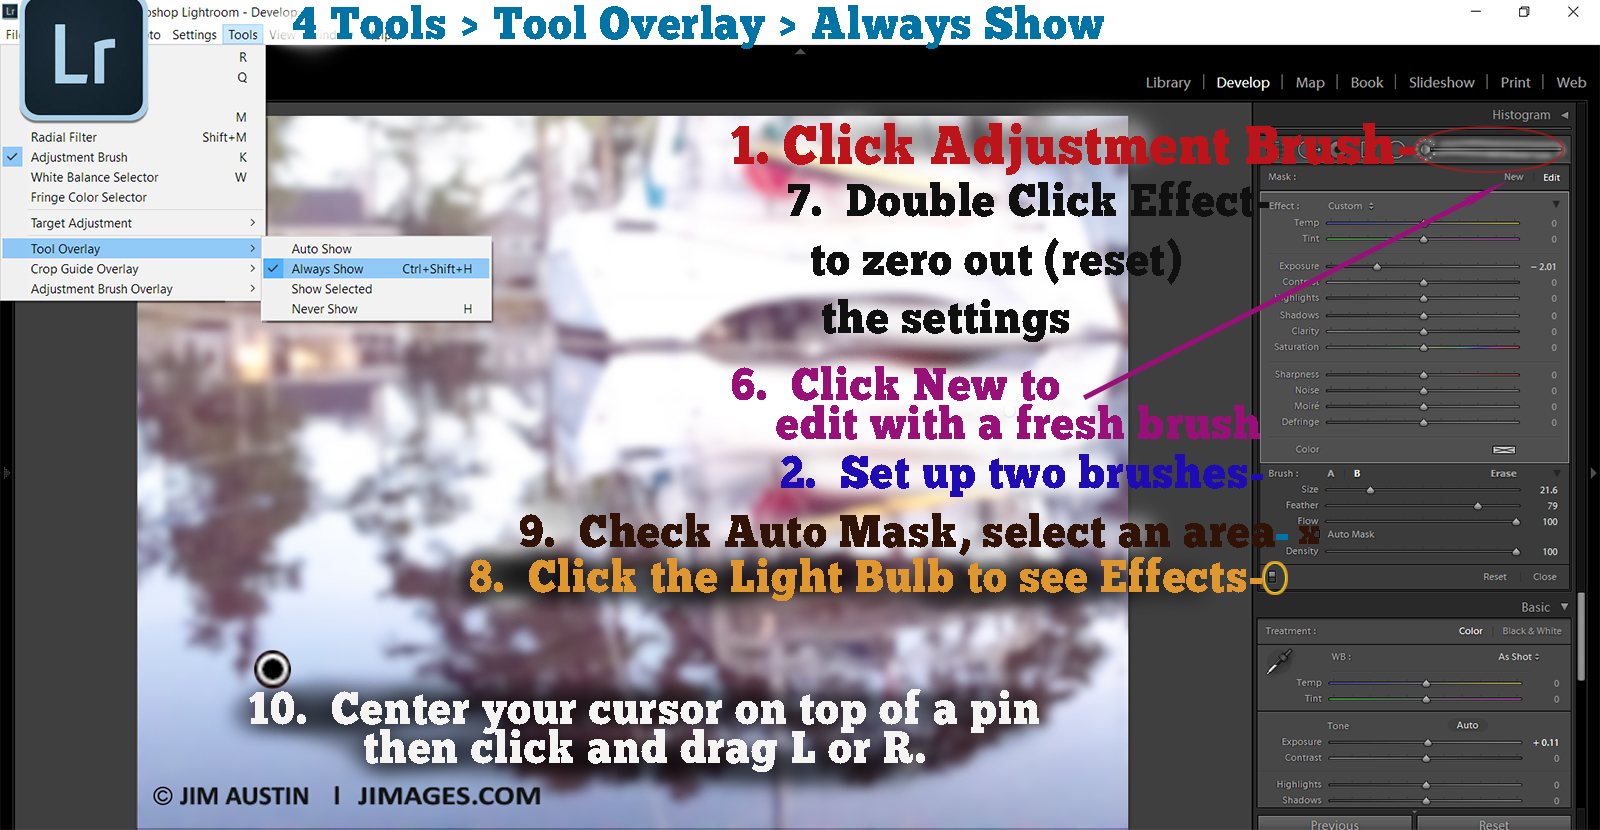
Tap H on your keyboard to hide and show pins. Look at the top menu now. I recommend Clicking TOOLS > Tool Overlay > Always Show, because “Always Show” lets you see on what areas you have applied an effect with the brush, and it hides pins outside the image area.
4. Apply effects non-destructively. Notice that since we are working in the Develop Module, you will recognize the settings : exposure, contrast, highlights, shadows, etc. Your Lightroom Adjustment Brush lets you paint any of these effects onto your image one by one or in combination. Each time you brush them on, a Pin is displayed.
To see your adjustment pins, you need to have the Adjustment Brush selected. In the Develop module, click on the Adjustment Brush icon or press K. You should see the adjustment bush panel underneath the histogram. Set your exposure, then click and drag the adjustment brush to apply the brush effect. Just brush on to the surface of your photograph, and Lightroom will apply the effects based on your Develop module settings. For instance, if you have exposure set to +20, when you apply the brush to an area, that area will get lighter. All the changes you create are non-destructive, which means you can undo, lessen each slider individually, fine tune, or delete them without changing your original image.
When applying the brush, it helps to overdo, or overload your Adjustment Brush, and then click and drag to back off and finesse your effects and changes. The real power of learning the Adjustment Brush is that you can layer changes one on top of another to build up complex enhancements to your photograph.
5. Changing Brushes. Tap the forward slash (/) to change between brush A and brush B. In Lightroom, when you set up an Adjustment Brush with a feathered edge, the pin on the screen will have two circles around it, showing you that the brush has a soft edge. Lightroom displays two circles orbiting the brush head to show you that the effect you brush on will fade and soften at the edges.
6. Reloading Your Brush. After you select a brush, use the settings to change and fine tune the effect you just applied. The key skill to practice is to be sure to click NEW, to reload your Adjustment Brush for each area you want to work on. You can always change your settings after the fact.
7. Dipping a New Brush. Remember to select NEW when you want to move to a different area of your image. To repeat, click New, then click “Effect” twice to reset all the sliders to default so you can start a new brush with different settings. You can easily delete an Adjustment Brush setting by clicking on it and deleting it. Remember: Double Click the word Effect to reset your develop settings.
8. Seeing Your Effects. To see the effects, click the light bulb switch at bottom lower left to view them. You can toggle this light bulb switch to turn the effects off.
9. Auto Mask Feature: When you are painting with your brush, tap the A key to toggle the Auto Mask. You can brush on a selection mask. Even though the brush overlaps an area, Lightroom will automatically help you with Auto Masking, or limiting the mask when there is an image area with a high contrast edge you want to mask. Tap the O key to see the mask you have painted.
10. Advanced Lightroom Users: Click and drag on a Pin. When you load up more than one develop module slider at a time, position your cursor atop any pin in your image window, then Click it and drag. Dragging to the left will decrease the effects of all your sliders together. Dragging right will increase the develop effects. Think of this move as akin to changing the opacity of a Layer in Adobe Photoshop.
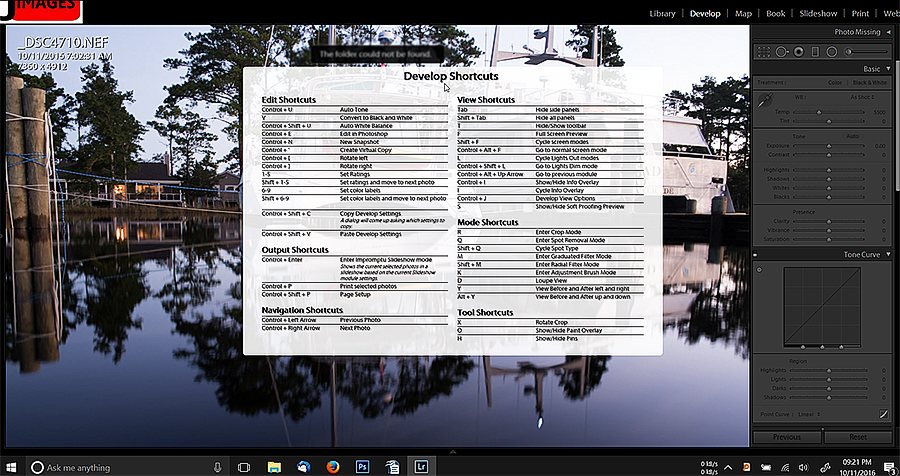
11. Finish. I’ve mentioned a few shortcuts, but relax, this is not a test, and Lightroom’s designers helped us out, because we can see all the Shortcuts in the Develop module just by pressing Ctrl + / (PC) or Cmd + / (Mac) to make Lightroom show a list of the available develop module shortcuts.
Thanks for your comments about the Lightroom Adjustment Brush, Jim.
Jim is an Adobe Certified Expert. Find him at Jimages.com, on Instagram and Flickr.
Leave a Reply