
If you remember the days of slide film or still shoot slide film today, you may have experimented with photomontages (also referred to as ‘slide sandwiches”).
In this technique you would combine two frames and project them together to create an artistic effect. There are many variations on this technique. You could combine two totally different images (perhaps one as the subject and one as a complimenting detail) in order to create a surreal scene. You could also combine two images of the same scene, with one frame in focus and one frame out of focus in order to make an impressionism effect.
If you loved this effect in slide film, but have now switched to digital, you can still create this same effect in a few easy steps! How you approach these montages will depend on your artistic vision, so here are a few possible formulas for experimenting with digital photomontages.
Montage Effect 1:
Copyright © Lindsay Adler
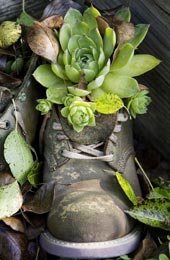
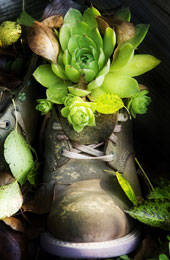
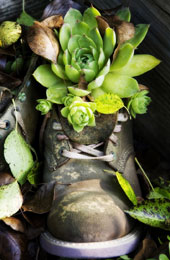
1. Here is the original image of a plant in a shoe (taken in PA).
Copyright © Lindsay Adler
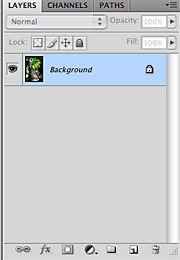
2. You begin with one layer–the background layer.
Copyright © Lindsay Adler
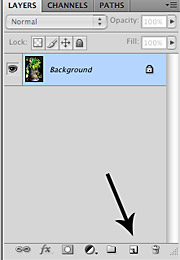
3. You need to duplicate this layer. Grab the layer and pull it down onto the ‘new layer’ button to duplicate this layer.
Copyright © Lindsay Adler
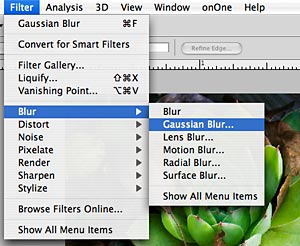
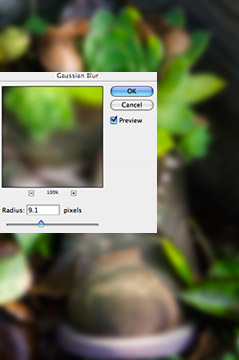
4. Select the top layer, and then go to FILTER> BLUR> GUASSIAN BLUR
Copyright © Lindsay Adler
5. The amount you blur the image really depends on the effect that you like. In this case I did a radius of about 9 pixels, but you should play around and see if you like less blur, more blur or something in the middle.
Copyright © Lindsay Adler
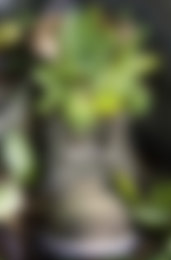
6. Here is the resulting blurred image.
Copyright © Lindsay Adler
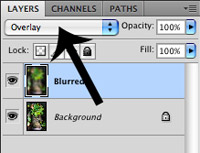
7. To make the impressionism/montage effect apply, you will need to change the blend mode of the images. Change the blend mode from “normal” to “overlay”. You will see the change immediately.
Copyright © Lindsay Adler
8. Here is the resulting effect when you change the blend mode of the blurred layer to overlay. The image has more contrast and a slight glow appears around the image. The colors also become more saturated.
Copyright © Lindsay Adler
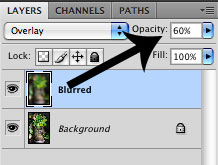
9. If you think the effect is too stark or has too much contrast, you may want to change the amount of opacity of that top layer (how much that effect is applied).
Copyright © Lindsay Adler
10. Here is the image with just 60%, instead of 100% opacity. Notice that the colors are less vibrant and the contrast is less stark.

Copyright © Lindsay Adler
11. Another effect you can try is to somewhat mute the colors for a pastel effect. To do this, duplicate the background layer (by dragging on the new layer button). This new layer should be in between the original background layer and the blurred layer. Click on this layer.
Copyright © Lindsay Adler
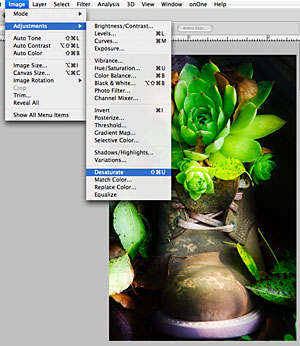
12. Then go to IMAGE> ADJUSTMENTS> DESATURATE. This removes the color from the highlighted layer.

Copyright © Lindsay Adler
13. Here is the resulting effect. The slight glow in the image still remains, but the colors appear more pastel.
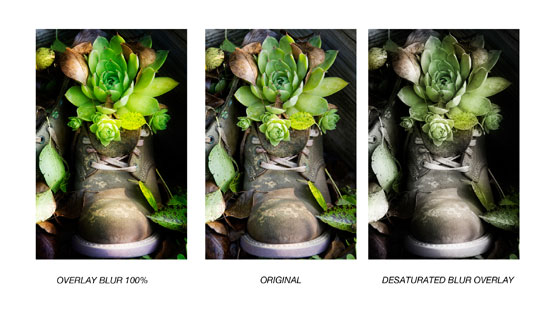
Here is a comparison of the different effects compared to the original. This can work with any image… portraits, travel, nature, etc. You can push the effect to the extreme to get really bizarre and artistic images. Furthermore, you can begin to experiment with other tricks like increasing saturating, or decreasing blur, or anything else you can add into the mix! Give it try and just have fun and see where your creative talents take you and your photos.
by Lindsay Adler
Leave a Reply