
No matter which holiday you celebrate, the Christmas Season brings with it incredible Christmas lights photography opportunities.
So take advantage of it–grab your camera, head out the door, and get ready to capture everything from the warm, soft glow of a flickering candle to festoons of gleaming colors in the night sky.

The display of shining lights will be easy to find around nearly every corner you turn. In many neighborhoods you’ll see light exhibits in front yards, on the roofs, surrounding windows, doors and trees and near houses of worship. And don’t forget about those giant city and commercial displays, they will keep you clicking your shutter button for hours.
Over the years I have been having fun with lights, especially around this time of year, so I wanted to share some of my images and give you a few tips to prepare you for your next light capturing trip.
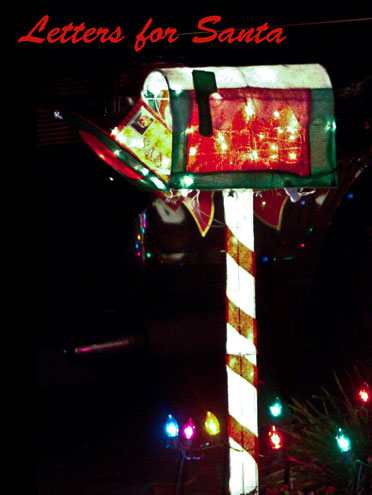
© 2010 Noella Ballenger. All Rights Reserved. I used a little bit of flash to make the mailbox stand out.
Stabilize Your Camera
A steady camera is a must and there are lots of ways to accomplish this:
1. Use a tripod or monopod if you are out walking about.
2. Brace yourself against a tree, building or fence if need be.
3. Use a bean bag on the hood of your car or on the edge of the window or door–be sure you shut the car engine off to prevent that extra bit of vibration.
EXCEPT when you wanna have fun! Now after you have taken many beautiful shots of Christmas lights, it’s always fun to play around.
A number of years ago, I wrote an article for Apogee Photo called “Funlight”. In that article I described how my photography partner and I would leave at night to drive long distances to a photography location.
To break it up, whoever wasn’t driving got to play with the camera and the Christmas and city lights. Read that article and see what fun images you can come up with as well.
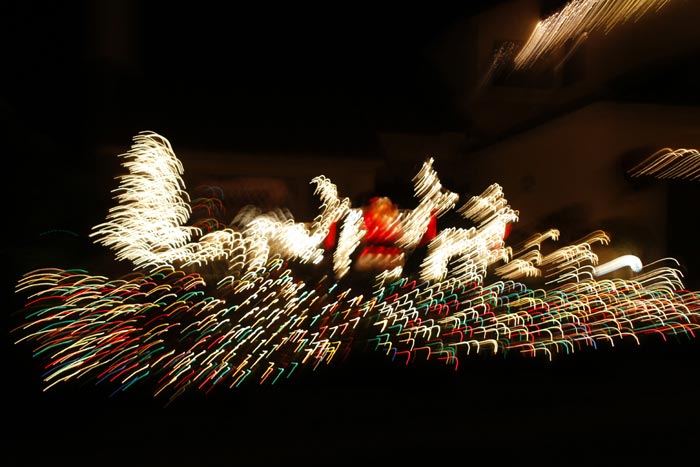
© 2010 Noella Ballenger. All Rights Reserved.
Slow your shutter speed down and do a little dance–bounce or wiggle when shooting.
Time to Go Out For Some Christmas Lights Photography
I prefer the darkest part of the evening for shooting lights, but others enjoy the image results when going out at or very shortly after dusk. This allows you to get the Christmas lights just as they are coming on along with some details of the buildings.
White Balance
By changing your white balance setting from auto or daylight to tungsten the sky at dusk takes on a turquoise hue. The end result always looks a little artificial to me, but many people like it. It’s really a personal preference, but it is always good to try things and see which will be most pleasant to you.
When you do change your white balance to tungsten, the lights will also be color corrected and not have a yellow or greenish tinge. If you are shooting a DSLR and it has the ability to shoot in “raw” then you can always set your white balance later.
Important reminder when it comes to Christmas lights photography – If you decide to change your white balance to do Christmas lights, be sure you remember to change it back at the end of the evening.
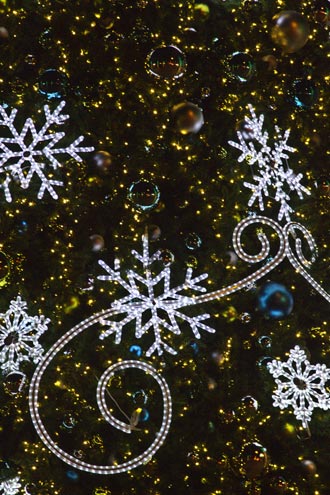
© 2010 Noella Ballenger. All Rights Reserved. Get up close and fill the frame with lights and glitter.

© 2010 Noella Ballenger. All Rights Reserved.
Go out before it gets really dark and include some of the sky.
Camera Mode
For the shooting of lights, I switch from my normal Aperture Priority (AP) mode to Manual (M) mode because I want to be sure that I take charge of all of the settings.
Note: Maybe you just got a new camera or are new to photography. Don’t be afraid to move away from the auto or program settings. Before you go out, take a look at that camera manual and learn how to work in the Manual (M) mode. What buttons do you need to adjust to make it work for you? Play around with your settings until you get what looks good to you. The only way you will get to know your camera is to work with it.
Lenses
Because the scenes are so lovely, I like using a wide angle lens so I can capture the entire scene. Also, most yards aren’t that deep, so you usually are fairly close to the lights. I do carry a longer lens or a macro lens and switch if I want to capture the fine details or only a part of the display.
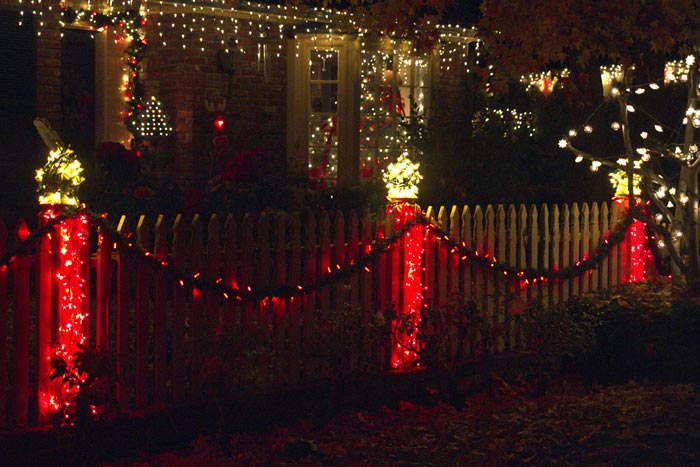
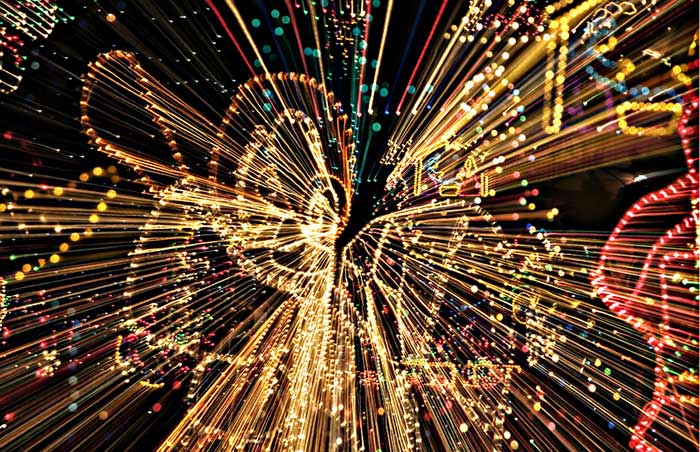
© 2010 Noella Ballenge. All Rights Reserved.
Look for rich colors in light displays.
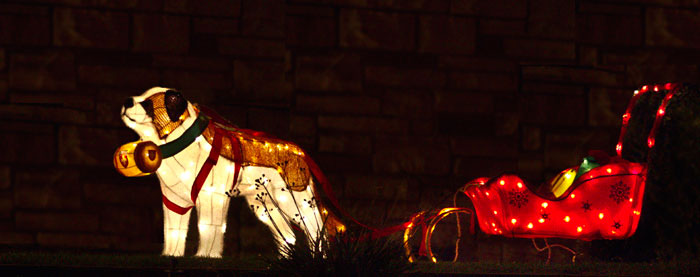
© 2010 Noella Ballenge. All Rights Reserved.
Inflatable decorations are difficult to photograph because they tend to have fewer lights. Use a bit longer exposure to make it “fill out”.
ISO Setting
Because it soon will be dark, I select an ISO that is higher than you would normally use. I will begin at 400 and go up from there. Going too high with the ISO can introduce noise, which creates a rather unpleasant final image. But experiment a little bit with this to see what setting gives you the results that will allow you to get the shots you want but without much noise.

© 2010 Noella Ballenge. All Rights Reserved.
I used a smaller aperture here so that I would get enough depth of field to have both foreground and background in focus.
Shutter Speed
In manual mode, I keep my shutter speed in a range that allows me to either hand-hold the camera or use a means of stabilization, while still achieving a sharp image. I begin around 1/125 of a second and adjust the shutter speed either up or down depending on whether the results are too light or too dark.
If they are too dark, then I might slow down the shutter to allow more light to enter the lens … say to 1/30 of a second. And if the result is too bright, then I will move my shutter speed up accordingly. The shutter speed is something that can be adjusted as the light changes from dusk to dark or if the lights of a particular display are overly bright.
© 2010 Noella Ballenge. All Rights Reserved.
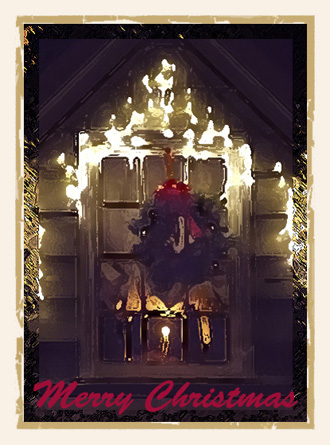
Make your images more than you think they can be. With Marla Meier’s creativity and my image, suddenly we have a one of a kind and beautiful Christmas card.
Aperture Setting
Since we are working primarily with a wide angle lens, there shouldn’t be any problems with depth of field issues. But, again depending on the light and the results, I tend to select an aperture setting of around F5.6 or F 8, but sometimes I go to the widest setting and on my lens that would be an F 2.8. Again, a little fun experimentation really helps here.
Bracketing
Once I get my ISO, shutter speed and aperture estimated, I take a couple of photographs to see if everything is working to my satisfaction. I frequently “tinker around” a bit with the settings to see if I really think what I am using is best. Bracketing is where you take several exposures with small variations.
The way I do this is to select the shutter speed and change it in 1/3 or 1/2 stops around the original exposure. For example, if I think that ISO of 400, aperture of F 4 and a shutter speed of 1/60 is going to be best, I want to be sure be testing it. I will leave the ISO and aperture alone and shoot one at 1/30, 1/60, 1/125 to see which exposure I like best. You can do this with the aperture as well. If you leave the ISO at 400, shutter at 1/60, you can shoot one at F 2.8, F4, F5.6 and/or F8 and that will also change the exposure in small increments. But remember you can only adjust one control to get the desired bracketing.
Flash or Not to Flash
Remember to turn your auto flash off. Only occasionally do I use flash and most of the time that is with some really cute automated signs that don’t have lights other than a general floodlight. But for 99% of the time you are photographing Christmas lights, keep the flash off.
© 2010 Noella Ballenge. All Rights Reserved.
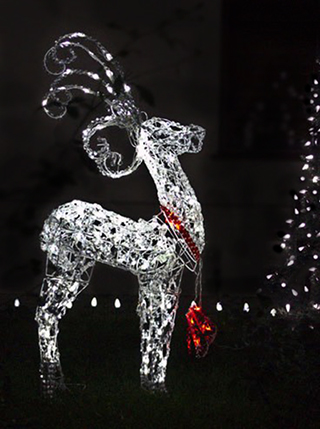
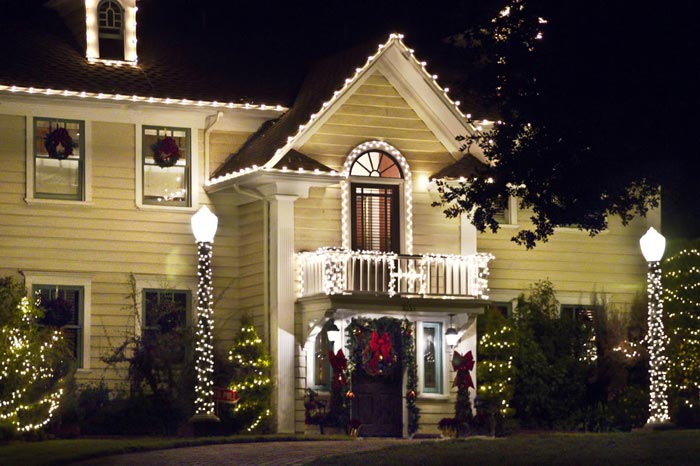
Look for the beauty of the season in special light displays and this will help you with your Christmas lights photography. This looked great up close but even better from across the street.
As I celebrate my Christmas season with many beautiful photographs of the lights, let me take this time to thank my readers and online students for a wonderful year of photography discussions. I have so appreciated your comments and messages. I wish you all every joy of the season.
by Noella Ballenger
Very clear, very helpful, good examples
Good thoughts to remember when shooting lights..