
© 2008 Randy Romano All rights reserved.
Successfully photographing homes and buildings requires a different kind of mindset from other photographic subjects. The two obvious and extremely different components of architectural based photography are interior and exterior imaging. In this article I will concentrate solely on exterior shooting, which is usually the first component of architectural photography that most people experience.
My own experience with interior and exterior photography is in having carried out various commercial assignments, which has included creating images of over 100 homes. Even though this number sounds impressive, I have to admit, the first homes I photographed were a disaster. In fact, I have probably made every mistake possible in my architectural shoots. My goal here is to pass on some of my learned lessons from the school of hard knocks.
EXTERIOR ARCHITECTURAL PHOTOGRAPHY TIPS
Your Initial Visit
The first thing you should do on arriving at an architectural building site is to walk around the structure and take those initial images. It will allow you become familiar with its architecture, to work the angles and determine which ones will produce the best photographic depiction of the structure. In essence it will help you to better understand the building, get a good feel for it and its orientation, and allow you to take in the surrounding elements and those elements that may play a role on how the light will affect the outcome of the photos, such as shadows cast on the subject from large trees.
You should also try to take note of the important and unique components of the structure and surrounding environment. What is different or spectacular about the buildings construction? For example, are the windows large and shaped differently from other buildings? Are the rooflines unique with unusual shapes? What kinds of wood or stone are most significant in the buildings construction? Is the surrounding environment going to help sell the home? Look for these aspects and try to emphasize them with your camera. It’s always important to make isolated images of these unique aspects for your clients.
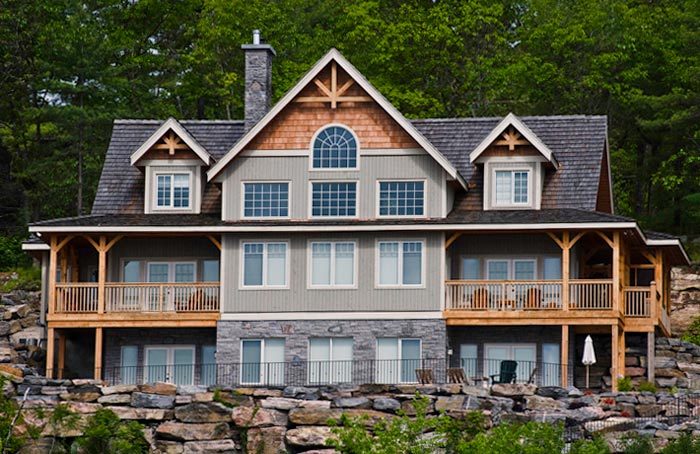
Now look for higher angles from which you can photograph the building. This is an important aspect for successful exterior images. Having access to a higher vantage point can allow for more even angles to photograph the building and you can make images that have a greater impact. So check and see if this is a possibility, and remember to be as safe as you can, as injuries are not worth securing good angles. Maybe there is a nearby building from which you can shoot. Maybe you have access to a ladder and can safely gain a higher elevation? If it’s a new construction and there are workers on site, they may even be willing to help secure scaffolding, making it safe for you to climb. On one particular shoot in Saint John, New Brunswick, the scaffolding was on wheels and I could be carefully moved to gain the best angle of the structure. Once again, make sure if you get up high that you are in a safe situation, as again no photo is worth serious injury.
© 2009 Randy Romano All rights reserved.
Exterior from Elevated Position
Lighting
Because the sky and light is always changing and you never know how the moving light over the course of a day interacts with a building, the exterior lighting of architectural subjects is usually a challenge, especially within the context of a traditional day shoot. As with most types of photography early morning and late day light provides the best lighting, so try to arrange one of these times with your client. If your scheduled or initial shoot takes place at less than ideal times, go ahead and capture some initial frames (these just might turn out to be some of your best images), and then try to arrange for a return visit during peak photography hours. The best impression you can give to your client, thus keeping their business, is to make the extra effort to get these early or late day shots, even if it means returning to a site or staying for the extra late day sun.
© 2010 Randy Romano All rights reserved.
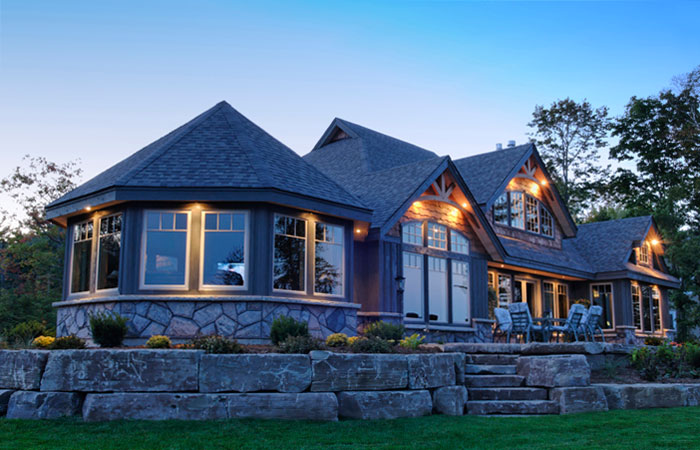
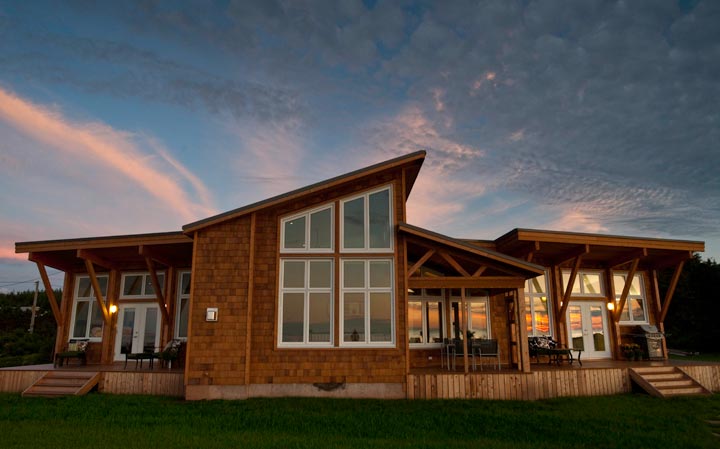
Exterior at Sunset Showing Home Environment
You’ll want to determine the orientation of the building in regards to light. Sometimes the homeowner or building manager may be aware of how the light best enhances the structure, but I have found that an essential tool for preparing for a shoot is to utilize a software program like The Photographers Ephemeris (http://photoephemeris.com/). This program allows you to look at a satellite image of the location and will show you the angle of the rising and setting sun.
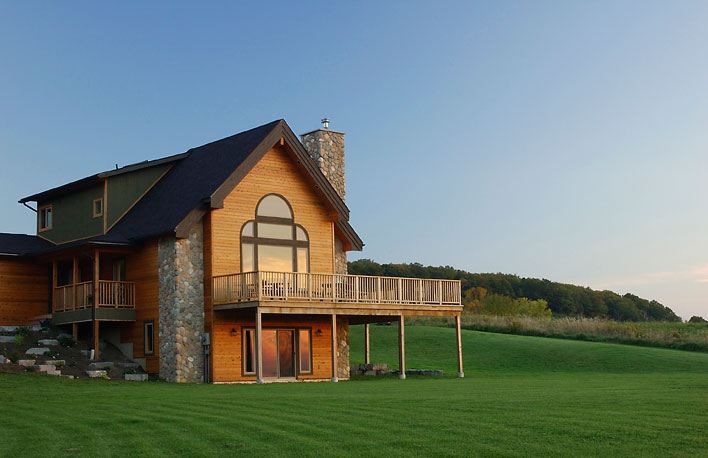
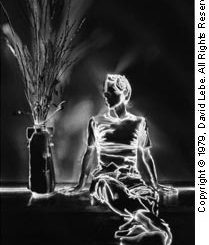
Backlight
Though backlighting can produce stunning images, it is probably not going to appeal to your client. It tends to wash out the sky and the dominate features of the building. If I find lighting conditions like this I usually photograph the side of the building where the sun is shining or has the best light and return to the front side later in the day.
© 2008 Randy Romano All rights reserved.
Backlit at Dusk
Graduated Filters
Sometimes, depending on how bright the sun is, you will have success using graduated filters to allow for better exposure of the front part of the house and to hold back the high exposure from the sky. I use the 3 stop, soft edged graduate filters – usually the Singh Ray brands, as I find them extremely durable with exceptionally good color balance. The soft edged grads also allow me to place the grad over rooflines that might extend up into the sky and they are not too noticeable on the exposure of the home. Darkening the sky in this way can not only look appealing but also save time in post-production programs.
Shooting at Night
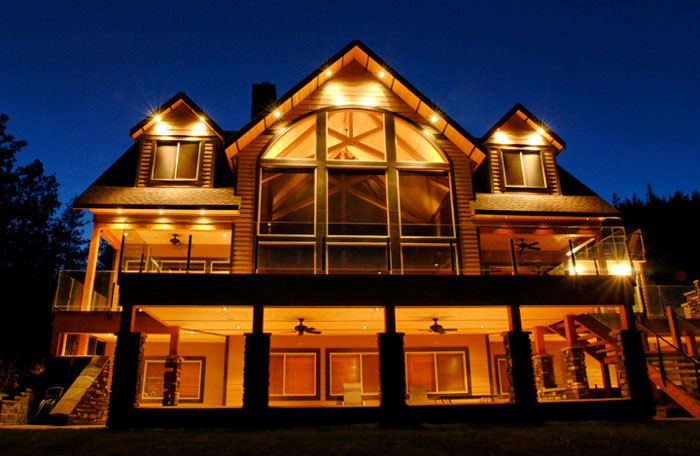
Night images of the buildings exterior can really be impressive and really should be a huge priority with every home or building shot. Of all the images you make, these night images, particularly at twilight, have the greatest impact on our viewers and thus our clients.
Time of Night: Dusk is when the sky is still beautifully lit and not yet dark. It is the perfect time to create those images. Therefore, your best shooting time is usually limited to between 15 and 30 minutes, so be set up and ready to go.
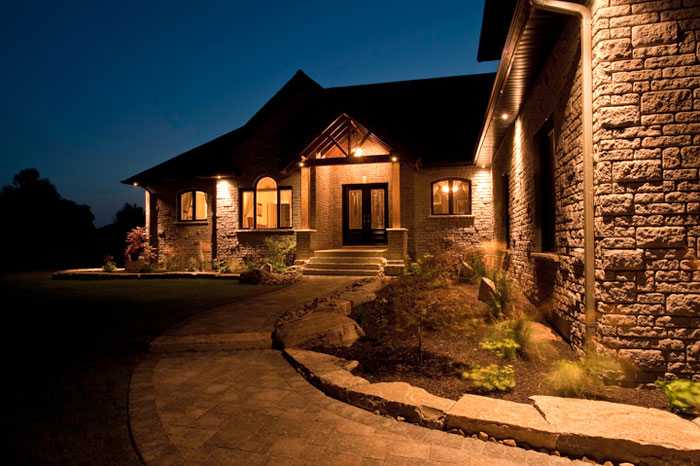
© 2010 Randy Romano All rights reserved.
Dusk with Lights
Turn on the Lights: For successful night images turn on all of the interior lights, both upstairs and downstairs. Also switch on all the exterior lights – using exterior floodlights can be successful if not over done. The goal is to light up the building with as much light as possible and evenly distribute the light to all the corners of the building.
Tripod: Use a tripod for camera stability and for the necessary long exposures. A cable release is also important to make 15 to 30 second exposures.
Exposure Settings: There is no set rule that works best for exposures. You really have to do a trial and error exposure – bracketing your exposures at various intervals. Make as many exposures as possible. Note: try to find the best angle during the day so you are ready when the night-light becomes just right.
© 2011 Randy Romano All rights reserved.
The Perfect Sunset
Composition
Be versatile and flexible. Of course it is essential to get good photographic coverage of the building, which the client obviously wants, but once you have taken those formal shots, use your creative vision. Go off the tripod for some extra fun and looser shots. Give yourself extra time to play with the building. When you engage your inner creative spirit, good images inevitably happen. You’ll find that many of these looser images are some of the best ones and will be included in the final package.
Utilize all your resources when making images of home exteriors and be extremely
determined to capture the best images you can. Whether it’s homes or any other
architectural structures, hard work in studying the structure and finding the
best angles and lighting conditions will be the keys to your success.
by Randy Romano

Leave a Reply