
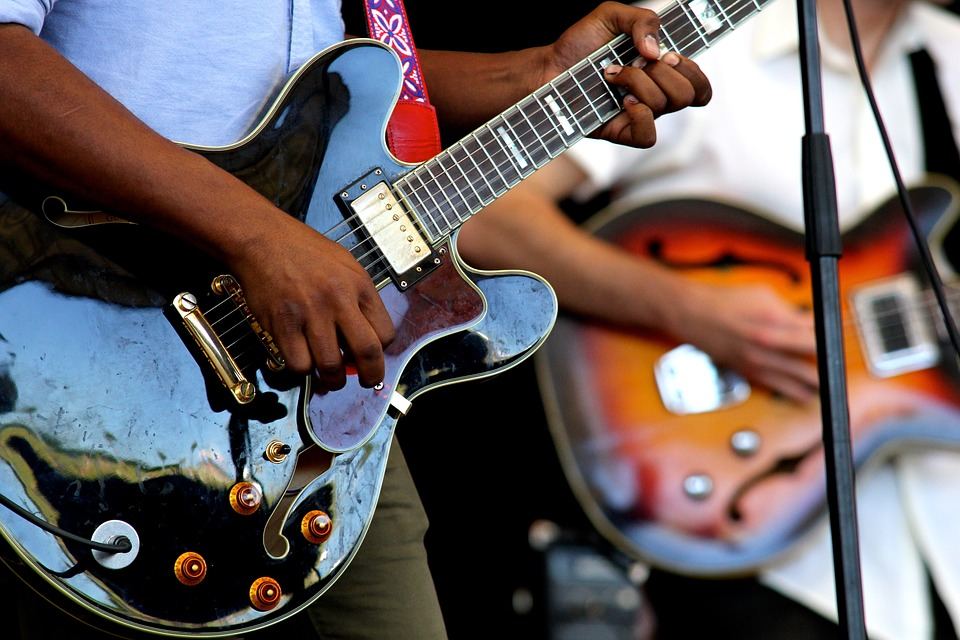
The lead-in music starts over the PA. The main overheads dim. You have a box seat close enough to see the band walk out onto the stage in the dark to pick up their instruments for some gentle tuning. The audience draws forward just as the stage lights go up, and the music kicks in, its time for some rock concert photography
t has sometimes been said that photographs of sweaty rock bands are a cliché, predictable in their lowness of art. But it doesn’t have to be that way. Music, in all its varied forms, can provide one of the greatest challenges a photographer can encounter–and some of the finest artistic rewards.
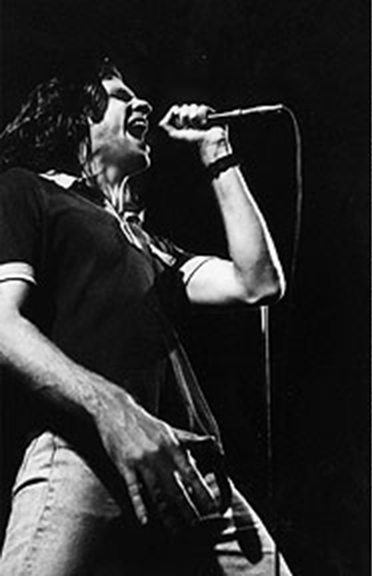
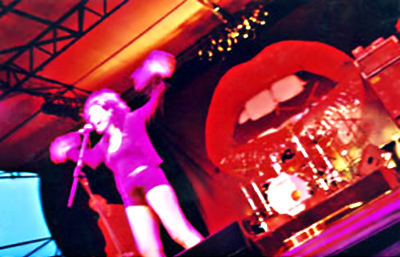
Tex Perkins – Cruel Sea
Compared to other kinds of settings, stage work gives very few chances to control proceedings in any way, a fact that is both an obstacle and an opportunity. But, if you can manage to overcome the roadblocks to learning how to represent the feeling of a performer and the reactions of the audience, you’ll find that live music photography can be an addictive rush.
BEFORE THE SHOW- PREPARATION FOR ROCK CONCERT PHOTOGRAPHY
Much preparation precedes photographing concerts, and it usually begins with the choice of venue. Before venturing out with your gear, take the time to visit a few performance spaces with an eye toward making those images. First, look at the size and location of the lighting rigs.
They can be your best friends or worst enemies, and they tend to be used in a fairly standard fashion from show to show in smaller venues. It was Leonard Misonne, Belgian photographer of the 30’s, who often said “Le sujet n’est rien. La lumiere c’est tout.” (“The subject is nothing. The light is all.”) His observation is of no less importance in a pub or club than anywhere else.
Yellow spots are generally best. The lighting rigs are most often arranged to illuminate each band member with a single spot, sometimes with a little general light besides, but often they point in odd directions and occasionally ignore the drummer. If the rig isn’t set the way you’d like it, try making friends with the lighting guy (and it will be most likely a guy!), because these situations can often be changed with a minimum of fuss.
When preparing for some rock concert photography, think about the height of the stage. Larger performance spaces tend to have very elevated platforms, which can lead to somewhat unflattering angles if the photographer is standing directly below the artist! Watch for fixtures on or around the performance area that may be difficult to avoid–including in-frame.
For example, I know of an otherwise great venue that sports a pair of ten-inch-wide columns that are surfaced on all sides with mirror-ball pieces. No matter where a photographer stands in that room, the columns almost always appear in the photo.
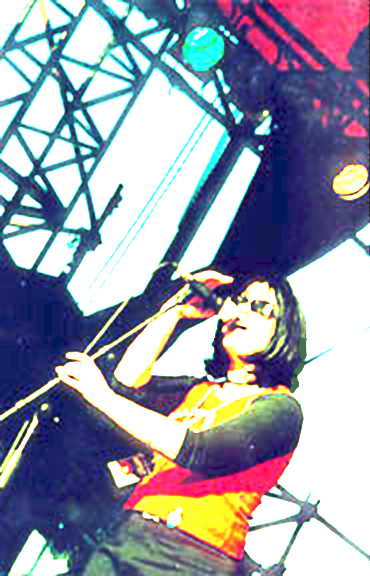
Cindy Ryan – Stella One Eleven
Also, search for one or two potentially novel ways to access the stage during the performance–such as balconies and wing areas–to give a more interesting view of proceedings. I once covered a show in a venue with a balcony all the way around, and while I was photographing down onto the drumkit, I nearly fell. The guitarist, who was watching, went into fits of laughter, but the resulting image was worth it!
ACCESSING ALL AREAS
One of the most common questions raised by amateur photographers wanting to break into this arena is “But how do I get permission to photograph a band?” If you don’t know the performers, or if they’re even remotely well known, the correct approach is to ask the manager.
Band managers can usually be contacted through the record company. If you try a major or international band as your first port-of-call, though, expect a knock-back, but the managers of many small and mid-sized local bands are quite willing to allow access to amateur photographers.
The manager will arrange any necessary access passes and advise you of restrictions on photographing. The “three-song” rule is common. If this rule is in place, you must leave the photographer’s pit when the allotted time is up. And when the show is over, send a few examples of your work and a note of thanks as a courtesy. It may even lead to paying work!
GEAR SELECTION: WHAT TO TAKE?
Regardless of whether you’re photographing from the crowd or from a restricted access area, there’s little room and even less time for gear adjustment. So, having scoped out the venue, you must choose your working materials carefully.
Aside from a photographer’s vest, a pocket flashlight, and a good pair of earplugs, the fastest 50mm lens you can afford will be your best ally in a small venue. You won’t need any extra magnification from the front row, and the low light conditions can often preclude longer lenses altogether. A medium zoom can sometimes work well, but only from close quarters with a fairly high ISO or a good lighting rig.
I used a Nikon 50mm f1.8mm lens almost exclusively for the first year I worked with bands, but I’ve since also learned to manage a 70-210mm (f4-f5.6) and medium zoom (28-80mm, f3.5-f4.5) reasonably well. I prefer a camera body that has a versatile metering system (matrix, center-weighted and pin-spot) and excellence of layout.
It’s important for you to be able to find everything easily in the dark, and anything you can’t feel or see in the viewfinder may become useless. The one modification I’ve made is to cover the LCD illumination window with black electrical tape. The light it emits was attracting unwanted attention!
Whether or not to use a flashgun or not is an age-old debate topic among stage photographers, and I personally don’t believe they’re desirable or necessary. There are several reasons for this, the first of which is that prints taken with a flash always seem, to my eye, somewhat flat and lacking in energy. Shadows behind the performer usually give away its use.
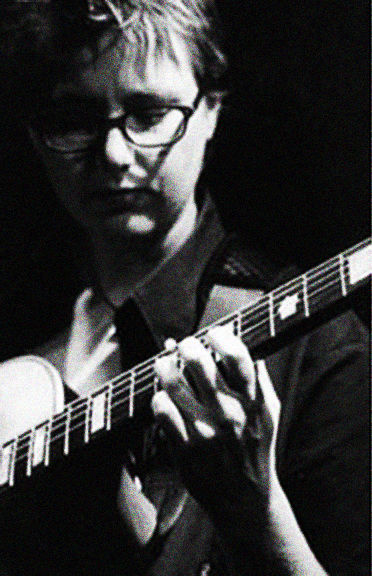
Sam Harley – The Bluehouse
Moreover, if a musician happens to be looking in your direction when your mid-to high-powered gun goes off, he or she won’t be able to see where they’re playing on a keyboard or fretboard for the next few seconds, and you won’t be popular.
Live music photography also has a potential hazard not generally encountered in other settings–stage divers. A colleague once told me about a time when she was covering a particularly rough show from a restricted pit area when a stage diver tripped and fell on her.
The photographer was okay, but her expensive Metz bracket-unit was destroyed. Lastly, some band managers will give you permission to photograph only if you agree not to use any flash equipment, so it’s best to learn how to manage under these circumstances.
Creating images of any kind of stage performance without a flash leads us, of course, to ISO selection. Because a band stage is generally a whirlpool of movement, color, people, and life, there’s much to see, but also much to miss.
It isn’t possible for an audience member–or a photographer–to catch everything, even at the smallest gig. For this reason, I generally prefer black-and-white as my end result, because by sifting out color, black-and-white brings forward so many other details that can be lost in the melee. It can catch a single bead of sweat, the curve of an instrument, the fall of a performer’s hair, a tattoo peeking out from a shirtsleeve–anything.
My ISO of choice is 3200. Despite its granularity, it’s capable of providing incredible fineness of detail and a remarkable gray-scale, if correctly exposed. Moreover, pushing to 6400 can make for some truly dramatic images.
When large lighting rigs are in use or if you have very close access to the performers or extremely fast lenses, a 400 ISO will be fine and may not even need to be pushed to 800. Play with the numbers and create the look you like, which maybe include over or under exposing.
THE TECHNICAL SIDE OF STAGE PHOTOGRAPHY
When photographing a single performer, I almost always set the camera to aperture priority mode with center-weighted metering. There’s rarely time for bracketing, and this combination seems to provide the most consistently accurate results.
It allows me to isolate a single detail using a narrow depth of field by throwing over to f1.8 or f2. By moving over to the minimum aperture that can be combined with a shutter speed of 1/60sec (sometimes around f8 or f11 at a small to mid-sized show photographing at 3200 ISO), a wider scene can be easily captured without much fiddling.
Stage lighting effects can change radically from second to second, and so exposure values may also alter incredibly quickly, but I generally find that exposure combinations using ISO 3200 hover around f2.8 to f4 using a shutter speed of 1/125th sec. during a small or medium show.
Deborah Conway
There are, however, some circumstances where center-weighted metering is not likely to provide the best results. Performers dressed in white or very light-colored clothing, for example, can sometimes throw even the most accurate light-reading systems out, and it may be necessary to compensate a reading and underexpose by one or even two stops.
I was once commissioned to photograph a performer, who almost always wore white shirts, so I called his management before the show to ask him to refrain on this particular evening. When he began to play in a dark suit jacket, I relaxed considerably, until he took it off halfway through the show–to play in a white shirt.
Wider images which cover more than one performer and/or more than one major light source can often be better created using a matrix metering system, which evaluates light intensity at several locations in the scene rather than wholly or largely from a single area.
And, in instances where there is a strong, off-center spotlight in your composition, make use of an exposure lock button. Center the light source, secure the exposure, and then quickly return to your original composition before triggering the shutter.
The final major technical aspect of stage photography is, of course, focusing. I personally prefer single-servo auto-focus–automatic to manual for its accuracy in low-light conditions, and single-servo because continuous tracking usually wastes batteries that can be difficult to change mid-show. A reliance on tracking can also instigate (in me, at least) a tendency for over-use.
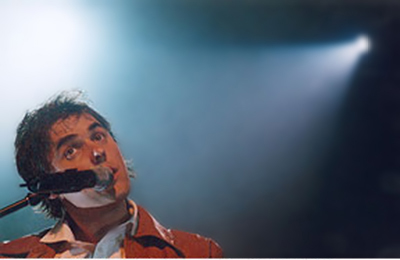
Tim Freedman – The Whitlams
COMPOSING A PERFORMANCE SHOT
The often-commented-on banality of rock band photographs I referred to at the outset of this article is, I believe, largely due to a lack of strong composition–which is understandable, in a sense. We aren’t discussing still life work or scheduled portrait sessions with an endless supply of opportunities for adjustment and re-arrangement.
But the quality of composition, like light, is a fundamental factor in the success or failure of a performance photograph.
Take a little time to find an interesting angle, even if it means lying on the floor. (I speak from experience here!) Bear in mind the maxims of composition you learned in other areas of photography–the Rule of Thirds, for example–and use them. And, finally, use your composing skills to help communicate some of the performer’s feelings, feelings you have about the performer, or the reaction of the audience.
Pulling all these factors into order can sometimes be a colossal task; it’s true. But, if you have any feeling for music at all, the photographic skills you can acquire from a little experimentation in this field are excellent. And the personal rewards are seemingly endless.
Rock concert photography By Lisa J. Young
Article and photos: © Lisa J. Young . All rights reserved.
Leave a Reply