
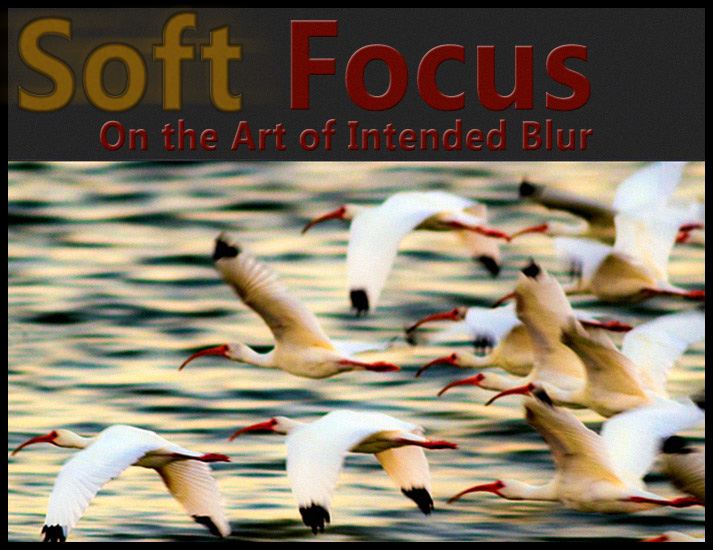
Jim Austin explores the dramatic art of Soft focus photography with intentional blur in his Photo Coach series with Apogee Photo Magazine.
An essential question is: “What parts of my photo am I going to softly focus, and why?”
AESTHETICS OF SOFT FOCUS PHOTOGRAPHY
We’ve learned to avoid out-of-focus pictures, so it is easy to get obsessed with lock-down, rigid pixel peeping. Would it seem strange, then, to deliberately create blur with our precision optics and smart software, when we’re following the dominant paradigm to make our pictures razor sharp?
Yes, it may seem strange, if sharpness is always the most important quality to you. At times, however, a softer touch is needed.
An art photograph is born when moment, light and space meet. While we can alter spatial areas with blur and motion in camera and after the shot, light presence and moment must already exist in the frame. Without them, de-focused areas will not add much interest to a flat photograph.
Soft focus was often viewed in the past as a lens flaw, due to blurry images from spherical aberration of lenses. Today there are aesthetic reasons to compose with soft focus photography. Motion and blur tend to make images more abstract. Also, when just part of your photo is indistinct, and its sharpest areas have higher contrast, there is a sense of speed conveyed to viewers. Their gaze will return to the high contrast, sharpest areas. To make successful images combining blur and focus, the main question is ‘what parts of my photograph am I going to softly focus and why?’
Here, we’ll see nature images and a few portraits that leave slow shutter blurs and shallow depth of field behind. For structure, the 8 other concepts for softer, silkier shots are arranged into two groups: four created in-camera, and four done in post with software.
IN CAMERA : Multiple exposure, Panning, Reflection and Miniature Effect
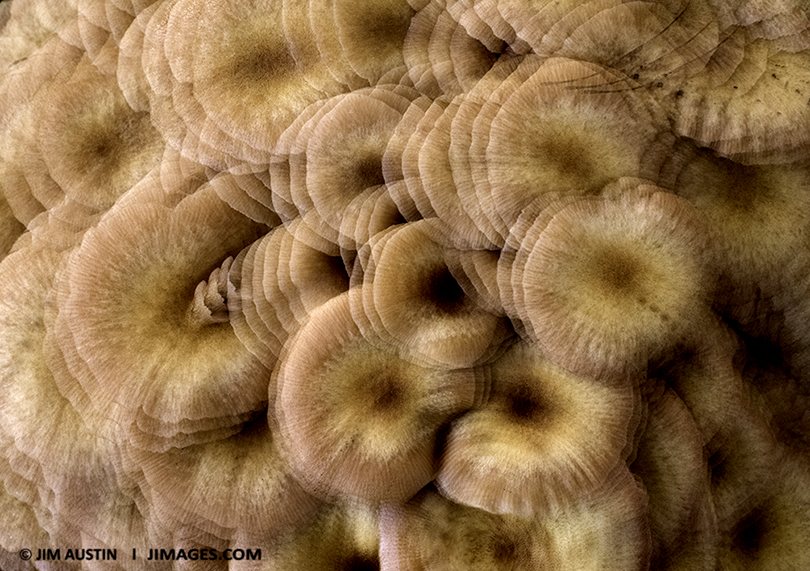
For the photograph above, I decided to de-focus the entire image area yet try to preserve enough detail for subject recognition.
MULTIPLE EXPOSURE.
Some cameras have a built-in menu setting for multiple exposure. The mushroom image was a triple exposure, created using a feature in the menu. I set up the shutter to triple expose a single frame, as the picture was taken. There is enough detail to recognize the subject matter and still portray an abstract concept.
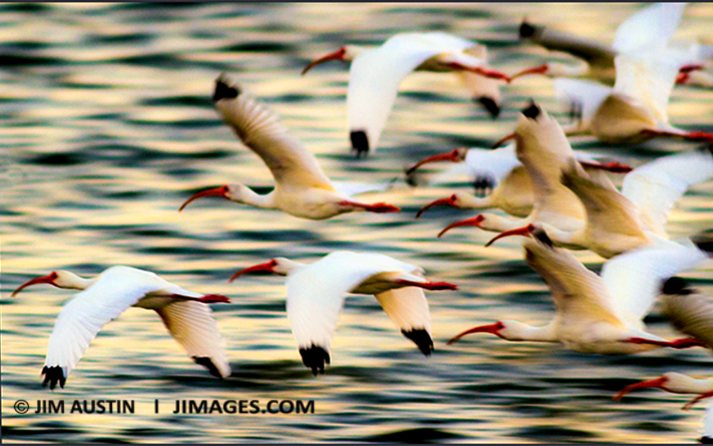
Panning: A 300 mm f/4 lens was handy in catching this ibis flock, blurring the background water by panning along with the birds.
PANNING.
Panning means using your camera to track a moving subject before smoothly releasing the shutter. While this method seems easy, it may take some practice. Choose a shutter speed ( 1/8th, 1/4th , 1/2 a second) and start moving your lens along with the subject, keeping the main subject in the center of the frame. Gently press the shutter release, still trying to keep the subject centered. This is a fun method for making creatively flowing images.
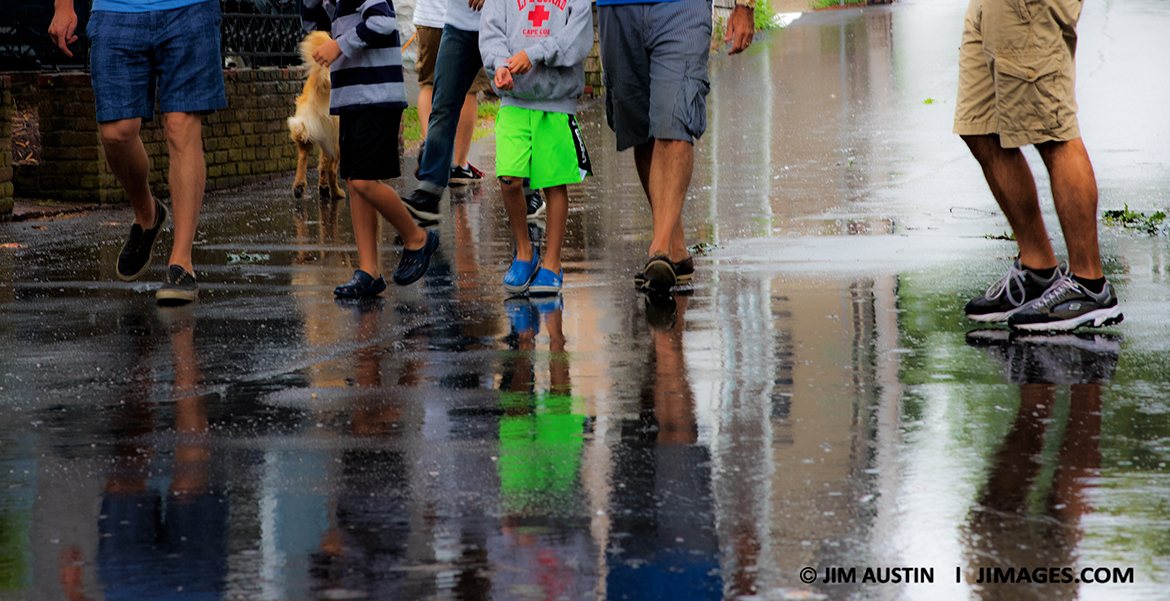
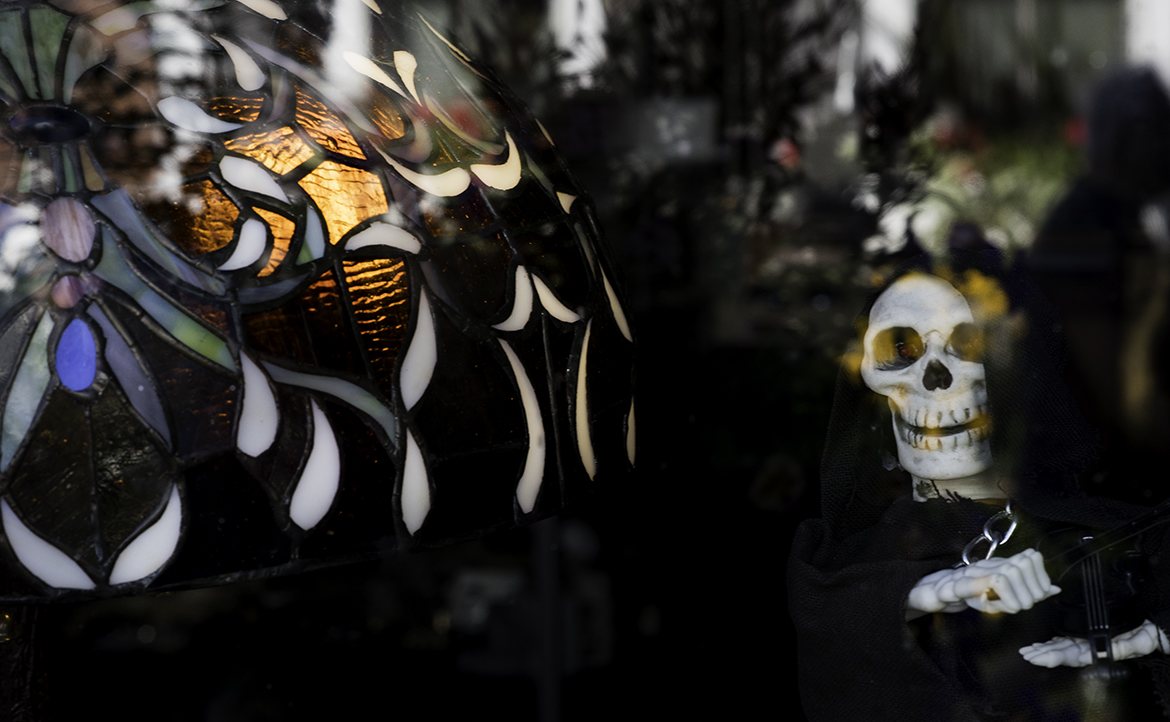
REFLECTIONS.
Reflections are everywhere. We see them on wet pavement, they are contained in store windows, and we can capture them in the shiny surfaces of automobiles. These two images above– people walking on wet pavement and a shop window– have soft reflections that compliment their sharper subject matter.
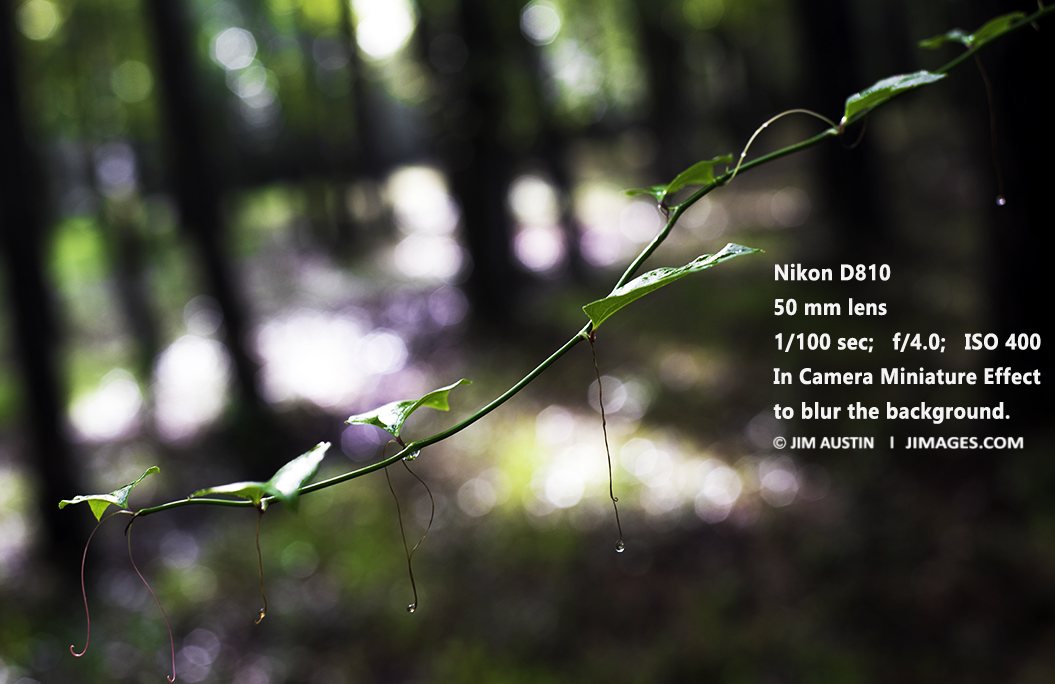
MINIATURE EFFECT.
This image inside a sunlit North Carolina forest was taken with sunny f/16 metering settings. It was edited in camera, using a menu option called miniature effect. This blurred the background image area around the tendrils even more, and left it more of an impression of light than a detailed nature scene.
TECHNIQUES IN LIGHTROOM AND PHOTOSHOP
Great, now lets investigate four more ideas for a softer focus. Post-processing and software plug-ins offer you a great degree of control over the kind, position and mood of soft focus. All images below were post-processed with Lightroom and Photoshop and plug-ins.
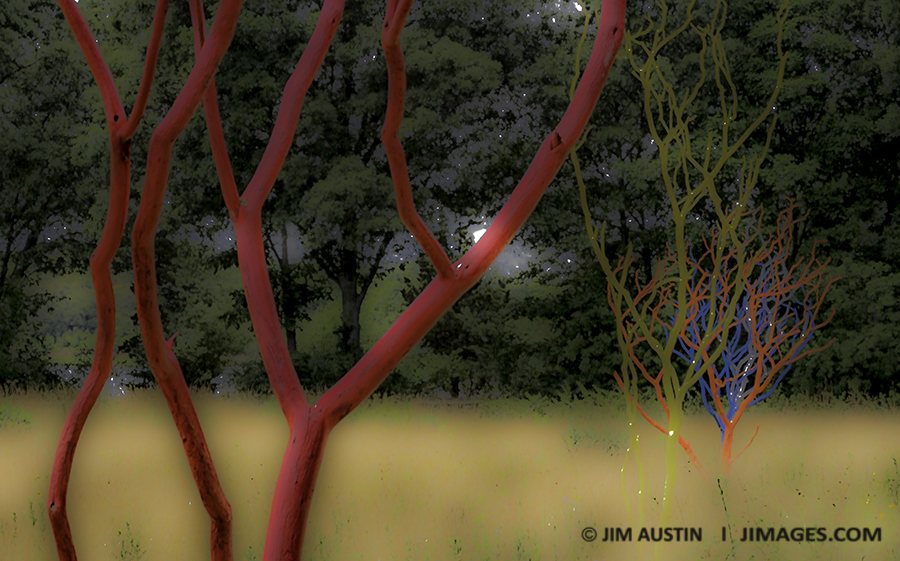
CUT THE CLARITY.
Transfer your photos to your drive. After downloading, open Lightroom and tag and keyword your shots in the Library palette. When you move over to your Develop module, complete your workflow steps for cropping and editing the image tonality.
Next, look to your Lightroom Develop module panels and find the 3 PRESENCE section sliders: Clarity, Vibrance and Saturation. Instead of moving your Clarity slider to the right, it’s easy to create a soft focus effect by moving it to the left. I did this in three successive applications to create the abstract image of colorful bare tree branches above.
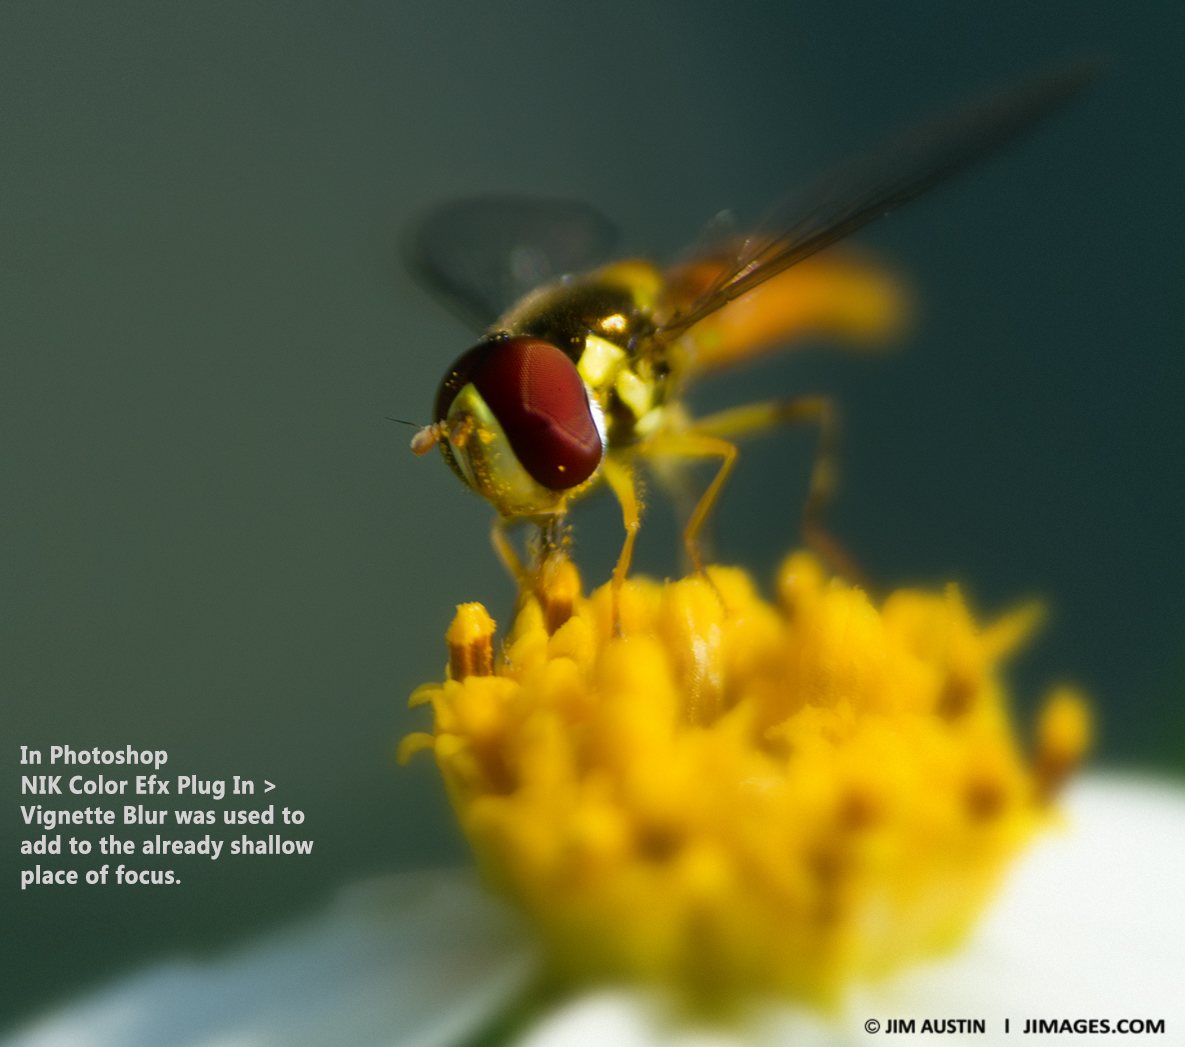
VIGNETTE BLUR.
NIK Software Color Efex Pro is an excellent Photoshop plug-in. Here, its Vignette Blur filter helped make the background behind a bee fly even softer.
SELECTIVE BLUR
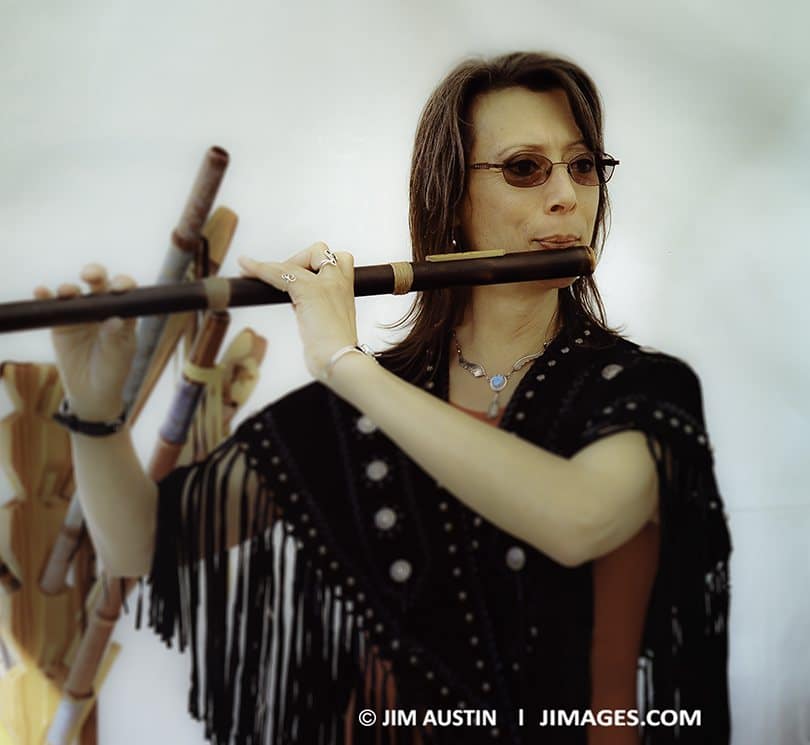
The portrait of a master flute player was shot on film with a Bronica SQ medium format camera. The film was scanned. In post, a selective blur was applied to ensure her face and eyes were the strongest center of interest. Aesthetically, we add softness in camera or in post processing to enhance the concept of the shot, in this case a portrait of someone fully engaged in their art.
To create a selective blur, in Lightroom’s Develop Module, type Shift + M on the keyboard to select the Radial Filter. If you can’t find it, in the top menu click Tools, and in the drop down menu choose the 5th one down: Radial Filter. First, draw a circle around the area of your image you want to keep in focus. You may need to drag the sides of the Radial shape to enlarge it. (Advanced: Try holding down the Alt (Windows) Option (Mac) key as you drag the radial shape).
Everything outside this circle will be changed by the Radial Filter to the settings that have been entered as edits. In the top section of the Develop module, find the Sharpness slider, and pull its slider to the left to apply a softer abstract blurry effect to part of most of your image. Press the Enter Key. Our goal is not to remove all detail, but to use soft focus to direct viewers to where you want them to go.
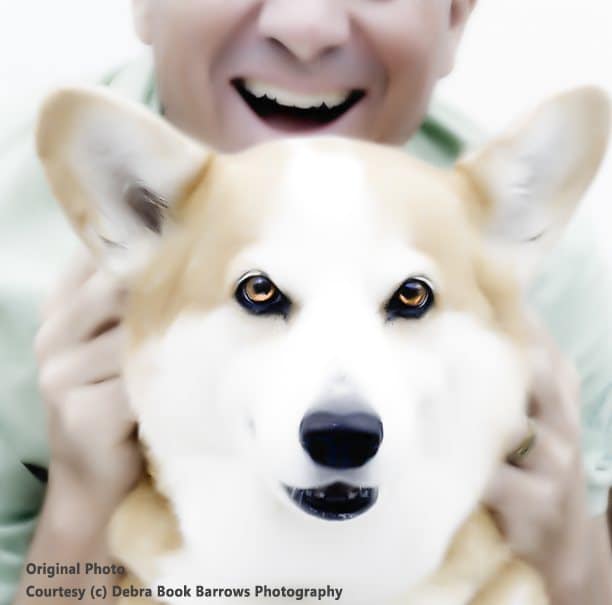
NOISE REDUCTION SOFTENING.
Lightroom offers excellent software tools. They can inspire us to find a myriad of ways to flexibly create soft focus aesthetics.
For example, Lightroom’s Detail-> Noise Reduction -> Luminance slider was moved to the extreme right to a value of 100. The other two sliders, Detail and Contrast, remained at a default zero value. This gave a very soft look to this image of a Welsh Corgi dog and a friend.
Hopefully, pondering these ideas may keep us thinking about the aesthetics of soft focus photography and introduce some new techniques. It’s exciting to search out creative options beyond the paradigm of sharpness. Finally, since I am a lifelong devotee to the thought of Henri Cartier-Bresson, let’s pack up and hit the road, mindful of what he once said:
“I am constantly amused by the notion that some people have about photographic technique – a notion which reveals itself in an insatiable craving for sharpness of images.
In this the passion of an obsession?
Or do these people hope, by this trompe l’oile technique, to get to closer grips with reality? In either case, they are just as far away from the real problem as those of that other generation which used to endow all its photographic anecdotes with an intentional unsharpness such as was deemed to be ‘artistic.’ “
Thank you for your comments. Jim


Leave a Reply