
A guide to deer photography with tips on how to get the best shots.
North America counts elk and deer among some of its most photogenic ungulates (hoofed mammals). Two types of deer—Mule and White-tailed—make their homes there. White-tailed Deer range throughout much of North America, while Mule Deer prefer the drier regions of the west.
Historically, elk roamed throughout most of North America, but their numbers grew alarmingly low due to overhunting and habitat loss.
Concerted conservation efforts, which began around the turn of the 20th century, helped the charismatic mammals—called wapiti by Native Americans—stage a dramatic comeback. Today, you can photograph elk throughout most of Canada. In the U.S., you’ll find them in Pennsylvania, the Midwest, the Ozarks, Oklahoma’s Wichita Mountains, parts of the West Coast, and in all of the Rocky Mountain states.
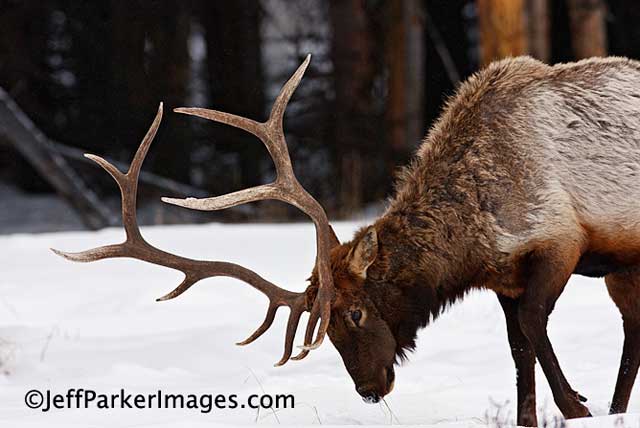
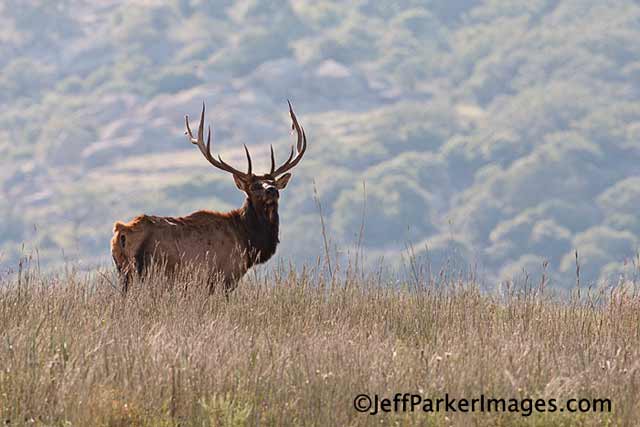
Bull Elk Foraging for Food
Whether you focus on elk, White-tailed, or Mule Deer, use these seven tips to create great images. So, go ahead, grab your gear and make tracks for these photo-worthy beauties!
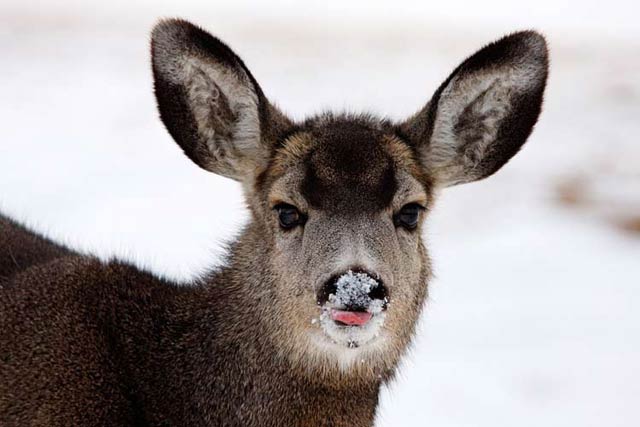
1. Focus on the eye.
While getting an entire large animal such as a White-tailed, Mule Deer, or elk in focus is not always possible, getting the eye closest to you sharp is imperative! We instinctively look others in the eye. The same goes for photographs. When the eye is out of focus it can be unsettling.
When you have more than one animal in the frame, focus on the eye of the one that most captures your eye. When a deer or an elk looks straight at you, you might be able to get both its eyes in focus, but that’s a unique situation.
Bottom line: at least one eye must be super sharp or you don’t have a keeper in deer photography.
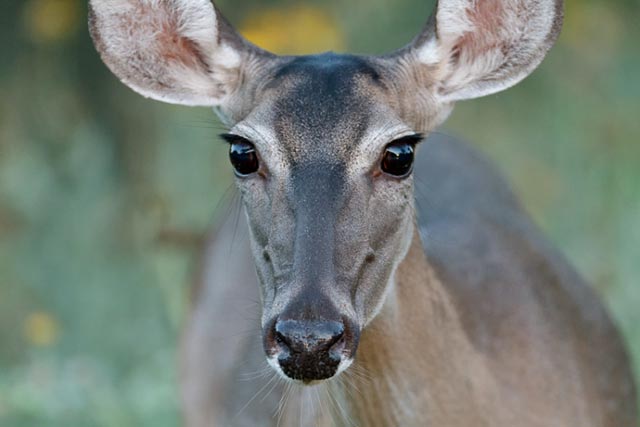
White-tailed Doe
2. Give backlighting a try.
Use backlighting to highlight those photo-enhancing furry edges of deer and elk. The nice rim light created works especially well on antlers still covered in velvet.
Backlighting goes against everything you’ve been taught in that you’ll be looking directly into the sun as you create your image, but the strong forms of deer and elk make them good choices for this photography technique.
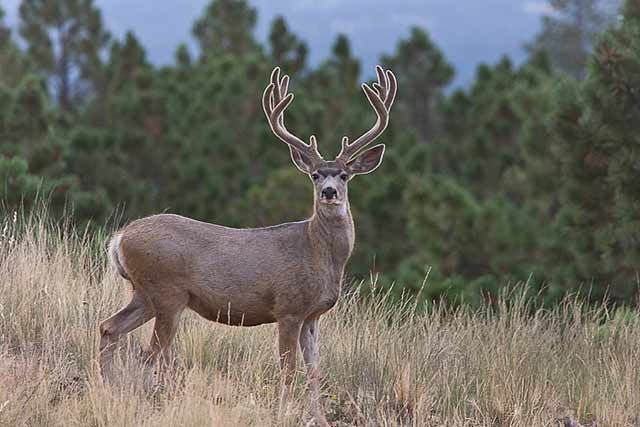
Mule Deer
3. Deer Photography And Elk In Fall.
White-tailed, Mule Deer, and elk have fresh coats and are in prime condition in the autumn.
As they gear up for the rut (see #6) males haven’t yet been run down, their antlers aren’t broken, and the extra testosterone coursing through their bodies has thickened their necks impressively.
Females also look their best, as their young have been reared and they are beginning their estrus cycles. Be sure to carry a couple of lenses when you’re out on your treks.
In addition to a lens that lets you capture the animals’ gorgeous details, bring along a landscape-friendly lens and photograph groups of animals framed against colorful fall foliage.
4. Focus on deer and elk behavior.
While portraits can make amazing photographs, some of the most emotionally compelling wildlife photographs capture behavior and animal interaction.
Creating these images means slowing down and spending time observing the animals.
But patience usually pays off—eventually! If you’re in a national park during a season with cooler temperatures, you may not even have to leave your toasty car as herds often congregate alongside valley roadsides.
In such situations you might be able to use a “bean bag” to steady your camera upon your car’s window sill while you wait. When outside, use a tripod with a Gimbal head (such as a Wimberly), so that you can easily maneuver to catch the action once it comes.
Wildlife photography is no different than photojournalism in that even ordinary behavior compels when captured at the right moment, in the right manner.
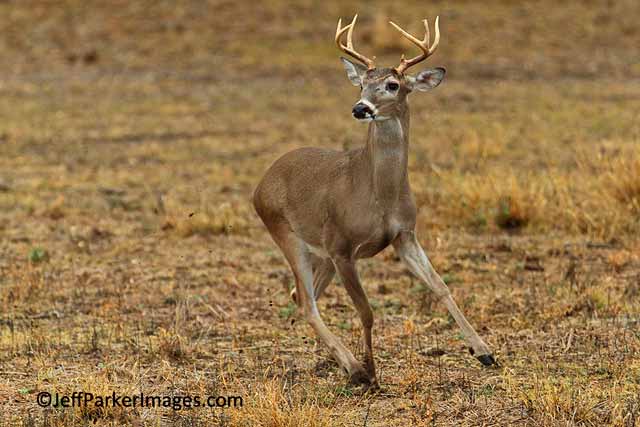
White-tailed Deer
5. Work the edges of the light.
That dramatic light that comes at the beginning and ending of each day coincides nicely with the times these animals tend to be most active. Deer and elk see better in low light, helping to explain why they’re “crepuscular” (animals that are more active at dawn and dusk).
So, for the wildlife photographer, catching the sweetest light and the best White-tailed, Mule Deer, and elk photographs go hand-in-hand.
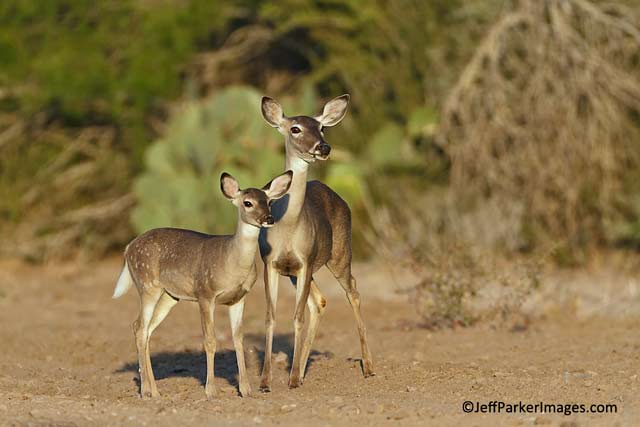
White-tailed Doe and Fawn
6. The rut is prime time!
For elk, the rut usually begins in September and ends in October. For deer, the rut usually runs from November through early-January. Exact dates vary depending upon location, so be sure to do some research before you head out to a specific area for your deer photography adventure.
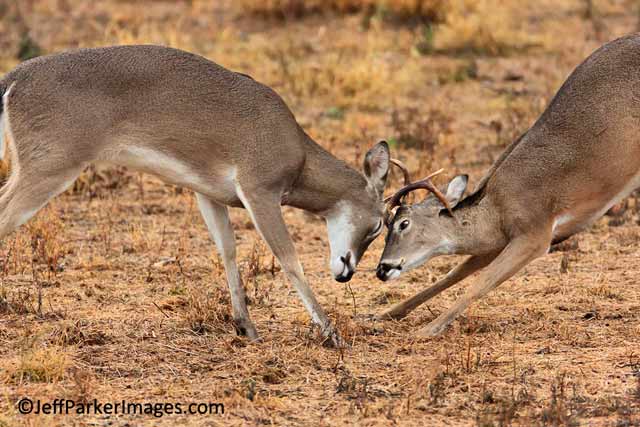
Dueling males certainly make for exciting action shots, but keep your distance! Don’t let their focus on the fight fool you into thinking you can approach more closely than usual.
Yes, they are preoccupied during the rut and that does lend itself to special photo ops; however, with all that extra testosterone, elk, especially, can behave unpredictably and aggressively and you should keep 30-yards between them and your camera.
A 100-400mm or 200-400mm lens on a tripod works well in order to keep you safe and still make great images of the action.
7. Stay aware during hunting season.
If you head to national forests to photograph you could find yourself frequenting the same areas as hunters, since prime photography season coincides with hunting season.
If you do, wear blaze orange—a color humans can easily see but deer and elk can’t. In fact, their eyes are least sensitive to yellows, oranges, and reds and most sensitive to violets and blues.
Also, when photographing where there may be hunters, don’t walk through the woods with your tripod open over your shoulder—it may appear too much like antlers.
But do bring a tripod—covered with camouflage tape—equipped with both a Gimbal head and a 100-400mm or 200-400mm lens.
by Jeff Parker
All text & photos: © 2013 Jeff Parker. All rights reserved.
Leave a Reply