
 LEVEL: intermediate, advanced photographers
GEAR NEEDED:Telephoto lens. DSLR camera set to RAW, sRGB, set for color images, tripod if preferred.
LOCATIONS: bird refuges, bird rescue agency, zoos, national parks.
GOOD PRACTICE: Shoot in RAW, but try to get the exposure and white balance correct in the camera.
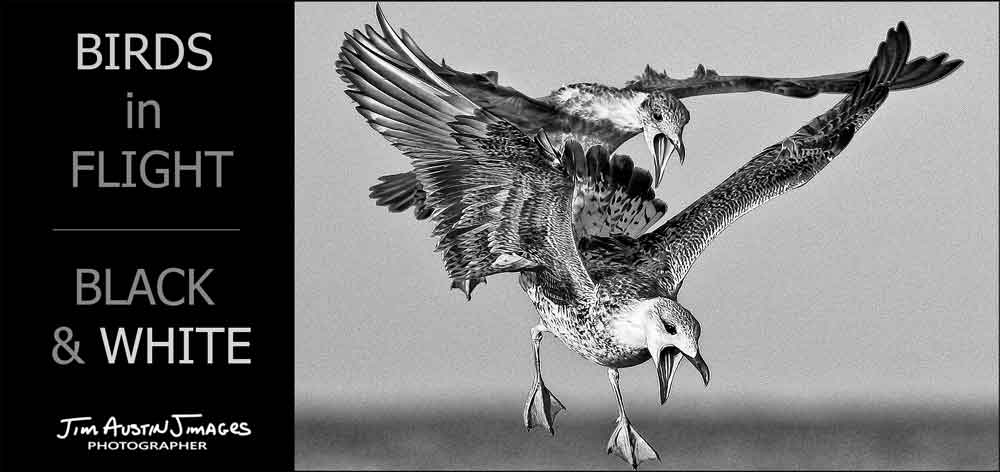
BIRD IQ
Invest time watching your bird so you know it. How does it fly? Is it a migrating species or local? How close can you approach before you set off its proximity alarm? Know your birds and how they fly, because the most important part of getting the bird in the frame is anticipating what it where it will fly in the next moment. Bird rescue and recovery nature centers and zoos are excellent sites for getting close-ups that would be impossible in the wild.
MOVE AROUND
Walk around and move your tripod and camera to get closer to where birds are flying, nesting, hunting, bathing, mating or feeding.
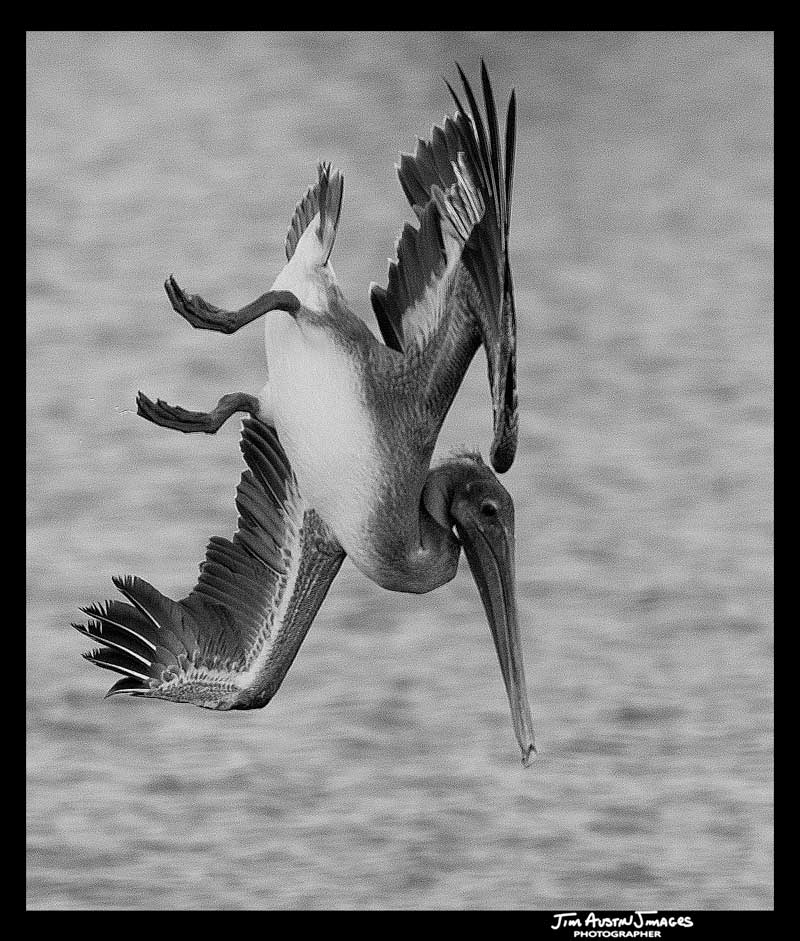
Think about the light, the form and line and move to vary these elements of your bird composition. For example, with color photography, front lighting may work for bird pictures, but in black and white photography, try to take advantage of side lighting and back-lighting.
SETTING THE CAMERA: AF-S and AF-C auto-focus
- I like to set the camera to continuous auto-focus (AF-C) and support the camera with elbows braced or on a tripod. If tripod mounted, I set the camera low and sit on the ground.
- I set shooting Mode to Manual, and dial in a fast shutter speed of 1/2000th or 1/4000th, then let my ISO/ASA go to Auto so it changes with the lighting. Others may prefer to set the Mode to S for shutter priority or A for Aperture Priority.
- I set the lens focus limit switch to limit the focusing range, since birds do not usually come close.
- Practice T and P, Track and Pan. Smoothly move your torso and arms to track birds in flight, pan horizontally to keep the bird in view and keep your eye in the viewfinder.
- Don’t hold the shutter button down, try to roll your finger off the shutter button at the peak behavior moment.
- Get to know which auto-focus mode works best for your camera, depending on the sophistication of its AF modes. For instance, bird photographers who want to put the bird in the corner of the frame may set up Back Button AF, as servo auto-focus can have difficulty locking on to birds in that frame position.
All major camera brands include auto-focus tracking mode, which helps lock focus on a bird in flight. Getting sharp pictures of moving objects means that large glass elements must move quickly at the touch of a button, and longer telephoto lenses tend to be large and heavy because they must contain bright, fast optics. At times we want a fast, wide aperture for bird photography, such at F/2.8, F/3.5, F/4 or F/5.6. Then, in brighter light, an aperture of F/8 does a better job of getting the entire bird in focus, especially when it is flying directly towards the camera. As mentioned, your practice with tracking and panning will help you get sharper images of birds in flight.
LENSES
For flying birds, many fine lens options are available. I only recommend those I’ve used extensively, and two lenses that have proven themselves in heavy weather conditions and continual use are:
Canon 400 5.6 L
Nikon 200-500 AF-s ED.
POST PROCESS
The images in this article were taken with Canon and Nikon cameras using RAW capture, set to color profile, sRGB and then converted to B/W in post. Learning to see birds in flight and trying to photograph them is an endeavor that is full of rewarding moments. To learn more about wild great flamingos, see Jim’s article Heart, Mind and Image.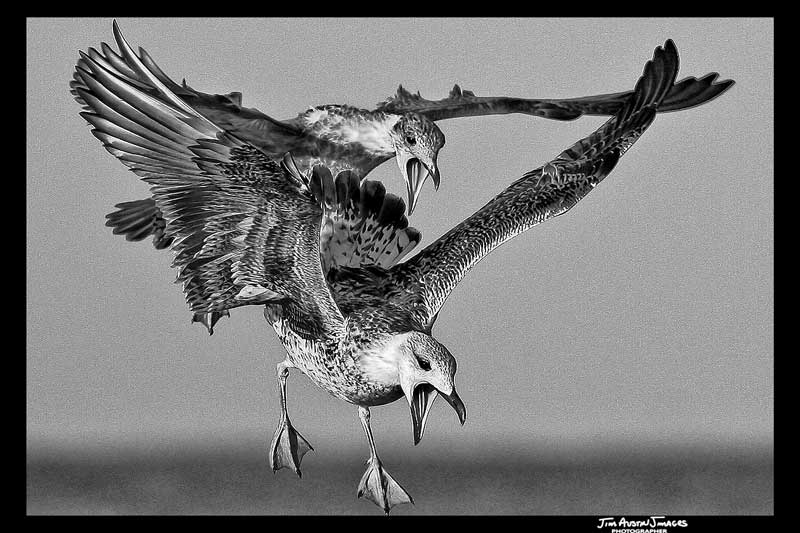
Amazing pictures! It is very hard to click this type of images, Surely you have great skills to capture birds emotions. Good work you did.
Thanks so much Ronnie.