
IN BRIEF: A PRAGMATIC ANSWER
No, we don’t need to set a custom White Balance (WB). Let’s see why this is so.
This article has two objectives. Initially, we want to learn what White Balance (WB) and color temperature mean. Next, when shooting RAW, I propose that WB is not necessary given the effectiveness of Lightroom’s White Balance Selector Tool (eyedropper) applied to correct color in RAW files. We’ll see how the combined tools of AWB and LR eyedropper make it unnecessary to set a Custom WB setting, under most lighting conditions.
Let’s see what we mean by White Balance.
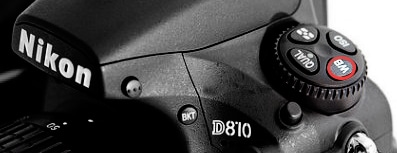
To set White Balance (WB) on a Canon, Fuji, Sony or Nikon, first locate the dedicated WB button (circled in red above) or look in the camera’s menu.
WHAT IS WHITE BALANCE?
The term “White Balance” comes from professional video, where pros used a waveform monitor, a machine somewhat like an oscilloscope, that looks at radio or sound waves. The idea was to match or “balance” the signals from the camera’s red, green and blue channels to make all the white and gray hues look correct, without any color casts. The point of white balance was to make the whites look white.
Mid-range and higher-priced cameras, and most cell phones, have a White Balance option. It sometimes has a different name (see True Tone for iPhone X). On most DSLR cameras, there is a “WB” button or a menu option. Like the computer that adjusts throttle valve position to maintain velocity in cruise control, White Balance adjusts the color in your image to get rid of color casts. WB works to take out color casts which again makes white hues appear white.
IN THE CAMERA: PRESETS
Our cameras make guesses about light from a light source called an illuminant. Then, their programs adjust color based on these assumptions. Fortunately, the formulas are symbolized by presets that are easy to identify and use.
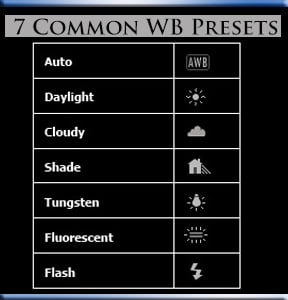
Each of your camera’s presets makes an assumption about color and brightness. Presets include Auto, Daylight (symbol of Sun), Shade, Tungsten, Flash (symbol of lightning). Each preset is assigned a nominal Color Temperature (K). This number may vary between camera makers. You chose, with a preset, your setting based on the light that illuminates your scene and the preset program tries to balance color based on the color temperature.
What is color temperature?
COLOR TEMPERATURE
Think of the colors of a candle and the sun. A candle burns with yellow or red-tinted hues. Measuring color temperature, candle flame is compared to the heat coming from a black stone (called a blackbody by the physics experts) heated to about 1800 Kelvin (K). The candle flame, we say, has a color temperature of 1800. Likewise, a sunny sky can have hues of deep blue (about 10000 K color temperature).
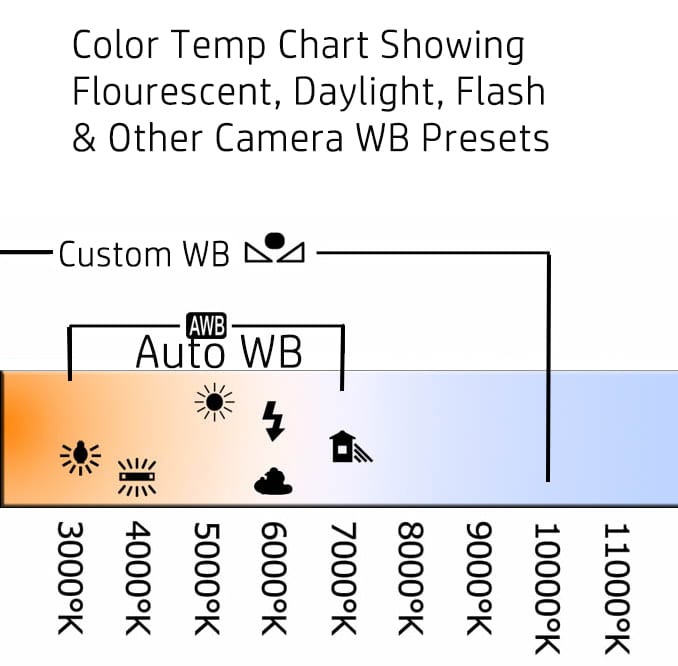
These hues and of red, yellow and blue, and other hues as well, are now linked to this number called color temperature. Color temperature is measured in Kelvin (K) on a scale from roughly about 2000 K to about 11000 K. Based on some complicated math, our cameras assign presets to 7-10 color temperatures. Relating Kelvin temperature to an everyday fact, a temperature of 373 K is the boiling point of water, which we know is about 100 degrees Centigrade and 212 degrees Fahrenheit.
WHITE BALANCE PRESETS MIMIC A NEUTRAL LIGHT SOURCE
Seen here are the White Balance presets for color temperatures called “Daylight / Midday sun (5000K-5600K), Shade (7000K), Cloudy, Flash and Florescent.” A WB setting program in camera, behind the scenes, tries to adjust the color measured by the sensor to make for more accurate color balance. White Balance presets compensate by boosting or decreasing the values in some of the 3 color channels, R, G or B, so they mimic the effect of a more neutral light source. For example, if your scene is quite blue, in the White Balanced image, blue channel information is decreased and red and green (which together make yellow/orange) info is boosted.
AUTO WHITE BALANCE: NOT ALL CAMERAS ARE THE SAME
In most digital cameras, Auto White Balance (AWB) is our most frequently used White Balance preset, but remember that our cameras process and save RAW and JPEG pictures according to their own formulas for AWB. These formulas are models and mathematical codes with long equations. Simply put, the main equations use Gray tones to calculate how white is supposed to look. To make whites look white, AWB adds the opposite color from the color wheel to correct for these color casts.
To give just one example by camera model, Nikon’s D7000 uses a Daylight White Balance Setting, to keep the warm hues of a sunset. The D7000 assigns a color temperature of 4550 Kelvin (K) to its Dawn and Dusk setting, which keeps strong blue hues. When shooting with multiple cameras, photographers and film makers become aware of differing WB programs, in order to match the footage.
CAN I USE AUTO WHITE BALANCE ALL THE TIME?
You can, but you may find a need to correct color in post process editing. Why is this?
Certain types of lighting, especially CF fluorescent or mixed lighting of differing sources (like a night portrait lit by a street lamp at dusk) can throw off color when AWB is chosen as a preset. WB settings may over-correct color tints. For instance, using a preset WB like “Cloudy” might make images too blue in the early morning.
Energy saving fluorescent lights can be a problem for Auto White Balance because these illuminants (like CF fluorescent lights) emit a range of color temperatures (K). Color temperatures, in the field, vary with altitude, atmosphere and haze, and latitude. Presets, remember, are only approximations. For consistent results, adding LR’s eyedropper tool in post processing can smooth and speed workflow most of the time when you take RAW files.
A SOLUTION: ADOBE LIGHTROOM’s WHITE BALANCE SELECTOR TOOL (Eyedropper)
Lightroom’s White Balance Selector is called the eyedropper. In the Develop Module, it’s a quick method for removing color casts. Since we can’t always make time to set a custom WB in our cameras when things happen fast, the eyedropper helps us White Balance our color during post-processing.

HOW TO FIX WHITE BALANCE IN LIGHTROOM: 3 Steps
- In the upper left of the Develop Module “Basic” panel, the selector tool looks like an eyedropper. Click on it.
- Move it over to your image preview window. Find the most neutral gray area you can; it doesn’t have to be perfect.
- Click on this neutral gray with the White Balance Selector eyedropper. You will correct most color casts.
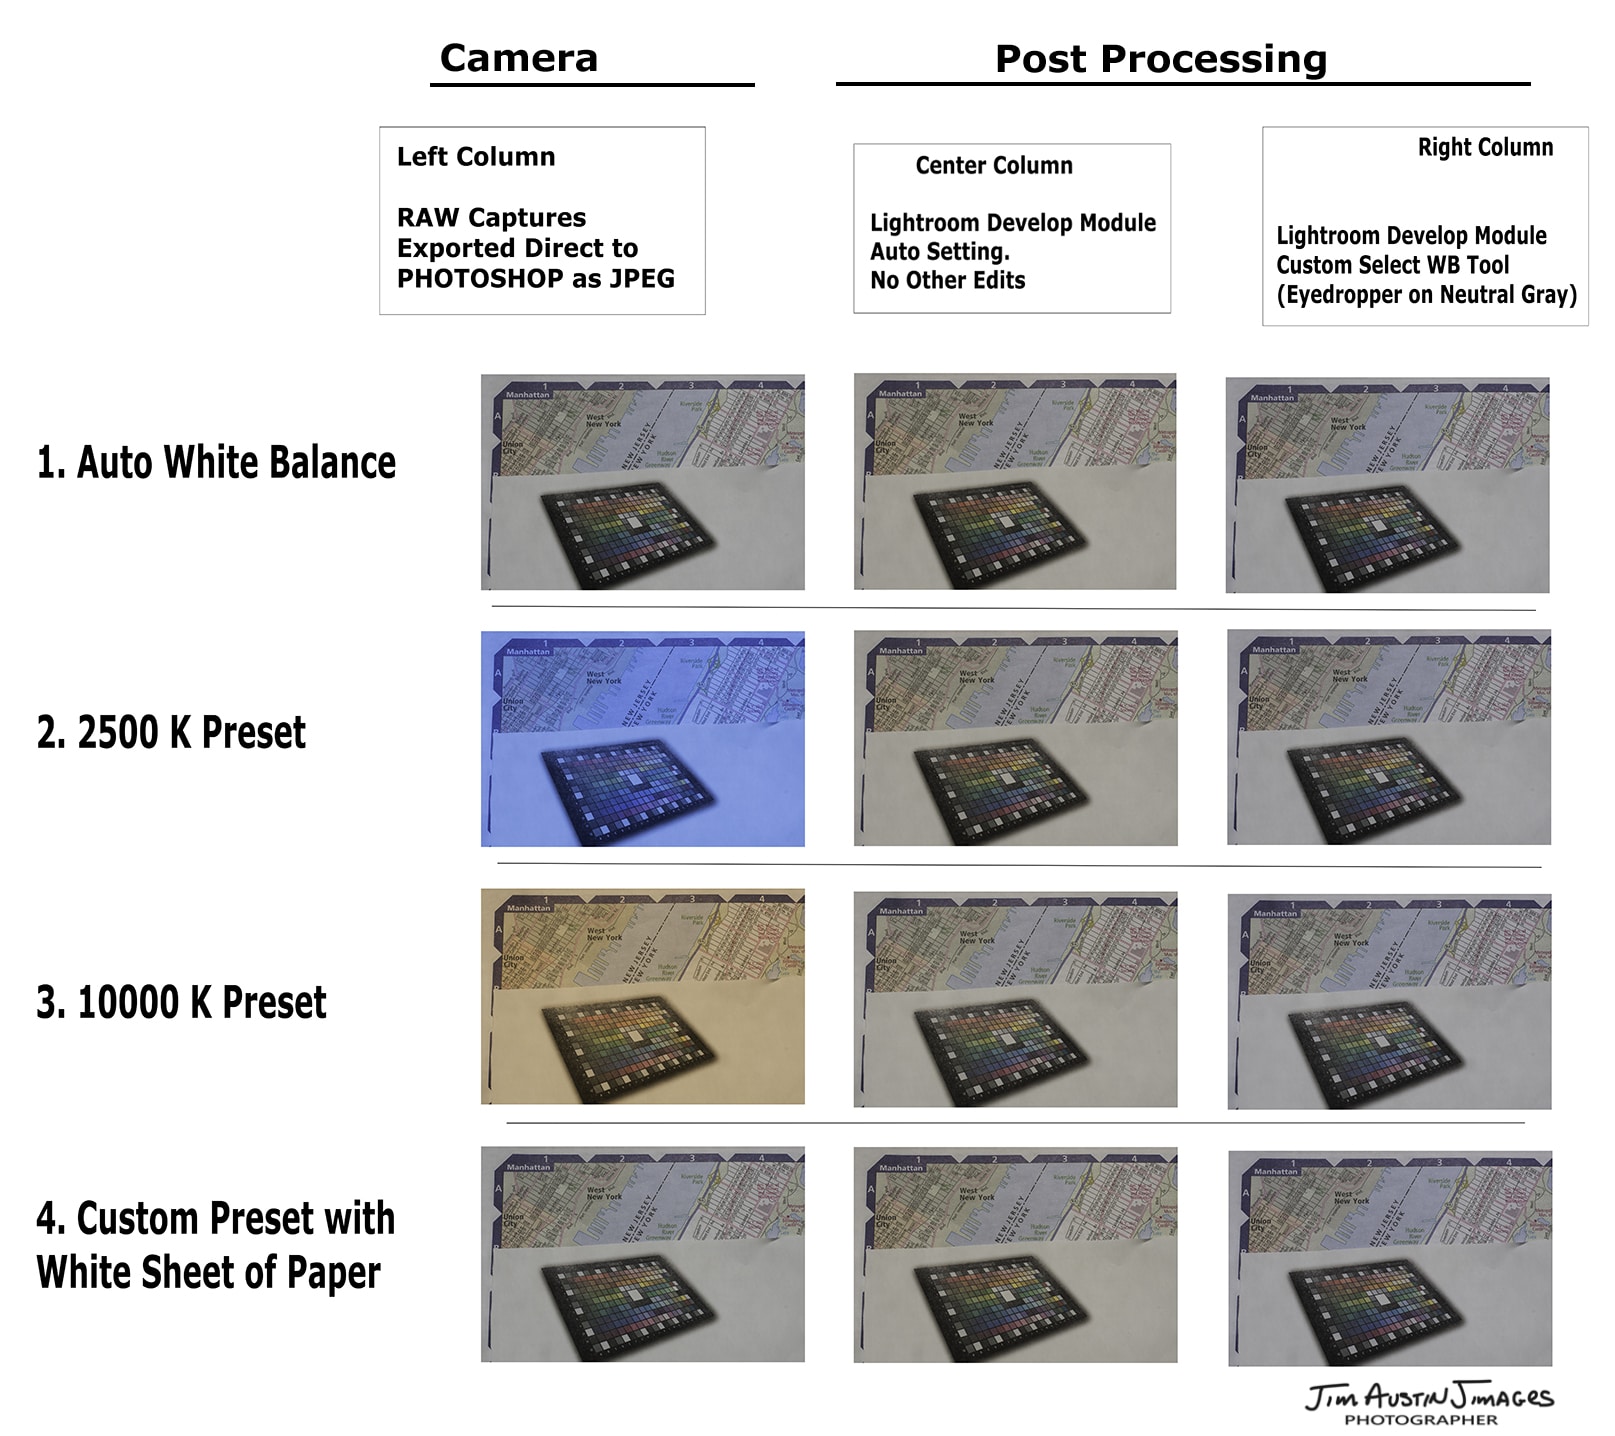
I tested the WB Selector Tool (eyedropper) in Lightroom for images shot with a Nikon D810 DSLR. All images had the same lighting. Four RAW images were exposed at mid-day: a shot on Auto White Balance, a shot with an extreme setting of 2500 K, another extreme setting of 10000 K, and then a custom-white-balanced shot using a sheet of 8 x 11 inch paper for reference. These extremes were chosen to see how well the Lightroom WB Selector Tool corrected color shifts that I suspected would throw off the color balance in the images. I tried to make the final photos resemble each other despite the color casts at image capture.
WHY SET WHITE BALANCE IN ADVANCE?
Photographers ask:“I shoot RAW files, do I ever need to custom white balance since I get all the color information on to the sensor with my RAW file?”
The most practical answer is: while it may help to know how to program your camera’s White Balance, and in some mixed lighting situations it may come in handy, for most everyday practical workflow, customizing white balance is unnecessary. The RAW file you downloaded already has attached to it a metadata file with color information, before you bring both files into your editing program.
Remember, most white light is not pure white, and has tints of red, blue, yellow. Your brain’s visual perception system is a master at balancing these tints, so we see what we call “white.” The brain immediately handles changes in color, intensity, and contrast. This is why we do not merely just change the Color Balance in Photoshop’s menu after the fact, a WB method some bloggers have suggested. Although it may look “OK” on your monitor screen, your visual brain may have adjusted for your room lighting, the color and temperature of your computer monitor, and other factors. The Eyedropper in Lightroom is a more effective tool than Photoshop’s color Balance.
BUT WHAT IF I REALLY WANT TO SET WHITE BALANCE IN CAMERA?
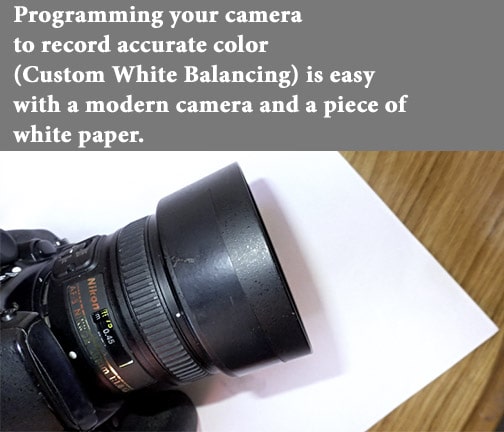
Camera makers vary their programs, so read your instruction book if you do choose to set a custom white balance. For custom WB, you can put an 8 1/2 inch by 11 inch sheet of white paper under the same illumination as your main subject. Photograph the paper so that the white sheet fills the entire shot. Use this reference image to define and program how white should appear for the lighting in your specific situation.
In addition, most pro cameras after 2017 offer Live View as a way to capture WB information. With Live View turned on, we use the LCD preview to get WB data from the scene itself, by sampling a white area in the scene. Then, this reference is stored and used to White Balance the color in subsequent images. There must be a white area in the scene from which to sample data.
To summarize, the eyedropper tool in Lightroom is a practical and effective tool. When we preset using Auto White Balance while shooting RAW, it will help make our whites look right in most situations, so custom white balancing is not needed.


Leave a Reply