
I’m going to preface this article by saying that as a photographer I very rarely, if ever, shoot with what is true high key lighting. High key portraits lighting was never really a style choice but more one born out of necessity when older film couldn’t cope particularly well with high contrast lighting.
Now, it’s definitely a style choice when inside the studio; personally, I like a bit of depth and contrast in my portraits but that’s the great thing about art, everyone is different and has their own vision and taste, otherwise can you imagine how boring the world would be.
If you are looking to shoot high key images in a studio, you’re going to need a fair bit of kit. You’ll need two lights lighting your background, and preferably two lights on your subject or one light and some good reflector work. Now, high key is not about overexposing your subject.
What High Key Portraits Isn’t
You’ll see lots of examples online claiming to be high key portraits with blown highlights and huge loss of detail – that’s not what you’re looking for. It’s about controlling the lighting ratio to reduce contrast across an image, not dazzling the viewer with brightness – turning your lights up to 11 isn’t the answer here.
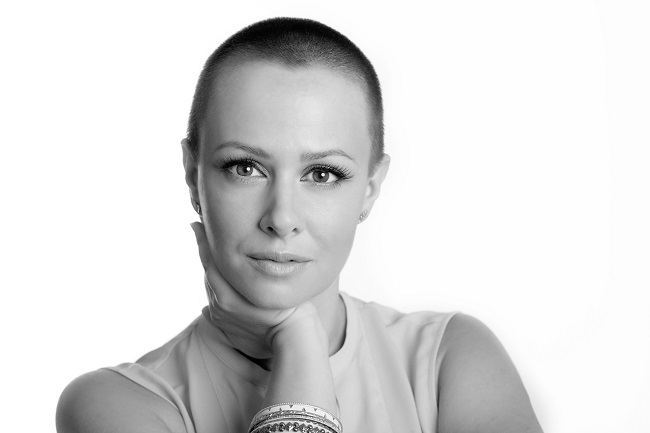
Traditionally and for the best results you need a key light on your subject, a fill light both about 20 degrees off camera and two light illuminating the background – normally about a stop higher than your exposure to give that white background.
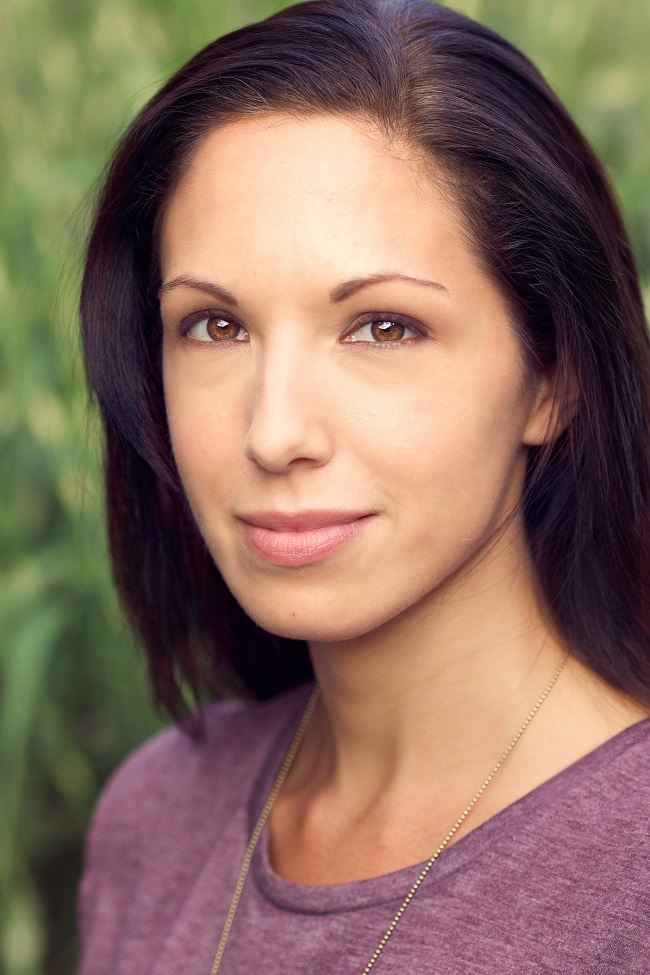
This is where I like to change things up, I find this setup not the most dynamic of lighting so I tend to put my key light at more of an angle and a bit higher than I would use for high key and I either ditch the fill light or use a reflector to soften the shadows a little bit.

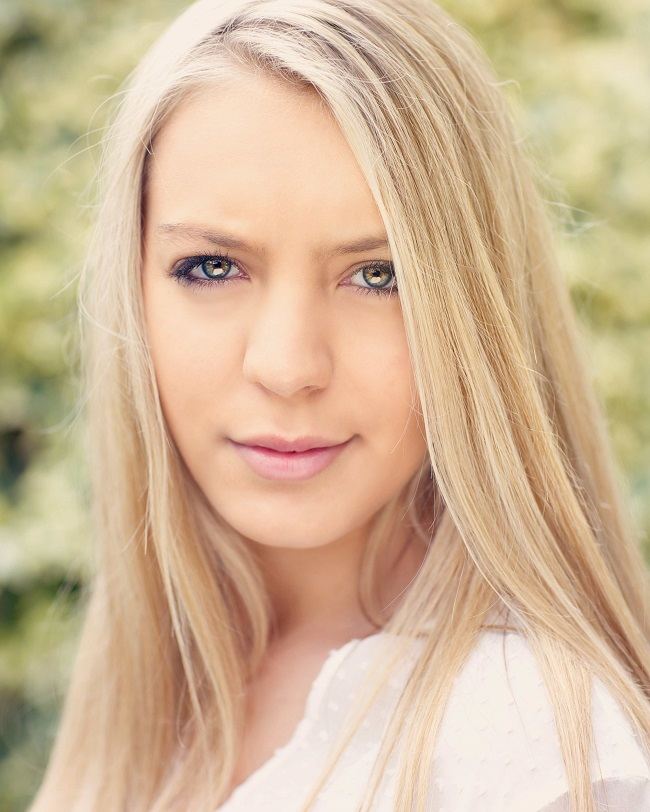
Now if you are looking to shoot a high key style image outside you’re going to need to choose your position carefully. Watch out for shadows falling across your subject or background and the key here is to overexpose your image by at least one stop. If you are looking to get flattering images of your subject then overexposing by 1 stop will do wonders for their skin anyway.
In general, it’s a good technique to have in your arsenal and one that’s relatively easy to accomplish – just remember to adapt it to suit your own personal style and don’t be a slave to techniques – especially one that was developed due to technological limitations rather than artistic reasons.
This article on high key portraits photography was written by
Alex Lagarrejos alexlagarejos.com
Leave a Reply