
First, let me say, there are no formulae in photography.
Do we really care if an article shows photographs with the camera setting used to make them? Is it important? The settings you use are the ones appropriate for that particular image you are making and the effect that you want for it.

Water for example… Water, unless in a still, mirror-surfaced pond, is ever changing. Listen to the ocean, a river, or a waterfall, and the sound is not constant. Why? The flow keeps changing.
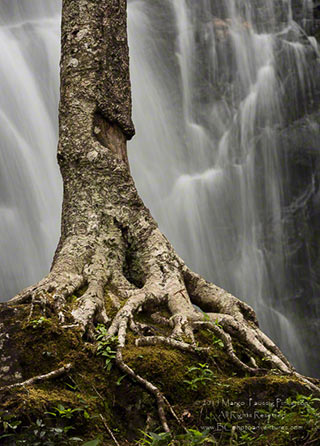
Many people, including me, like to give that soft effect, bespeaking water flow.
Here are two examples below from the same location, photographed from about the exact same place, give or take a few feet. I used 2.5 seconds and 1/5 second. Which is which? Does it make any difference? No, because the next time I return to that location, the flow will be different, and I may want a different effect.
And the image at the top – yet another shutter speed, for sure.
Images made at the Blue Ridge Mountains, North Carolina
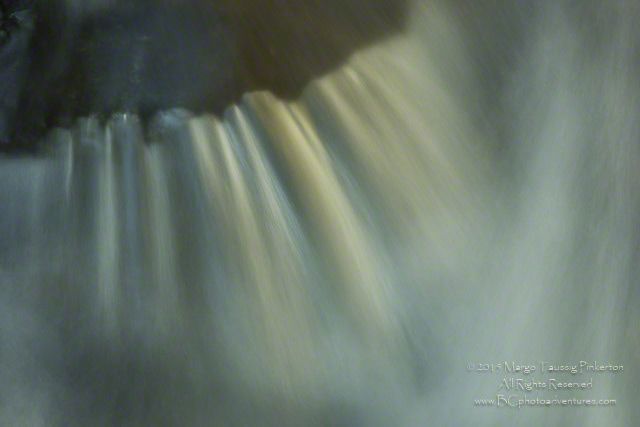
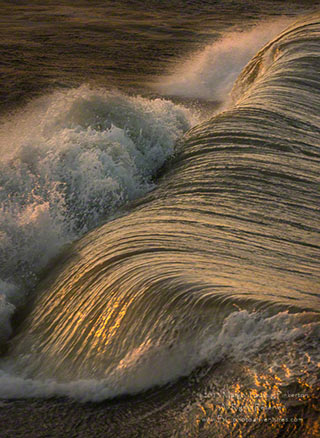
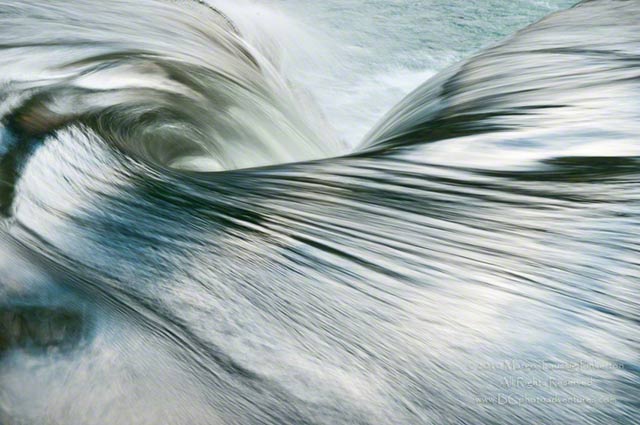
Some people do not like that milky look, and sometimes I like to render water differently, using a higher shutter speed to stop or catch more detail in the action, to wit the following two to the left and below for which I used 1/4 second and 1/250 second. Again, you might not necessarily guess which is which. I used what was appropriate for me for the effect I wanted. That does not mean that you might not have chosen something completely different.
Images:
Outer Banks, North Carolina
And f/stops?
Same thing – what works for you for the lens you are using and the effect you want with that particular lens.
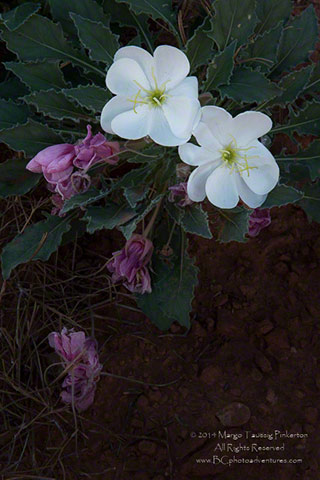
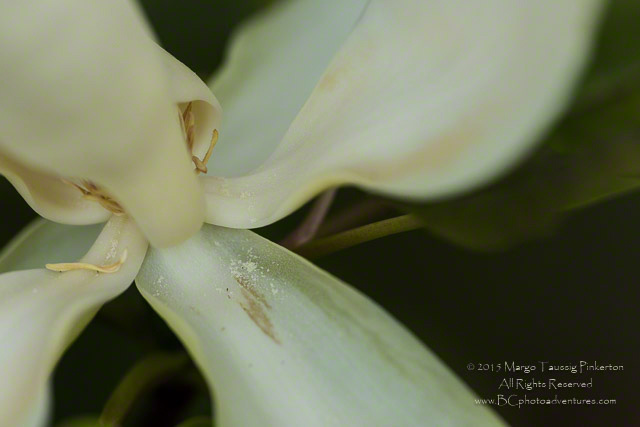
In photographing flowers, sometimes I want a shallow depth of field; sometimes I prefer all to be in focus. These two are examples.
Images:
Left – Utah
Below – Blue Ridge Mountains
Or in photographing a tree against the sunset afterglow, I used a slow shutter speed in combination with a relatively shallow depth of field.

Outer Banks, North Carolina
In a broad scene, I may choose to go either way with the depth of field. The settings, in part, depend upon the choice of lens and very importantly, your foot zoom with that lens.
Here, I used a wide-angle lens with a greater depth of field (higher f/stop number for those.
newer to photography) to carry the rocks up to the lighthouse.

Maine

Colorado
While in this one, I used a longer lens with a shallower depth of field (lower f/stop number).
There are no right answers, no magic formulae. The best way to learn and grow is to set up your camera on your tripod and do tests with each of your lenses and a selection of focal lengths for zoom lenses. For each, try different f/stops (pick the main ones), different shutter speeds (double or halve the speeds), and yes, even different color balances. In Lightroom or Bridge or Aperture, bring them up in a survey mode so you can see them all at once. Learn from those tests. Label them with a red label so that you can easily find them later and study them again. In our workshops, I call them your lesson plans.
It is imperative that you do these tests on a tripod, as with hand holding, there will be differences in framing that will distract your attention and keep you from concentrating on the results of the tests themselves.
So, go out and have fun. Experiment and try different things. What you do one time is hopefully not what you will do the next.
by Margo Taussig Pinkerton (aka, TBC–The Barefoot Contessa)
© 2015 Margo Taussig Pinkerton. All Rights Reserved.
Leave a Reply