
Those who are just learning about photography would appreciate some coverage of the basics, and so that shall be my role, to cover the basics of photography. Now, where to begin? Why, at the beginning, of course! I consider light to be the most important aspect of photography.
After all, the word photography means “writing with light”, so it seems most fitting to start with this basic element.
Light can be more easily studied if we break it down into several elements, all of which contribute to the whole but in different ways.
Writing With Light – the Important Elements
1. Direction
The direction, the first and most important element, is generally referred to with respect to the subject. If we say a subject is front lit then the light source is striking the front of the subject and the shadow from that light then falls behind the subject and out of view of the camera.
Two good examples of the use of front lighting would be putting the sun over your shoulder to illuminate your subjects and by the use of flash on camera for snapshots or I.D. photos. I’m sure all of you who drive or have a passport, have a marvelous picture of yourself taken with this style of lighting.
While front lighting might not be the preferred direction for portraits, it is ideal for I.D. photos where you want to show all the information of the subject necessary for identification.
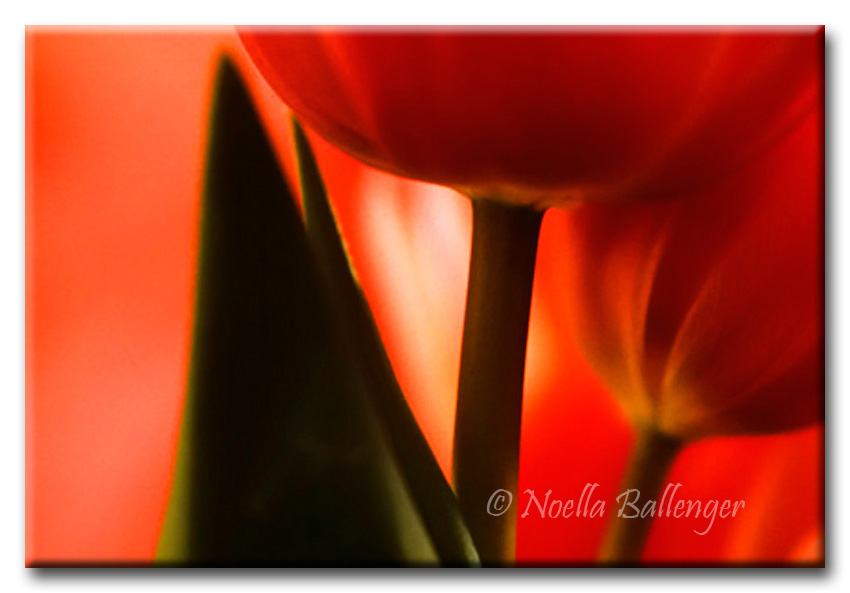
If you do want to show shape, textures, or form, then side lightingis perhaps the best choice. This direction, coming from one side of the subject, will cause a shadow on the opposite side of the subject. Successful nature photographers utilize this direction of light to achieve dramatic landscapes and flower photos.
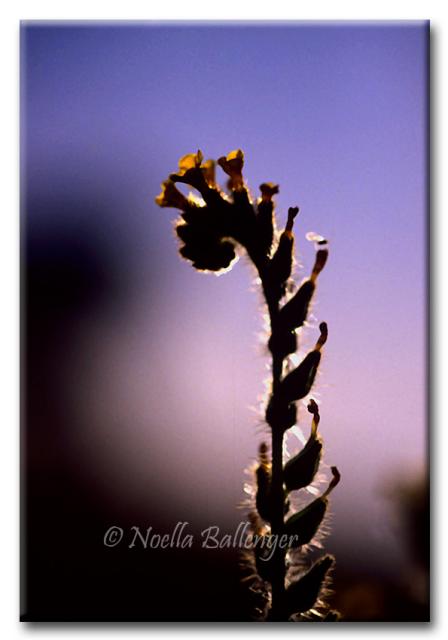
Another direction of light is backlighting. While this direction casts its shadow toward the camera and can cause metering problems and lens flare (a lens hood may be helpful for this), this is a good choice for portraiture because it creates a “glow” around the subject, especially subjects with full heads of hair. It also works well for translucent subjects, such as flowers, as their brightness level will appear to increase .

2. Quality
There are two possible extremes: hard and soft.
Hard lighting sometimes called harsh, specular, or sharp lighting, will be that light which will generally cause a distinct shadow. Some hard light sources might be the sun or your electronic flash. Hard light can create drama and with practice, can be mastered.
A soft light source, also called diffuse, will create little or no shadow. An overcast sky or an electronic flash reflected into a white umbrella will give this quality of light. Many photographers enjoy working with soft light as you do not have to worry about trying to eliminate an unwanted shadow.
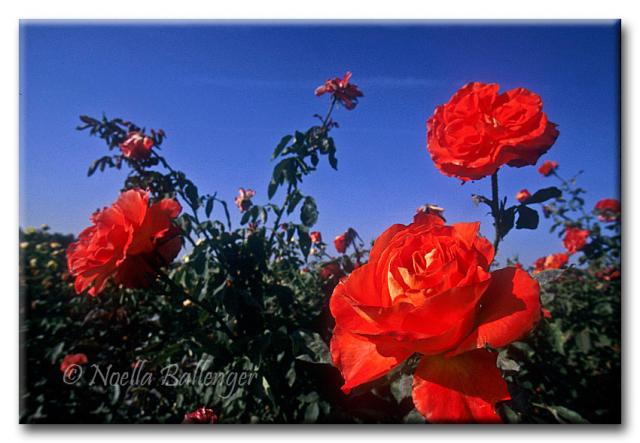
The roses in the rose farm were taken in high, noon sun. The front light and the harshness of the shadows tells the lighting story.
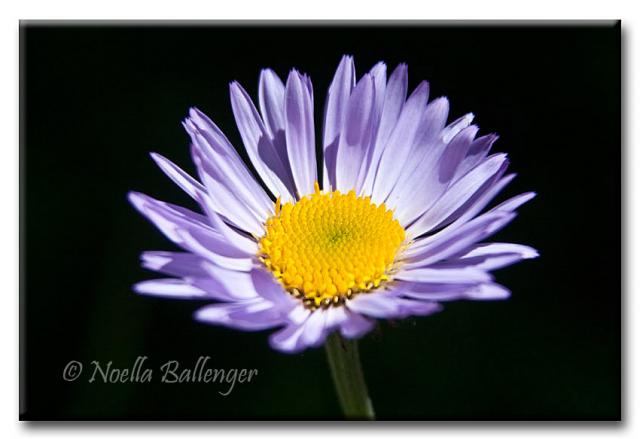
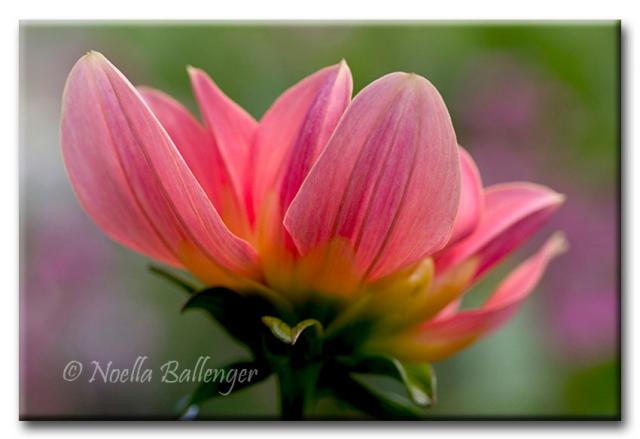
A favorite time for flower photography is on overcast days. This Dahlia was photographed on a foggy day. Notice how vivid the colors appear and yet the light is soft.
3. Quantity
How much light do we have? This property affects our exposure and ISO choice. If we have a large quantity of light, then we may be able to use a slower ISO (for example 100 or 200 ISO) which will have less noise than faster ISO (400 or 800 or more).
With slower ISO settings, smaller apertures for a greater depth of field and faster shutter speeds to stop the motion of moving subjects can be used. As our quantity decreases, we may find ourselves having to choose a more sensitive or higher ISO number to achieve the same result or try to use our expertise to deal with slower shutter speeds, freezing subject movement, and prevent camera shake, as well as accommodating shallower depths of field.
4. Color
While color is generally not a factor in black and white photography,
it does have an effect on color photography in two ways.
The first ismood. Warm colors, like reds, oranges, and yellows will create a fun or energized mood, while cooler blues and greens will create a calm and harmonious mood.
The second way is if the light source does not match the color balance. In digital photography, there is a special control that allows you to choose a setting that matches the color temperature of light. This control is called “white balance”.
You can choose the setting such as cloudy, daylight, tungsten or you can allow the camera to choose the setting by selecting “auto”. While our eyes see many different light sources as white, in reality different sources have different “color temperatures.” Our brain is what adjusts them to look white.
Our pictures may have a color cast if we do not match the digital setting being used to our light source or allow the camera to match it for us. Light’s color temperature is rated on the Kelvin scale generally expressed in degrees Kelvin.
Daylight is approximately 5600 degrees K. Tungsten light, i.e. table lamps, gives an orange color cast when the daylight setting is selected. Fluorescent light will give a green color cast. Today’s cameras and image correction programs are set up to make this selection as easy and as correctable as possible.
All of the elements will play some part in contributing to a photograph. If you find a picture you like, analyze all the elements. What light direction did the photographers choose? (It will be the opposite side of the shadow.) Was the light quality hard or soft?
What problems might the photographer have had with quantity of light (ISO choice and aperture/shutter speed considerations)? Is there an overall color cast that creates a mood?
Once you recognize these elements, then go into a “what if” mode. What if I changed the direction or quality? Look at light in nature that intrigues you with an analytical eye. See if you can figure out why and how you can make it work for you. The last and most important part is to go out and try it with your camera. Happy shooting!
by Mark Smith
Photos: © 2011 Noella Ballenger. All Rights Reserved.
Leave a Reply