
This is a great trick for removing wrinkles in photoshop with a little twist at the end (courtesy of my buddy Kevin Ames) that helps make the technique look more realistic.
His little tweak makes a big difference because (depending on the age of the subject) removing every wrinkle would probably make the photo look obviously retouched (in other words, if you’re retouching someone in their 70s and you make them look as if they’re 20 years old, it’s just going to look weird). Here’s how to get a more realistic wrinkle removal.
Steps For Removing Wrinkles In Photoshop
Step 1
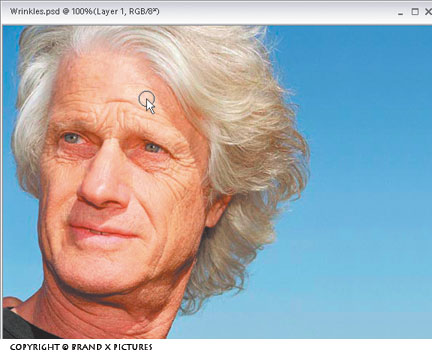
Open the photo that needs some wrinkles or crow’s-feet lessened or removed.

Step Two:
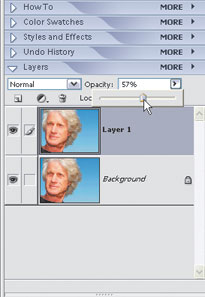
Duplicate the Background layer by going to the Layer menu, under New, and choosing Layer via Copy (or press Control-J). You’ll perform your “wrinkle removal” on this duplicate layer, named “Layer 1” in the Layers palette.
Step Three:
Get the Healing Brush tool from the Toolbox (or press the J key). Then, choose a soft-edged brush from the Brush Picker (which opens when you click the Brush Preset icon in the Options Bar). Choose a brush size that’s close to the size of the wrinkles you want to remove.
Step Four:
Find a clean area that’s somewhere near the wrinkles (perhaps the upper cheek if you’re removing crow’s-feet, or if you’re removing forehead wrinkles, perhaps just above or below the wrinkle). Hold the Alt key and click once to sample the texture of the skin from that area.
Now, take the Healing Brush tool and paint over the wrinkles. As you paint, the wrinkles will disappear, yet the texture and detail of the skin remains intact, which is why this tool is so amazing.
Step Five:
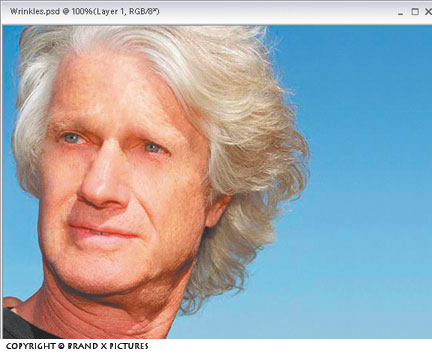
Now that the wrinkles are gone, it’s time to bring just enough of them back to make it look realistic. Simply go to the Layers palette and reduce the Opacity of this layer to bring back some of the original wrinkles. This lets a small amount of the original photo (the Background layer, with all its wrinkles still intact) show through.
Keep lowering the Opacity until you see the wrinkles, but not nearly as prominent as before.

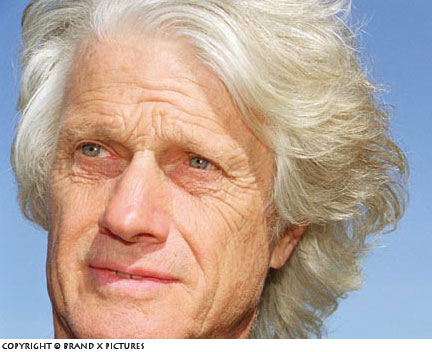
Before
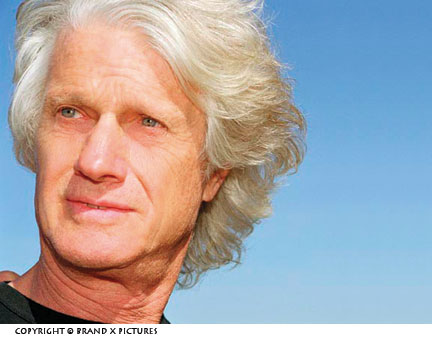
After removing wrinkles in photoshop
Hope you enjoyed this tutorial on removing wrinkles in photoshop!
By Scott Kelby


Leave a Reply