
© 2012 Noella Ballenger. All Rights Reserved.
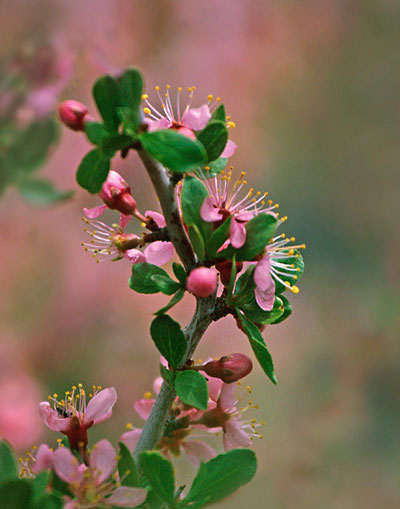
One of the joys of spring is watching the new leaves and blossoms come to life nearly everywhere you look. For many photographers, this is one of the most exciting times of the year—a time to create stunning images of nature’s brilliant show of color. So grab your camera bag and join me as I go looking for the colors of spring.
Finding the Flowers
If you have a “green thumb”, stepping out of your door may be all it takes to make a great botanical image. If not, you may only have to go for a short walk or drive to find flowers along the sidewalks leading to front doors, in areas around the house or those special gardens that have been tended with love.
© 2012 Noella Ballenger. All Rights Reserved.
NOTE:There are a couple of rules of courtesy that apply when taking photos in neighboring yard.
1. Knock on the door and ask permission before going onto someone’s property. Chances are they will be thrilled to show you around. If you plan on publishing work that shows their garden or property, then I would definitely have them sign a property release.
2. Plan on sending them a “thank you” print of their garden or one of their flowers and do follow through with that. You may just get invited back next year.
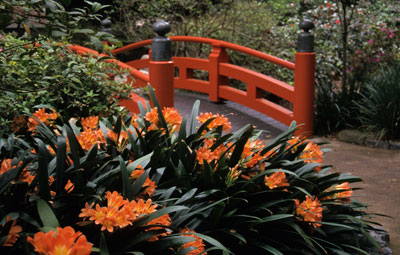
Many cities beautify their streets and highways with rows and rows of vibrant flowering plants, trees and bushes, so always keep a watchful eye. If you find them, always pay attention to the traffic first, be careful if you pull over and only park in designated parking areas. Your safety and the safety of others should always, always come first.
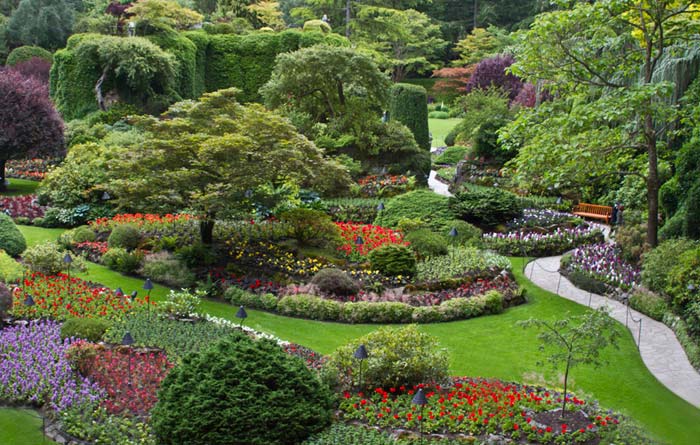
There are many public gardens, botanical gardens, parks and arboretums that are abundant with a wide variety of plants and flowers. Be sure to check out what’s available in your area.
© 2001 Noella Ballenger. All Rights Reserved.
NOTE: Some monitored locations have rules regarding the use of tripods, so be sure to ask what their regulations are and then follow those regulations. Several of my favorite gardens in my area don’t allow tripods or monopods, so I just plan on pushing my ISO and/or my shutter speed up to compensate for not using a tripod.
And don’t forget your neighborhood nursery. Talk about finding flowers! I would first call and ask permission and if approved, I would find out when they aren’t so busy so you’re not interfering with their customers or employees work. Make a note of with whom you spoke, so you can let them know when you arrive. Once there, be courteous and stay out of the way of those customers and working employees. If you lucky, they may even be helpful and answer some questions you have about specific flowers. And again, offer a print as a thank you gift and consider getting a property release if you plan on publishing work that shows something more than an individual flower or small groups of flowers.
© 2012 Noella Ballenger. All Rights Reserved.

© 2012 Noella Ballenger. All rights reserved.
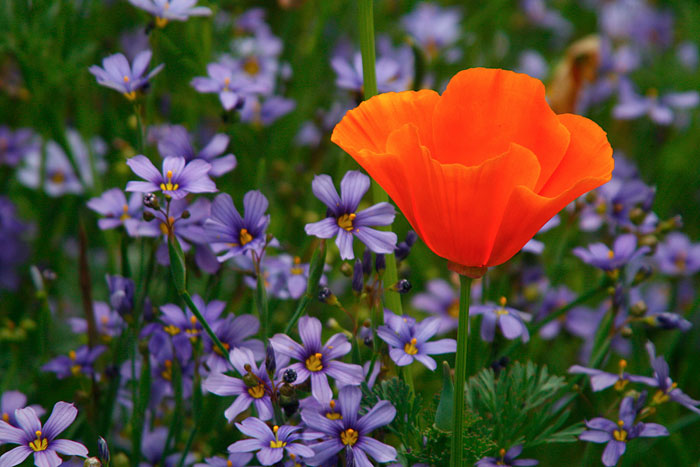
You may choose to take a drive into the country or up into the hills to capture the brilliant and colorful wildflowers of spring. You may want to do a little research before you go to find out where they are most abundant. Go on line to find the wildflower hotlines that cover your area. They can be amazing for pointing you in the right direction, identifying the flowers you might see and pin-pointing the optimum time in the blooming season.
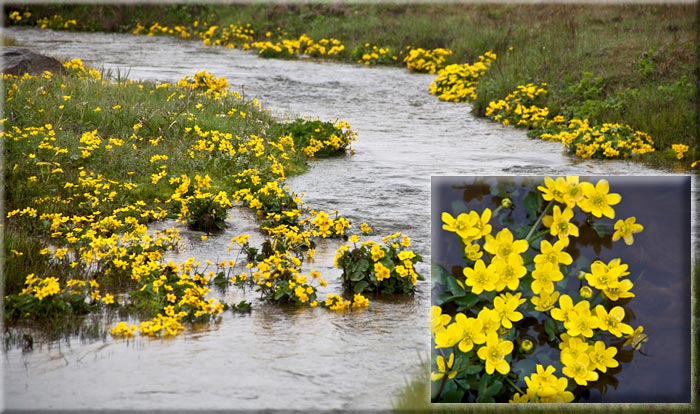
As you are driving to your destination, don’t forget to look in fields and along fence lines and streams. Once again, if you want to go on someone’s property, be sure to ask and follow the above guidelines.
© 2012 Noella Ballenger. All rights reserved.
© 2012 Noella Ballenger. All rights reserved.
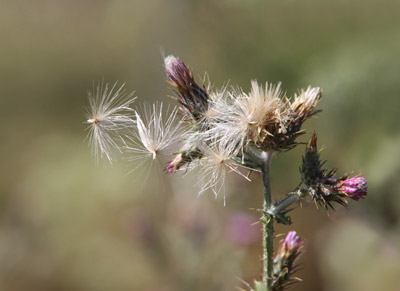
And last, but certainly not least, be sure to take a closer look at those little weeds while you’re out in the countryside. You’ll also find them in sidewalk cracks, in empty lots and along buildings in the city. They too can have colorful flowers and rich textures.
Learning to “See”
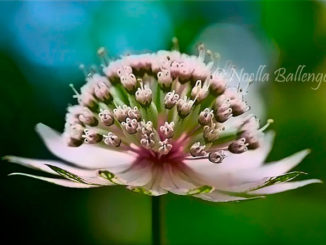
As with any kind of photography, good flower images begin with learning to “see”. This means really looking at what you’re going to shoot. Examine your subject from the side and notice the curve of the stem and the balance of the blossom. Look at it from the top and imagine you’re an insect coming in for a landing. Note the symmetry of the petals around the middle. Peer even closer and notice how grains of pollen cling to the center, spilling haphazardly onto the petals. Study the flower from its underside and discover the variations in color and texture. Look at the leaves, the veins and the joining at the stem. As you develop the habit of careful observation, images will form in your mind. Your creative juices will start to flow and that’s when the fun begins!
Learn to observe not only the subject of the photograph, but also everything that appears in the viewfinder of your camera. If you find something that’s not pleasing to your eye, disguise it or change your position to eliminate it from the image frame. Use clothespins and fishing line to hold unwanted material temporarily out of your way. Once you create that great image, be sure to put things back properly when you’re finished.
© 2012 Noella Ballenger. All rights reserved.
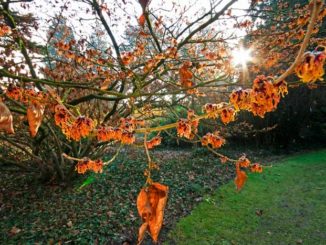
Look for the Light
The essence of good photography is light. Walk around the subject and learn to look for how the light plays on the subject—look at front, side and backlighting. Photograph the flowers at various times of the day under varying light conditions. Light should be the secondary subject of your photograph.
© 2012 Noella Ballenger. All rights reserved.
© 2012 Noella Ballenger. All rights reserved.
Front lighting tends to make the subject look one dimensional or flat without detail. It’s not dramatic, so if this is the only kind of lighting with which you have to work, select subjects with lots of brilliant color or really defined contours.
Side lighting tends to show the contours and make the details of the subject stand out. This angle of light works really well with subjects with subtle, flowing contours. Even at high noon on a bright, sunny day you can find side lighting if you look for it.
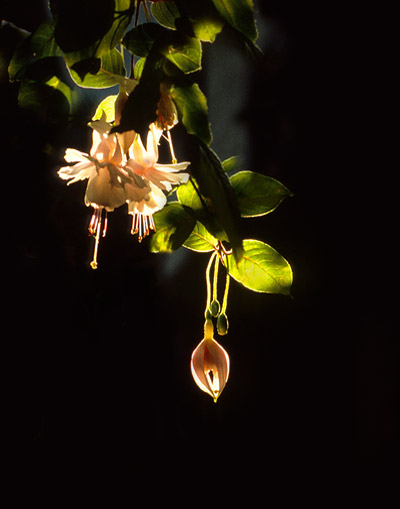
Backlighting (the lighting coming toward the camera from the rear of the subject) can be spectacular as it lights the rim of the subject or turns a subject into a wonderful silhouette. Be careful of your eyes if you are looking into the sun through your camera lens. Best way to protect your eyes and still get the shot is to focus off to the side of the subject and then swing back to it and quickly clicking the shutter.
Back lighting is the most dramatic. Your subject will sparkle!
Spring Showers and Misty Mornings
On overcast days color seems to intensify. It is superb for shooting, but be sure to use a tripod or keep your shutter speed at a higher level to assure steady and sharp images.
Light and weather can play an important part in the dramatic effect of your photographs. If you want that really special twinkle, either go out on a misty morning or take a small water bottle with you to mist the flowers. I always like to spray up into the air right next to the flower and let the mist fall more naturally then just spraying at the flower.
And what if the unpredictable showers rain on your parade? You can choose to cover you and your camera and play in the rain, or just cut a bouquet or buy a lovely potted plant and bring it indoors. One of my best flower photographs is of tulips that were shot utilizing the light that was coming through a kitchen window and bouncing off of the refrigerator and onto the flowers. Don’t get frustrated, but stretch those creative muscles and make some wonderful images.
More Tips to Help You
Keep your camera with you.
You just never know when an opportunity strikes while you’re out running around.
Explore your camera bag and try all of your lenses.
Wide-angle, telephoto, teleextenders, and any other equipment in your camera bag should be explored. You can never tell when you hit just the right equipment or equipment combination to make the shot magical.
Steady your camera.
Use a tripod, or if hand holding, make sure that your shutter speed is fast enough to stop any movement. Find a way to brace yourself.

© 2012 Noella Ballenger. All rights reserved.
Take the overall shot.
There was a reason you stopped at this particular spot, so make the overall shot an attention-grabber.
Get down to their eye level.
When you look down on flowers, frequently your background is dirt. That’s not very photogenic. To make it better, get down to the level of the flower. Take a large plastic bag for protection from the dirt and dew.
© 2012 Noella Ballenger. All rights reserved.
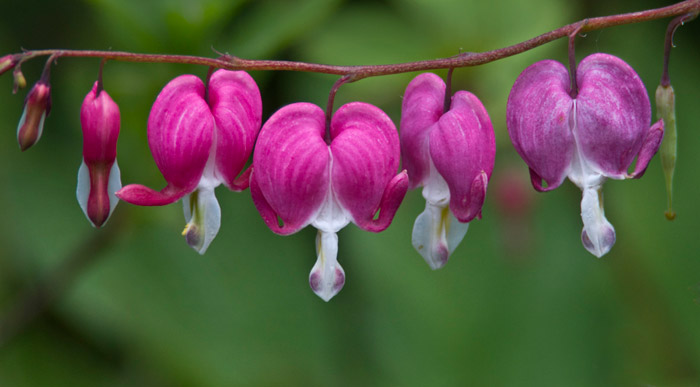
Work a small group of flowers.
Show the interaction between the flowers and leaves. Let them have a “conversation!”
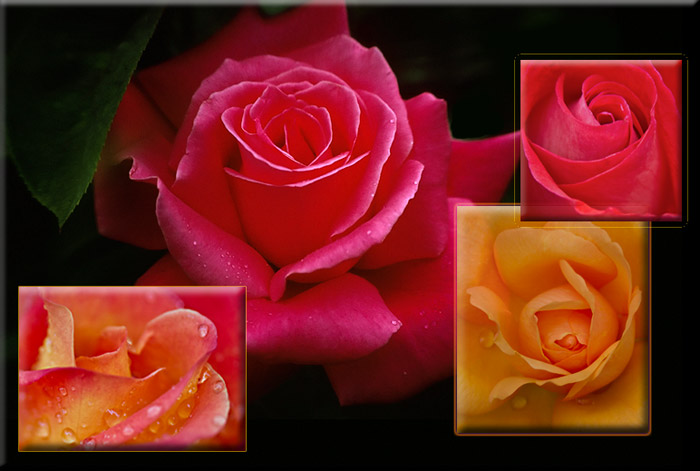
Concentrate on one flower.
Take one flower from a variety of angles.
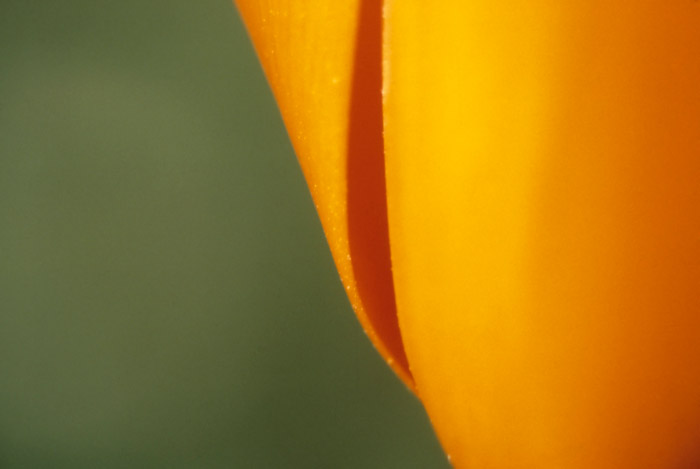
Show only small pieces or parts of the flower.
This can be just as interesting as taking a photo of the entire flower. What is the most fascinating part of the flower? Don’t forget to consider the back side of the flower as well.
Think intimate rather than macro.
It isn’t necessary to have a macro lens to get close–consider your telephoto lens. My all time favorite flower lens is my 500mm mirror lens!
Shoot into a shadow.
Have a shadow behind your flower for a wonderful dark background. The subject flower in the sunlight will look more exciting and pop out of the dark background! Use a large f-stop such as f4 to blur the background.
Break the rules.
I love the idea of tossing “rules” out the window and going for the most imaginative images you can make. It’s true that you may end up deleting many of them, but every now and then you find a new technique or make a spectacular image by breaking the rules. Go for it!
I’ll see you in the garden or hip-high in a field of wildflowers. I’ll be the one with the camera and the big smile!
Brad Sharp continues our series on flower photography:
Part 1: Learn about removing distractions, aperture, DOF, focal point, the properties of light and…
Part 2: Equipment that can be used to help you improve on your flower photos.
Part 3: Technique tips for capturing great flower images.
by Noella Ballenger
© 2012 Noella Ballenger. All rights reserved.

Leave a Reply