
What is just an inch away from your lens? A world of wonder and wildlife ! Explore macro photography to make compelling nature images. Photographing small things means using all your artfulness.
THE ART
Get closer. That’s the advice we’ve all been given. Well, we know that we have to stabilize the camera, use manual focus, and take many shots to ensure sharpness. We might dial in aperture priority and vary the lens opening.
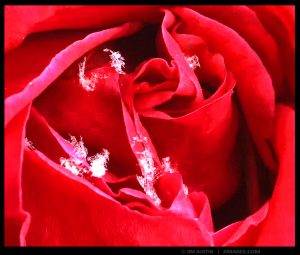
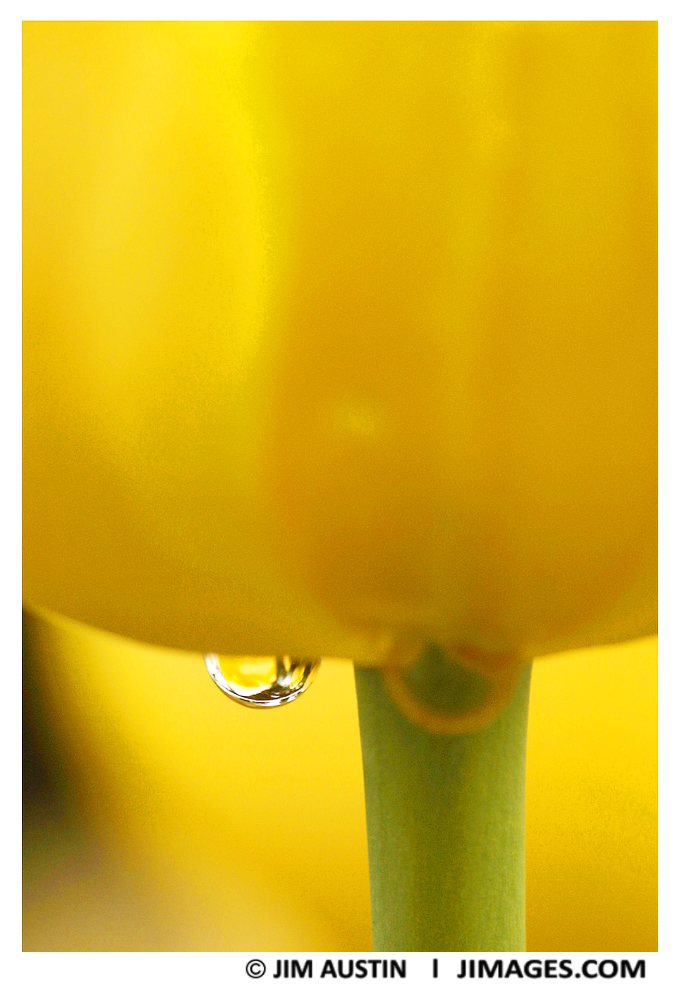
It’s beauty held ageless in winter’s breath
How I long to touch those petals again.
~ Elaine George
We use shutter priority to choose a high, fast shutter speed for sharper captures. We might use a zoom lens, attaching a closeup filter to the front, to catch up with butterflies, insects, and floral beauty.
Any way we go, our attitude of patience and reverence for nature is more vital than any gear we hold.
Subjects
The easy part of taking closeups is pressing a button. The hard part? The hard part is to create an image in alluring light at a mindful moment. This requires practice, patience and flow.
It means trying again, searching intimately for and within a subject, and being open to experiencing a spontaneous moment.
A METHOD TO MY MACRO
The tools you choose will depend on your type of image output. If you are sharing on screen, for social media, or online, you can use lightweight gear.
If you want to produce large, quality prints, you’ll need a bit more gear.
GEAR FOR PHOTOS DISPLAYED ON SCREEN
1) Camera.
2) Closeup filter/lens on your zoom lens or a true macro lens.
OPTIONAL GEAR FOR HIGHER RESOLUTION PHOTOS TO PRINT
1) Tripod,
2) Extension tubes,
3) Bellows,
4) Reversing ring,
5) Cable release.
To get sharper shots into print, hand-holding the camera is not the way to go. Spend money for a sturdy tripod with a robust tripod head.
Next, for enlargements, a true macro lens will be sharper edge to edge, in most cases, than a zoom lens with a closeup filter attached. Extension tubes are useful, but be advised that some light loss may occur with their use, which means we may have to raise up the camera’s ISO.
REVERSING LENS FOR MACRO & MICRO
Traditionally, photographers have used a bellows for micro photography. However, there is a more convenient method today.
If you own an interchangeable lens DSLR and a wide angle lens, you can still get closeup shots with only one piece of extra gear. You will need a reversing adapter designed for your camera mount. This ring has your camera mount on the back. Its threads should match your proprietary (Sony, Canon, Nikon) lens mount on the front. Reverse adapter prices are about $20 US from your photo supply store. You will also need a Fotodiox aperture adapter.
To try the reversing lens technique, take the lens off camera, and then turn it around, secure the reversing adapter, and check that it locks snugly to the camera mount.
When you reverse wide angle lenses, as opposed to normal focal length ones, you will get larger than life-size magnification with your camera. Here’s the thing. A wide angle lens is one that, on full frame, is less than 35mm. Wide angle lenses have a close minimum focusing distance.They can get close to the subject and still keep it in focus.
With a wide angle lens, the distance between the sensor and the film plane is much greater, when reversing the lens. Thus, the lens is working with more extension. This greater extension means higher magnification.
For example, when it is reversed, a 24 mm lens has a magnification of +41 diopter. A reversed 50 mm lens has a magnification of +20 diopter. Most macro lenses have about 10 diopter magnification (See Andrew S. Gibson, Digital Photography School).
Remember, the shorter the focal length of a lens, the more magnification you will see when you reverse it.
Set your camera and lens for manual focusing. Finally, set the focusing distance to infinity. You may be surprised how much magnification you can get reversing one of your existing lenses.
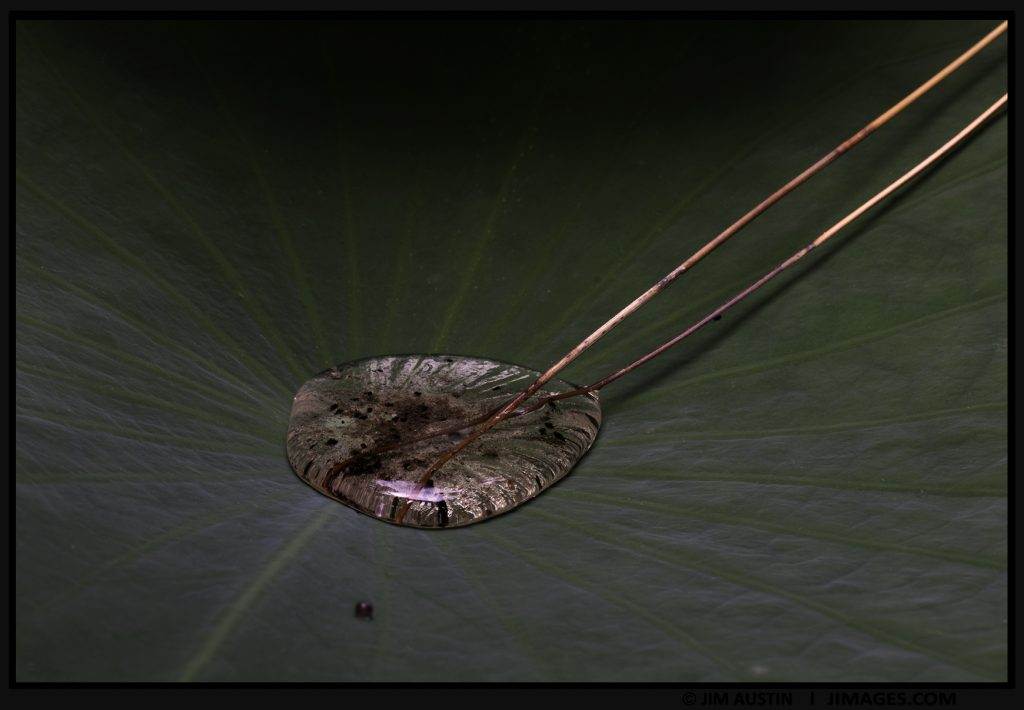
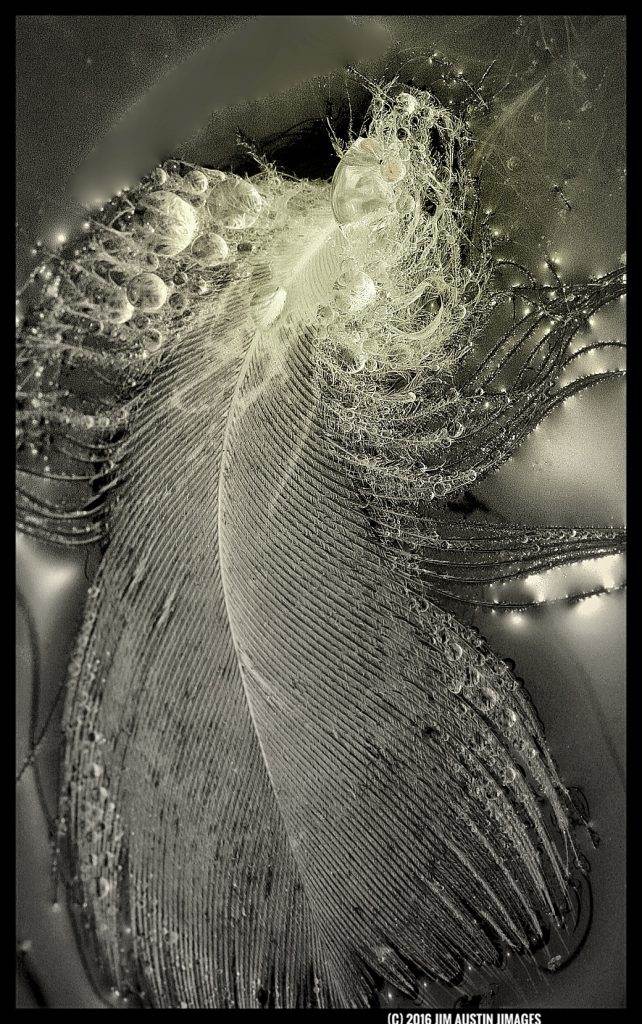
Water about an inch wide pools at the center of a lily pad in a pine forest in Florida.
Here are 5 Quick Ideas and methods for successful macro images.
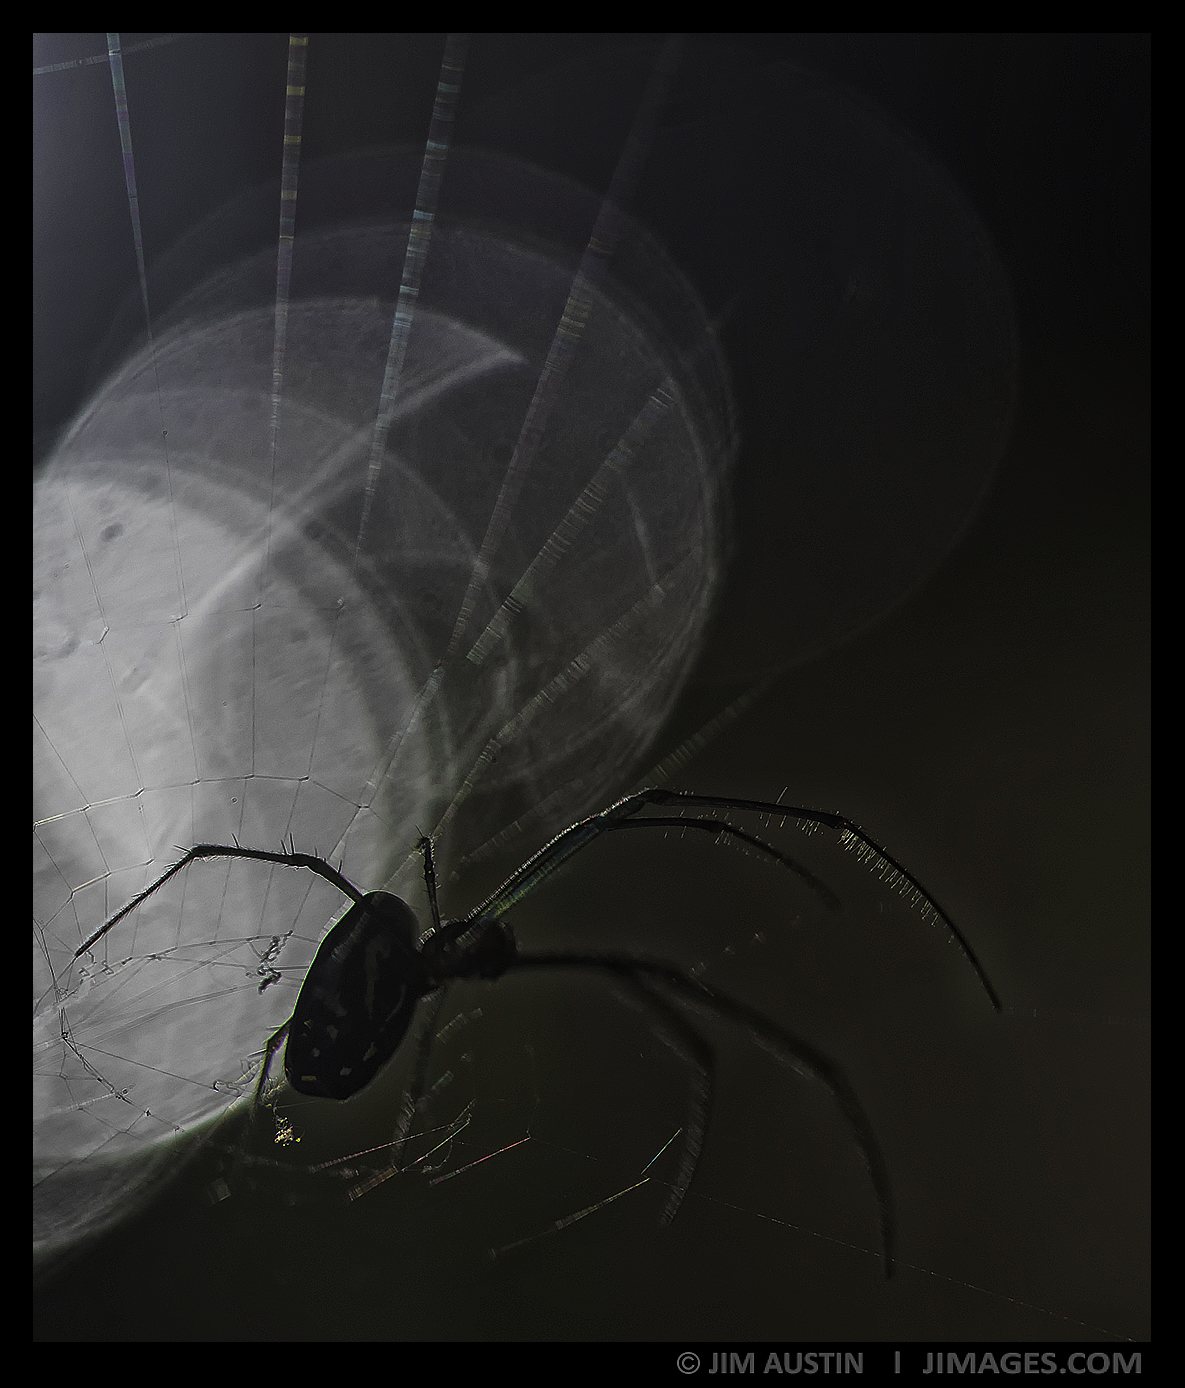
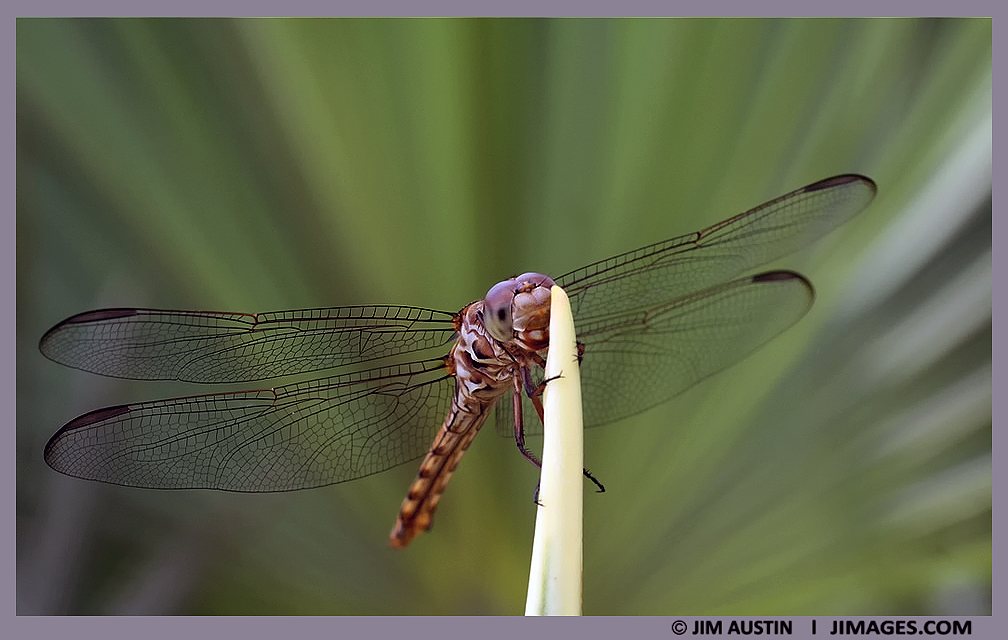
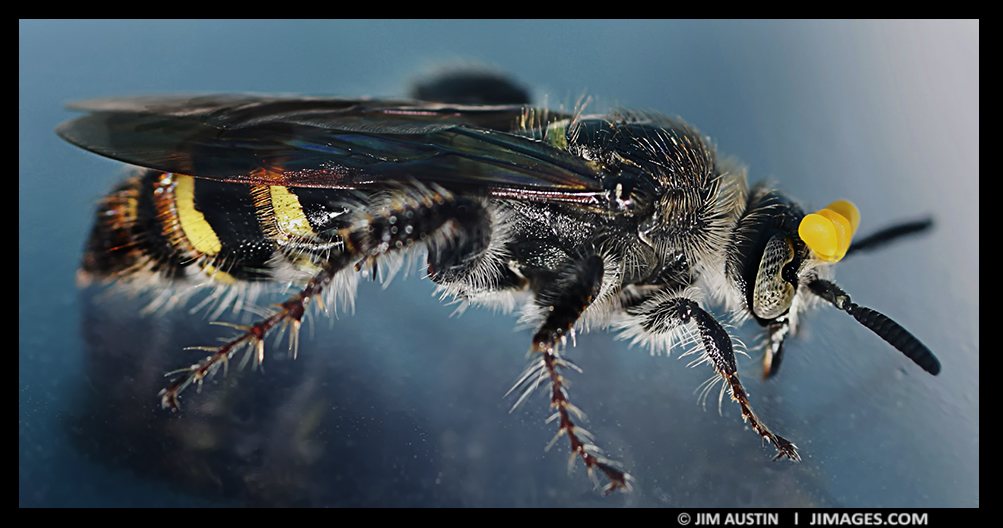
1. Gesture. Capturing the character of your subject is one way to get better close-up photographs. For small subjects such as flowers or insects, I work with the idea that I’m making a portrait of it. Then, I wait for a spider to move into a rainbow of light, or a sphinx moth to pause to pollinate a blossom. Infinite patience has immediate rewards.
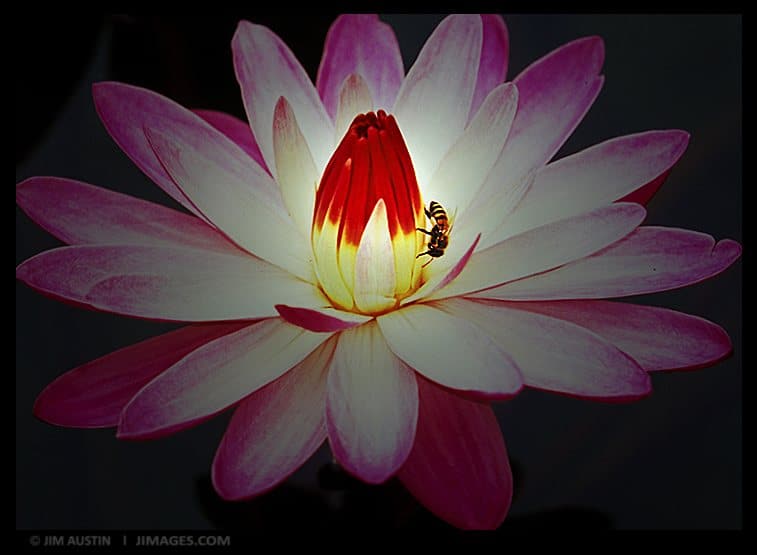
2. Background. Pay close attention to the background behind your small subject. Find good contrast, then move the camera around by inches, like a floating firefly, and try various angles to change the background behind your chosen subject. Do this to match the hue and tones to compliment your subject. Your experience with the color wheel can help you create better backgrounds.
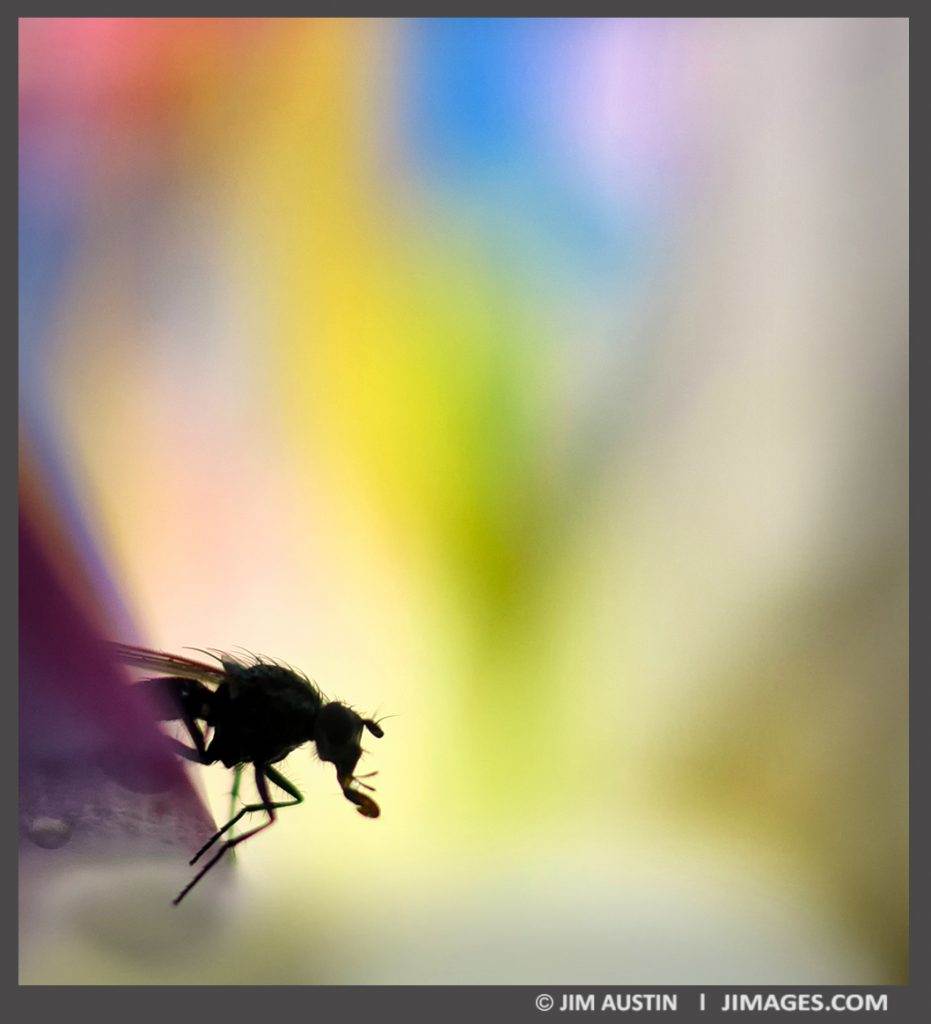
3. Control the Light. Change the quality, quantity and direction of light on your subject. Try a flash, umbrella or other light modifier to block, light, or soften the light that surrounds and lands on your macro subject.
4. Impressions. Try setting the exposure duration for a slow shutter speed, then hand-holding the camera. You will get blurry shots, but with practice, you will learn to make softly focused impressions. Impressionistic closeups work well when there is a lot of light, color and subjects such as flowers and nature scenes.
5. Hi Key Florals. If you have a bright sunny day, try a Hi Key floral. High key means bright whites, no shadows, and lighter hues. For flowers, a high key technique is to overexpose in camera. This works well with bright pastel colors in bright conditions.
Hi Key Florals have 3 main elements: bright conditions, pastel hues and deliberate overexposure.
Please comment and feel free to get in touch. Jim
Jim Austin MA ACE is a photo educator, coach, & Adobe Certified Expert. Find him on Facebook, Twitter, Instagram and Flickr.


Leave a Reply