
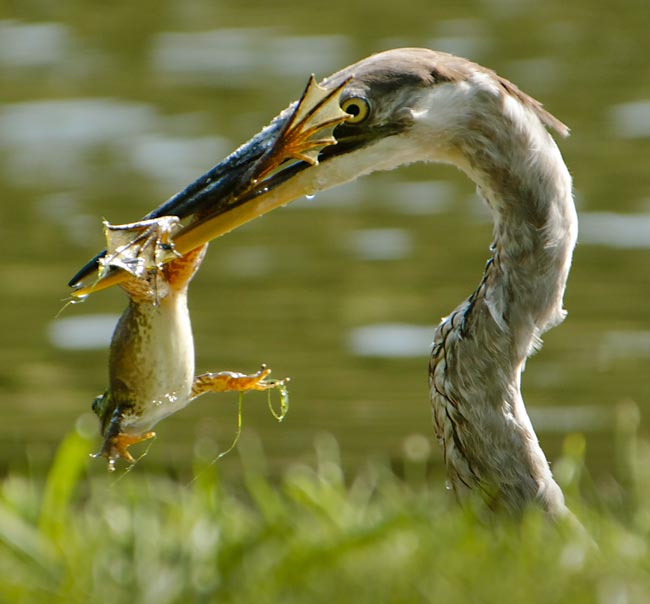
The abundance of Florida birds in the sunshine state, actually tells you that there are more probably species in this state than anywhere else and many are quite comfortable with people approaching them. Without question, Florida birds photography is simply the best in the United States.
You will do well without a blind, camouflage, or any sort of difficult camera equipment. Simply get out of your car, go observe all of those birds and have a great time photographing.
Best times to visit: Florida is traditionally a tourist destination, but early to mid-November and during most of January it’s pretty quiet.
The hotels have open rooms available and the traffic is light. And, you’ll have the opportunity to see additional species that have migrated south for the winter months.
Where to Find Florida Birds
To get you started, here are some of the best locations I’ve found. There are many areas to photograph birds throughout Florida, so check out these and others by doing a Google Search. You could also contact various bird watching groups in the state. They will be able to tell you when and where to find a wide range of bird species.
East Central Florida
Rockledge, FL
Viera Wetlands, Brevard County Waste Water Treatment Facility
N. Wickham Rd.
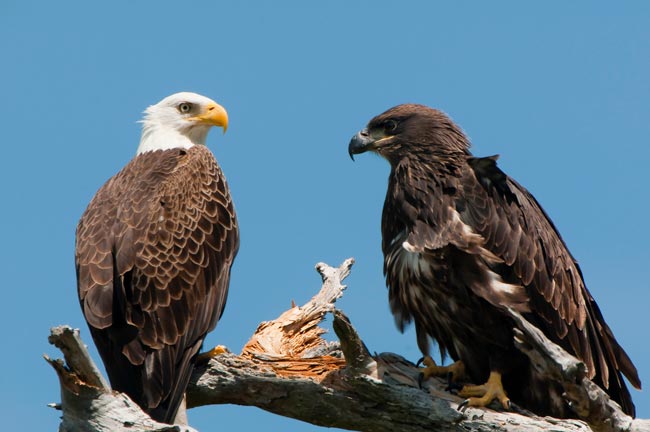
Variety of birds and eagles and, oh yes, alligators.
Central Florida – Inland
Kenansville, FL – near Lake Kissimmee
900 Joe Overstreet Rd.- driving along the road, there is a pond on left and a marsh on right at end of road.
Large numbers of birds, eagles, owls and cranes.
St. Cloud, FL
1200 Lakeshore Blvd. – along the East Lake Tohopekaliga
Take the trails from the boat ramp.
Spoon Bill Cranes and chicks
Kissimmee, FL
601 Lakeshore Blvd.
Many wading birds.
Southeast Florida
Delray Beach, FL
Wakodahatchee Wetlands Wastewater Treatment Facility
13042 Jog Rd.
Variety of birds and alligators
West Central – near Tampa
Dunedin, FL
Honeymoon Island State Park
1 Causeway Blvd.
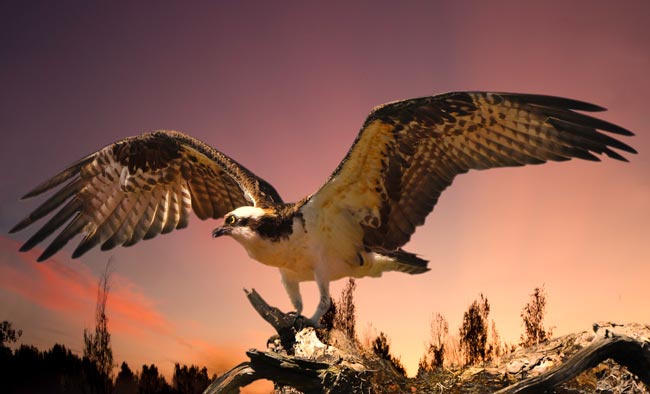
Ospreys and possibly owls.
Nokomis, FL – between Tampa and Ft. Myers
Knights Trail Rd. – Laurel Road Dump (sign in at the office)
Eagles, hawks, and alligators
Southwest Florida
Cape Coral, FL – near Ft. Myers
922 SW 39th Terrace – near library
Burrowing Owls
Be sure to head further south and visit Everglades National Park. You can spend an entire day in just one small section of the park and come away with some incredible images.
Practice, Practice, Practice
Bird photography is tricky. You can spend years working on just this subject, so practice, practice, and more practice will be the key to creating great photos. With large numbers of birds in singular locations, it’s the perfect opportunity to try a number of techniques.
If you’re just starting out, work on getting closer to them and making portraits and then move towards more difficult techniques.
Birds in flight are one of the biggest challenges faced by most, so be patient. Pick an area and just sit and watch for awhile.
Get a feeling for how they move or fly about. Pay attention to their habits – maybe what they do just prior to taking flight or landing. Then start practicing. As with any moving object, the more you work at it, the better you will become and the easier it will get.
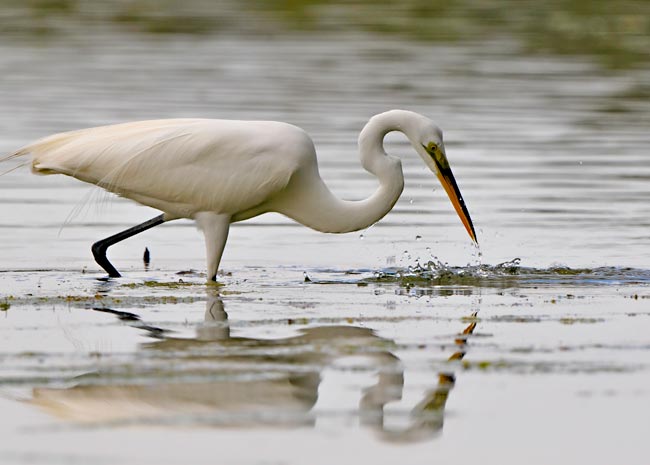
The thrill will come when you create great images of those herons, ducks, cranes, eagles, hawks, and owls doing what they do best.
Also, try to blur the background as much as possible. Keep your aperture around 2.8 or 4.0 so you can use a high shutter speed. Don’t be afraid to use a higher ISO if necessary. A picture with some noise is better than no picture at all.

Burrowing Owl
Camera Equipment
There’s no doubt here – bigger and better equipment is going to make a difference in the quality of the images, especially when you need to get close.
Hands down, a 600mm F4 is going to do things that are impossible to do with a 70-300mm with a teleconverter. Now, I understand that most people are on a budget and not everyone can buy the “big glass”, but don’t get discouraged. Try to think of different ways to make that photo if you are limited to smaller lenses.
You just might have to get your feet wet walking in the water or you might have to use a bit of stealth and sneak in to get in closer range.
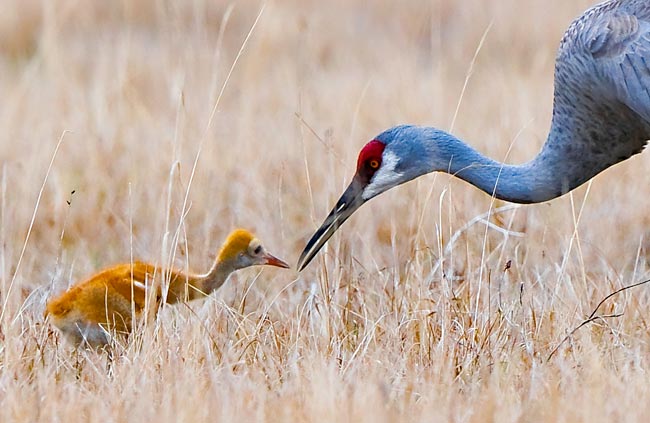
Sandhill Crane and Colt
600mm or 300-800mm lenses will be your very best choices for the big lenses used on a tripod for distant shots and a 70-200mm lens should be carried on your body at all times in order to make those spur of the
moment photos. Think of it this way – you are driving along, or walking on a trail and suddenly 10 feet ahead you see your subject. Having easy access to your camera and making the image fast before the bird flies away will be important.
Teleconverters are also very important, especially if you have smaller lenses. Even huge lenses don’t always get you close enough. I’ve seen photographers with a 600mm lens and 2 teleconverters stacked behind it.
The problem with using all those converters is you lose light and autofocus speed, and sometimes you won’t be able to use autofocus at all. It differs depending on what body and lens you are using at the time. And you’ll want quality teleconverters here, or your sharpness and contrast will be less than optimal.
No matter which setup you choose, stability is a key factor in making sharp images. A tripod is your friend. It is just as important as that expensive lens.
Be sure it can handle the weight of the camera and heaviest lens, or it could all come crashing down. The typical ball head does not work well for birds in flight, so you’ll want to consider a Wimberly style head.
It allows you to pan and follow the bird and has no trouble supporting 15 lbs. of equipment.
Live view is also a huge help. It’s essentially a mirror lockup that still allows you to watch your subject.
A remote shutter release, either infrared, radio or cable, is important too. If you are set up watching a nest with two teleconverters, the slightest touch will result in camera shake and a blurred image.
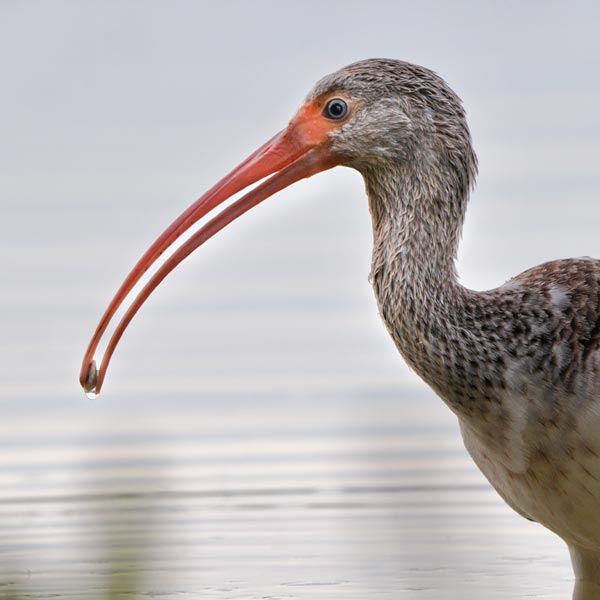
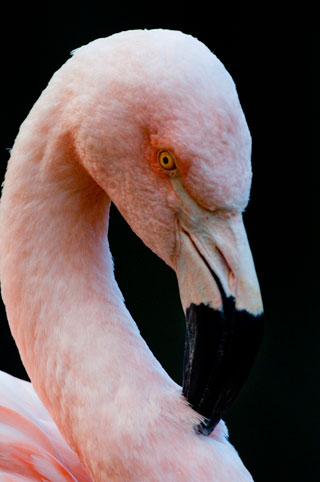
Glossy Ibis
If it sounds like bird photography is an expensive venture, well, it certainly can be if it’s your photographic subject of choice, and if you want the rewards of creating those stunning images. But don’t get discouraged. There are exceptions to every rule.
Even if you can’t afford all the expensive equipment, you can still get out in nature, have fun with Florida birds photography and truly make some wonderful images.
by Michael Leggero
Leave a Reply