
After the sun falls below the horizon, the doors open to magical cityscape photography.
Whether you are capturing the moments of the clear, beautiful, rich blue skies of civil twilight, blending into darker nautical or astronomical twilight skies, or catching the reflected light off some looming clouds, you’re going to find gleaming city light reflections on water a blast to photograph.
So what is twilight and how long does it last? Twilight is the time between daylight and night, produced by the diffusion of sunlight through the atmosphere and its dust.
Its variations all depend on the angle of the solar depression, depicted in degrees (the angle between the sea level horizon and the center of Earth). Note: each variation of twilight also occurs before sunrise.
1. Civil Twilight: ends after sunset when the solar depression is at 6° and lasts approximately 20 minutes. This is when available natural light is at the strongest level.
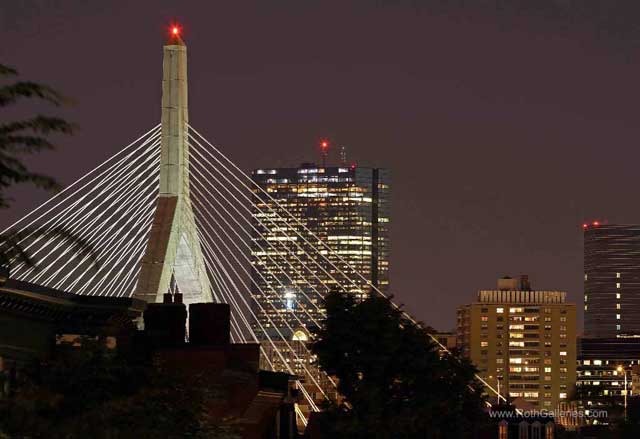
2. Nautical twilight: ends after sunset when the solar depression angle is 12° and lasts approximately 45 minutes. Artificial light from reflections and buildings will be needed.
3. Astronomical twilight: ends after sunset when the solar depression angle is 18° and lasts approximately 1 hour and 10 minutes.
4. Once the solar depression angle moves beyond 18°, the sky is at its darkest.
Note: These are general twilights. It also depends on where you live. To learn more about twilights and those that can last from sunrise to sunset, visit Wikipedia.
Clouds can play an important role when photographing those night cityscapes. They can darken the various stages of twilight, shortening their duration, or brighten them as the sunlight reflects off of the clouds, which in turn lengthens the twilight time.
When Cityscape Photography Works
I find it amazing when all comes together for a few minutes after sunset; the city lights start glowing and those reflections produce brilliant results.
The key to successful night photography is a solid tripod, as long exposure times are common. A bit of patience also applies, because one should arrive well before sunset, to allow sufficient time to set up and pre-compose.
Here is a compilation of 16 photo tips that are easy to follow and implement, and they will add huge impact to your cityscape night photography. Take them to heart and they will kick start your own personal endeavor to capture the wonders of cityscape photography during twilight. Additionally try to incorporate some sort of twilight photography into any photography tour , if you decide to take one.
Photo Tip #1: Bring a fully charged battery and make sure to have a spare or two.
Photo Tip #2: Have sufficient flash card memory and bring a spare memory card.
Photo Tip #3: Check the weather forecast – rain is sure to “dampen” your reflections.
Photo Tip #4: Time your skyline photography with natural phenomena like full moon, super moon, or new moon to add more interest to the composition.
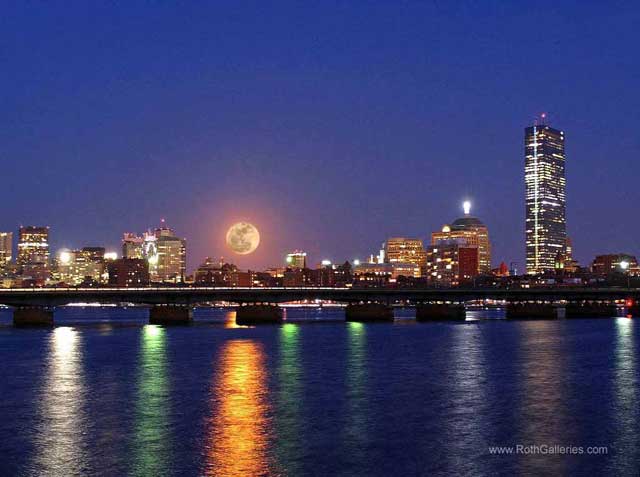
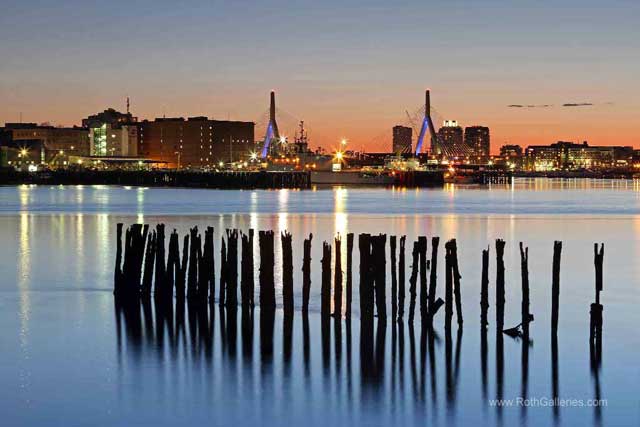
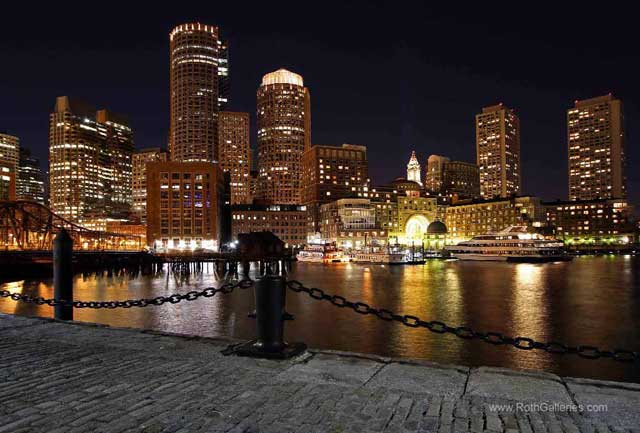
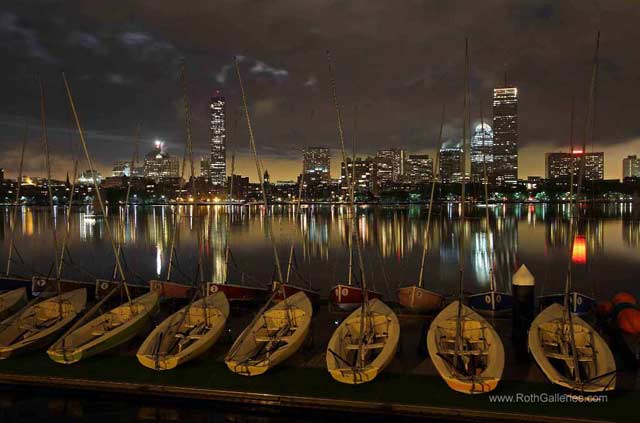
Photo Tip #5: Incorporate skyline reflections in rivers, ponds, lakes or other available wet surfaces.
Photo Tip #6: Arrive at least ½ hour before sunset allowing sufficient time to set up and compose a pleasing cityscape photography image.
Photo Tip #7: Use a tripod to steady camera gear during long, 30 second or higher, exposure times.
Photo Tip #8: Minimize camera noise by using your lowest ISO settings, such as ISO 25, 50, or 100.
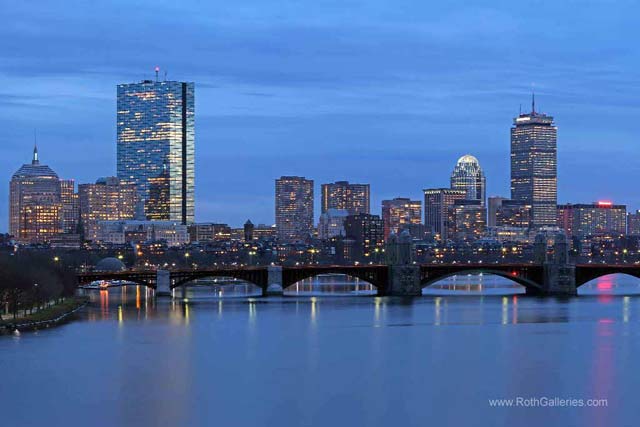
Photo Tip #9: For highest image quality, use medium to small apertures (large f-stop numbers like f/8 to f/11 or higher) to achieve sufficient depth of field. Note: Large f-stop settings tend to create beautiful star effects on street or building lights while large apertures (small f-stop numbers like F/5.6) minimizes that effect.
Photo Tip #10: Set your camera to manual mode because auto-focus does not work sufficiently in low light.
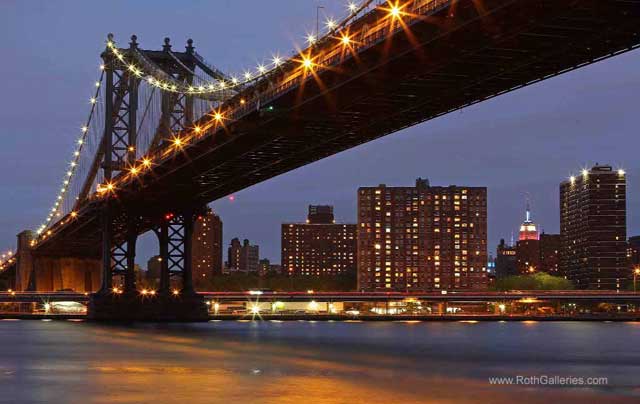
Empire State Building and Manhattan Bridge, New York
Photo Tip #11: Utilize the camera’s self-timer, a cable release or remote release to trip the shutter. Additionally use live view or mirror lock up to minimize camera shake and blurry pictures.
Photo Tip #12: Be well prepared for Civil Twilight, because the optimum light only lasts for about 20 minutes. Keep creating those images as the night sky starts glowing and the city lights are beginning to come alive.
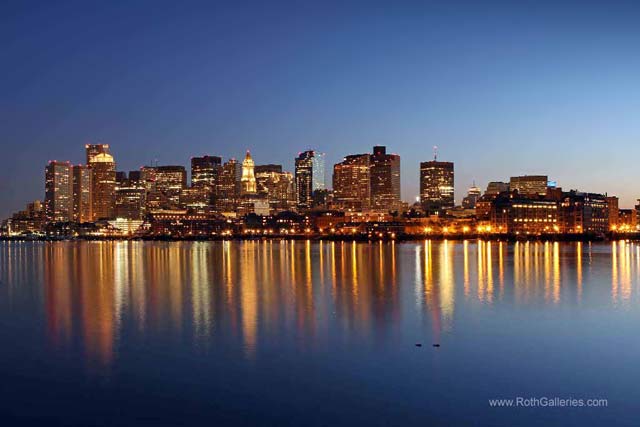
Photo Tip #13: Incorporate foreground features into your composition such as flowers, boats, boardwalks, or mooring poles. Those add interest or lead the viewer into the picture. Moving objects like cars turn into beautiful streaks of red and white when incorporated during those long shutter speeds.
Photo Tip #14: Meter off of the darker parts of the skyline. This usually provides the best exposure and image quality. Make sure not to “blow out” the sky or building lights.
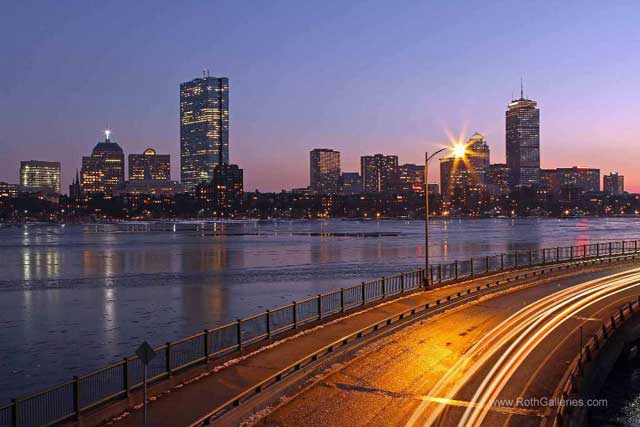
Photo Tip #15: Focus on the skyline, as this is your main subject, and it should be crisp and clean. When an interesting foreground subject is included, focus on the objects in front of you and choose your aperture wisely.
Utilize the depth of field preview to ensure high image quality and sharpness from foreground to skyline. A split neutral density filter might come in handy to handle the contrast between bright sky, skyline and darker foreground.
Photo Tip #16: While you’re out and about making stunning cityscape reflections, don’t forget to keep your eye out for other night photography opportunities, such as unusual compressed perspectives of cityscape landmarks or streets that can create a more intimate view of a city skyline.
A telephoto zoom lens is the best lens for those sorts of images. The wide angle lens allows photographing the entire skyline when interesting subjects dominate the foreground and ask for inclusion.
by Juergen Roth
All text & photos: © 2013 Juergen Roth. All rights reserved.
Leave a Reply