
How to shoot like a Pro – Part I Photography Exposure Tips
The most frequently asked question I see on social media is “What is the difference between an amateur and a professional photographer”? Besides the most glaring difference that a professional is paid for their work, the true delimiter between an amateur and a pro is that an amateur takes a snapshot while a professional creates an image. Today we will look at some photography exposure tips.
Today’s cameras are amazing. The technological advances continue to make creating great pictures easier and easier. But just like owning a high tech stove doesn’t make a gourmet meal – the cook does; owning an advanced a camera doesn’t create fabulous images – the photographer does.
Most new photographers start out using the auto functions on their camera. And while this approach ensures the “correct” settings will be applied – it rarely produces the stunning images they want. The best way to achieve the desired results is to understand the components that go into a great photograph – and then use that knowledge to manipulate the camera settings to produce the desired effect.
Photography Exposure Tips – The Three Main Areas
There are three main areas a photographer needs to control to produce the image they want; exposure, focal point and lighting. Let’s look deeper into exposure….and I will provide several photography exposure tips for you.
Exposure is simply a matter of controlling the amount of light that reaches the photographic element – regardless if that is film or a digital sensor. Over exposure is when too much light is let in resulting in white, blown-out areas. Under exposure is when too little light is let in resulting in dark, black images.
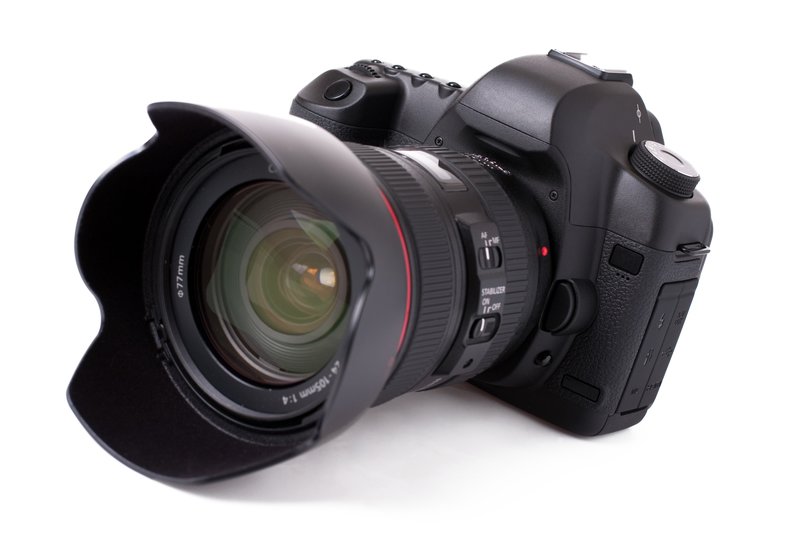
Exposure is controlled by manipulating three settings – the aperture (or f/stop), the shutter speed and the film speed (or ISO). Each of these elements also controls different creative aspects of the image – which is why selectively balancing the three elements together can result in vastly different images.

Aperture controls the diameter of the hole used to allow in light and is measured in f/stops. Wide apertures mean more light and are measured by smaller f/stops. Closed apertures mean less light or higher f/stops.
A wide aperture will result in a shallow depth of field – meaning very little of the image is in focus in front of or behind the main focal area. The smaller the aperture (higher the f/stop setting) the more of the image will be in focus through-out the frame.
If depth of field is your main concern, shoot in Aperture Priority on your camera. This will let you dial in the f/stop and automatically set the shutter speed to provide correct exposure.
The shutter speed controls just that – the amount of time the shutter will remain open during exposure. Shutter speeds are used to control motion in a shot. Slow shutter speeds on moving subjects can create a blurring effect while fast speeds create a more stop action effect. This can be a critical setting if you are shooting while moving yourself to reduce the overall effect to be blurred.
If you are managing motion, shoot in Shutter Priority. This allows you to set the speed of the shutter while automatically choosing the aperture to provide the correct exposure.
What Is ISO
ISO refers to the traditional measurement for film speed, but is still used in the same context for digital images. Film speed is a gauge for the mediums tolerance to light – a low rating means more light is required to correctly capture an image while the higher ratings require less and less light. ISO 100 used to be referred to as “daylight” film because it was best used when shooting in bright daytime lights.
ISO 400 was considered a fast film – but today’s cameras allow for ISO ratings up to 6400. As with everything, there is a trade off. While high ISO settings (or film – yes, some people still shoot film) allow you to shoot in low light conditions, they introduce noise, or grain, into the image.
Setting correct ISO is more an exercise in trial and error until you become accustomed to what your camera produces. Dial in an ISO number – higher numbers for lower light conditions – see if you can get the aperture and shutter speed combination you want – then adjust up or down as necessary.
Some new cameras will allow you to shoot in Auto-ISO, which will automatically choose the correct setting for you. Most issues with grain can be handled using post processing software.
There will be times when you will want to over or under expose an image for effect. Think of blown out highlights for a high fashion effect or deep, dark shadows to create a spooky scene. In this case, you will want to shoot in Manual Mode and use the built in light meter to creatively set aperture and shutter speed that are intentionally above or below the “correct” setting.
So how do you use this knowledge to shoot better images? THINK. Think about the effect you want in the picture instead of pointing the camera, pressing the button, and hoping the camera creates the desired effect. Choose how you want to shoot – aperture priority to control depth of field, shutter priority to control motion, or manual to allow you to better control both. Then experiment to get the results you want.

To quote the great Ansel Adams, “You don’t take a photograph, you make it”. So turn off the auto features on your camera and turn on your creativity to make photos like a pro.
“Images Copyright Dreamtime.com
Leave a Reply