
Jim Austin Jimages offers you two ways to create fine BW images from color using ON1 Photo RAW 2019.
Time: 5 minutes
Software: ON1 Photo RAW 2019
Steps: 7
Level: Beginner.
Let’s go right to the tutorial. If you want to try out ON1 software, you can download PHOTO RAW free for 30 days with no watermarking.
First Method for Black and White
How to use a Black & White Preset to Convert a Color Photograph to B & W.
Step 1: Import the File
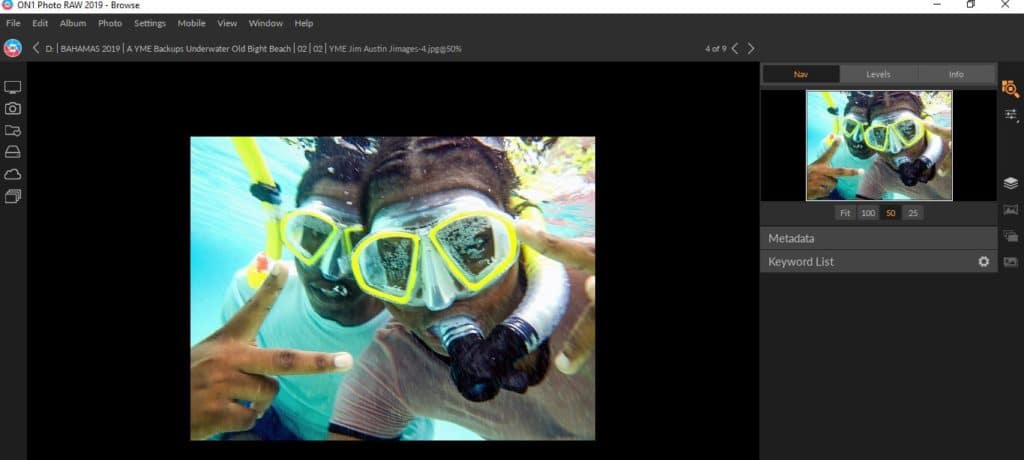
Open ON1 Photo RAW and import an RGB image from your camera or drive with FILE > IMPORT.
Step 2: Develop
Tap or click the “D” key on your keyboard to bring up the Develop Module.
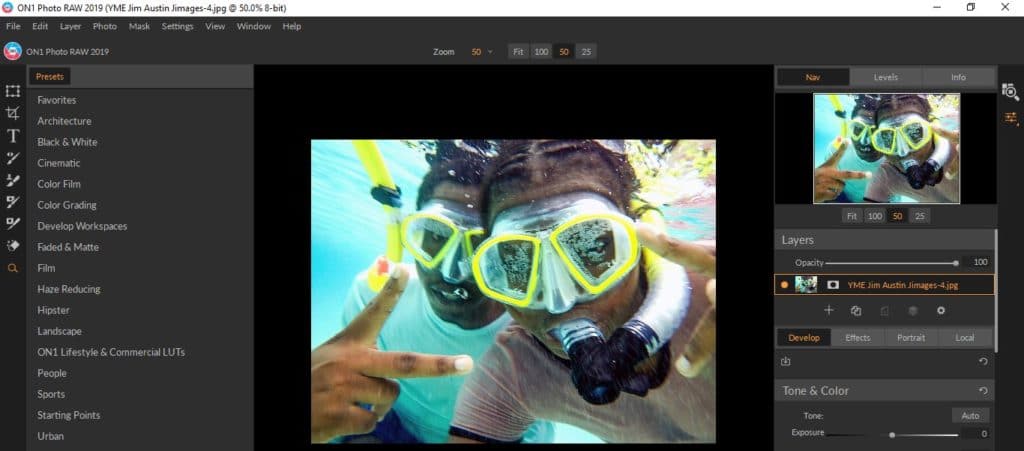
Step 3: Choose a Preset
At screen left, in the Presets, you should see a list that includes Black and White. To bring up all the presets in a grid matrix, click on the icon with four small rectangles. This will bring up various versions of Black and White Presets. In this HOW TO, I chose one called Glowing Chocolate, but you can use any Preset for your style of Black and White.
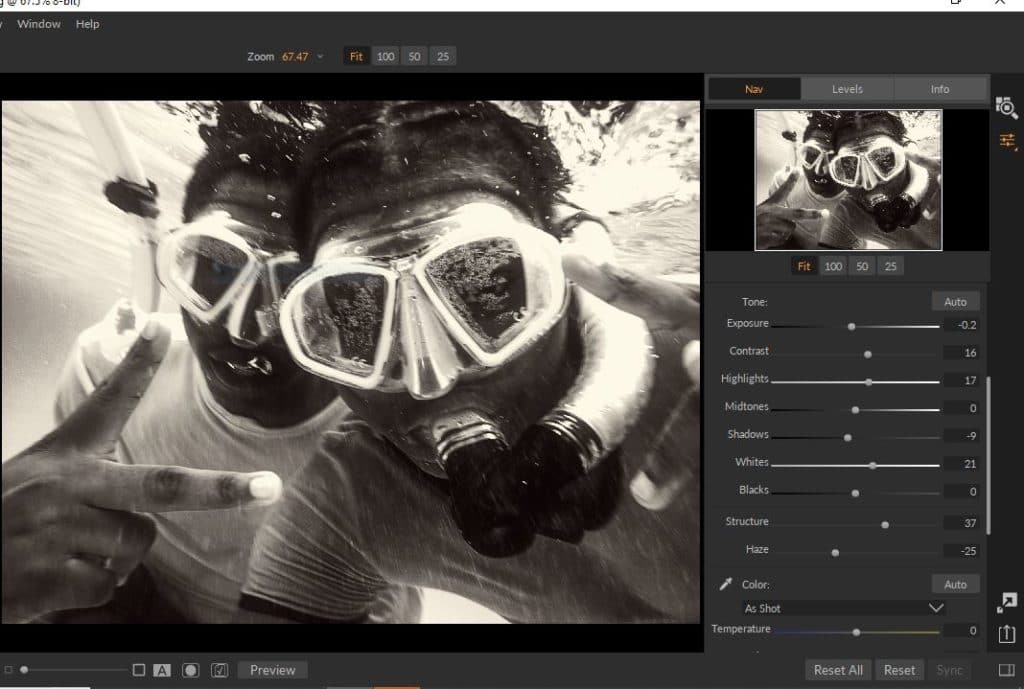
Step 4: Develop Module TONE and COLOR
You can show or hide a palette in ON1 by clicking the counter-clockwise arrow near the name of the palette. Now, find and open the Tone and Color Palette. It is under the Develop Module at screen right. Adjust your tone sliders to maximize your image. ON1’s Haze slider is an effective way to boost an image and make it clearer.
Step 5: Detail
Below Tone and Color, is the Detail palette. Put in your Sharpen amount and threshold. Then, side the Noise Reduction settings to reduce noise, just as you would in your usual workflow. To see your sharpening and noise reduction in action, hold down your keyboard Alt/Win Opt/Mac key. For example, hold the Alt/Opt key to see the areas in the image that show the Sharpening amount and Sharpening threshold. You can also hold down Alt/Opt with Noise Reduction luminance, NR detail, and NR color as you adjust these variables with your sliders. If you find a consistent set of changes, you can save your Style by clicking the “MORE down arrow” and saving your settings as a New Style.
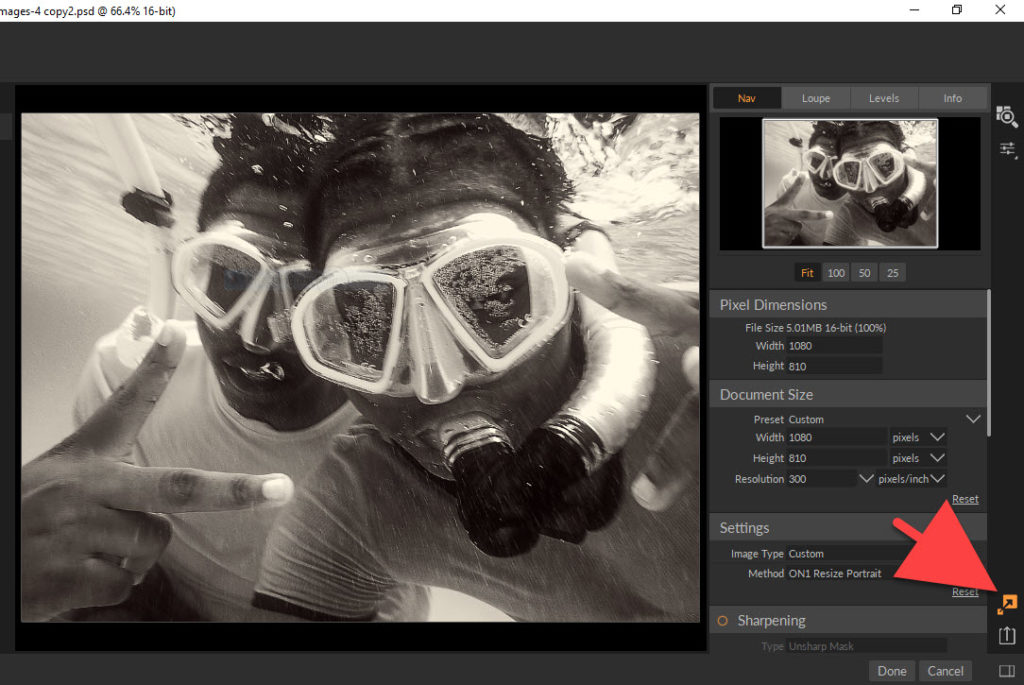
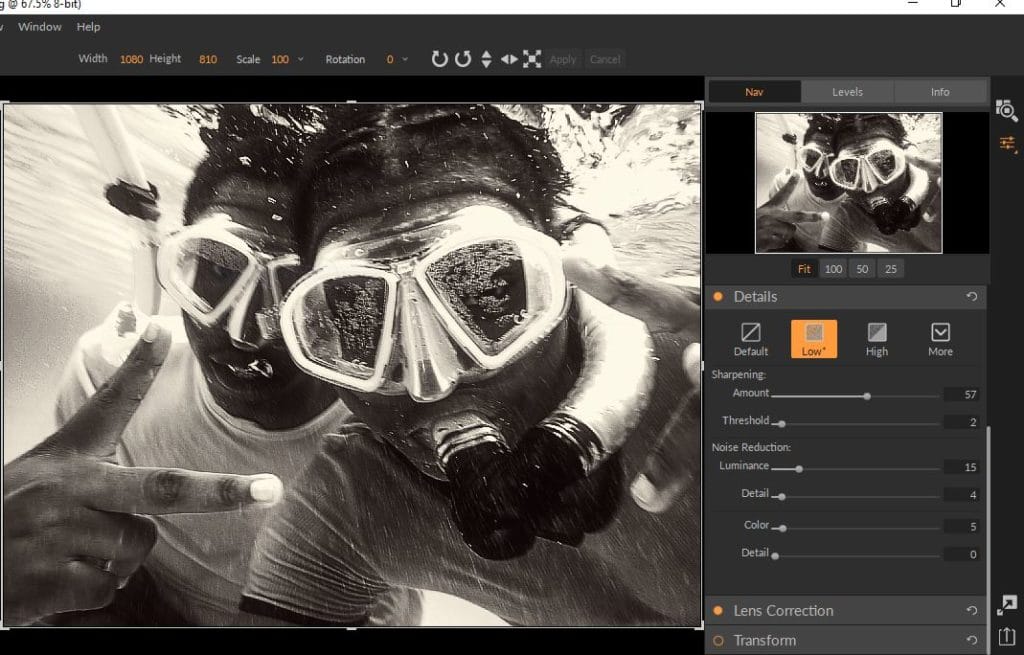
STEP 6: Resize Pixels, Document, and Settings
At the lower left, third icon from the lower left corner, you’ll find the Resize Icon. It looks like a small orange square with a black arrow pointing to a larger orange square. Click it and enter in your Pixel Dimensions width and height, any preset Document Size and resolution in pixels per inch, Sharpening, Image Type presets and any other options you may desire such as film grain and tiling. For weird, surreal effects, experiment with the Gallery Wrap setting. However, the practical tools are the resize Presets at screen left with their settings for ink jet print paper types, web, email, and social media.
Step 7: Export
For your last step, we’ll fill in where you will export your image. Click the Export Icon or File > Export. At the bottom right of your ON1 interface screen, there are boxes to fill in: File Type, the location on your drive, and a rename option. Remember to click Export Now to enter the info you’ve just filled in.
Second Method for Black and White
Black and White Filter and Color Enhancer filter to Darken Sky and Boost Contrast for fine Black and White photography.

Steps: Six.
Level: Intermediate.
Time: 15 minutes.
Software: ON1 PHOTO RAW 2019
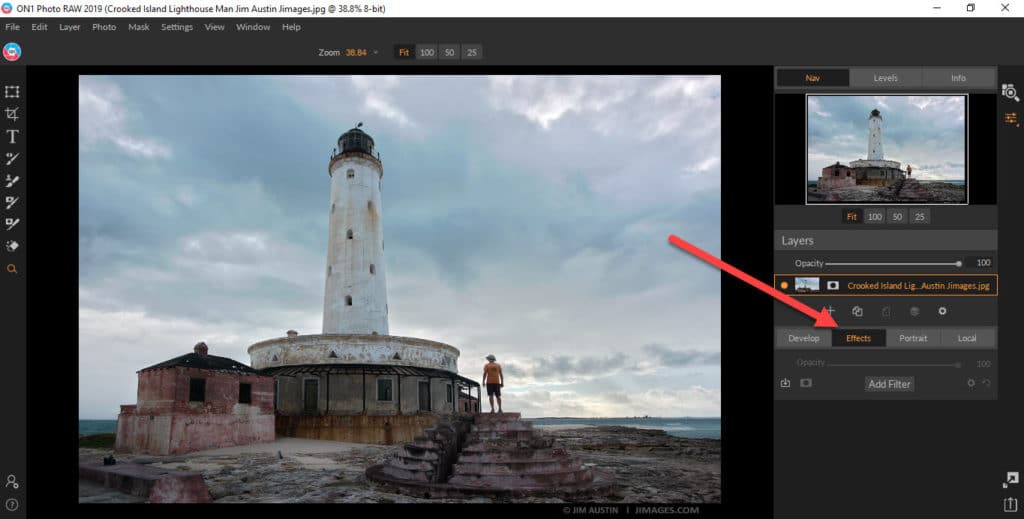
In this method, we use ON1’s color information, to create fine art black and white. First, we go into Effects, then add a Color Enhancer filter layer underneath a Black and White filter Layer.
Step 1: Open ON1
In Browse, click on Effects to open the Effects Module.
Step 2: Adding Two Effects Filters
Use the Color Enhancer and the Black & White filter. To add the filters, click “Add Filter” or click the Plus Sign (+) Add Filter button.

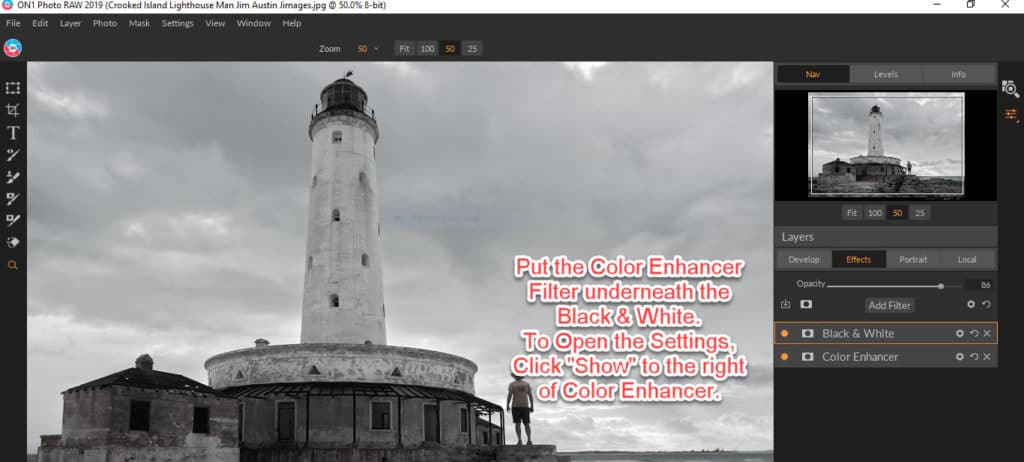
Drag the Color Enhancer Filter under the Black and White Filter. Use the Color Enhancer Filter, then the Black and White Filter. Let the BW filter alone for now. With the Color Enhancer, in the range options, click the BLUE color square and move the saturation slider to the right to darken the sky (+25 to +100). Increase the Range (+15 or so). Then, change the temperature to -10 or -15 to remove blue from the sky. I also decreased the brightness of the blues (-100) Increase the saturation in the image as a whole.
Step 3: Color Enhancer Filter Layer
Staying with the Color Enhancer, in the Yellow color square, increase the yellow. Make the greens darker. Yellows will then stand out, and greens will be darker. The Color Enhancer makes the color sliders much more powerful.
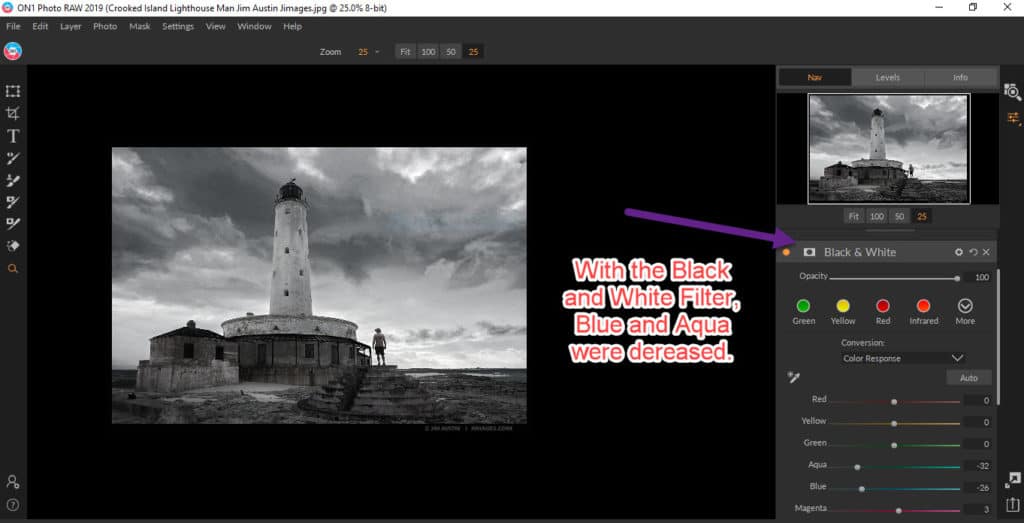
Step 4: Black and White Filter
Now, with your Black and White Filter, slide the blue slider left (-25 in my example, yours may be -15 to -50 depending on your image). Click the Aqua color square and boost the aqua slider to the right (+65).
Step 5: Adjust the Tone
Adjust highlights and shadows by dragging the two sliders to the right.
Step 6: Finish
Add any more filters or fine-tuning, resize, export as you would with your usual workflow.


Leave a Reply